Week 23 – Gameboy Camera (Pre-DragonCon Photo Special!)

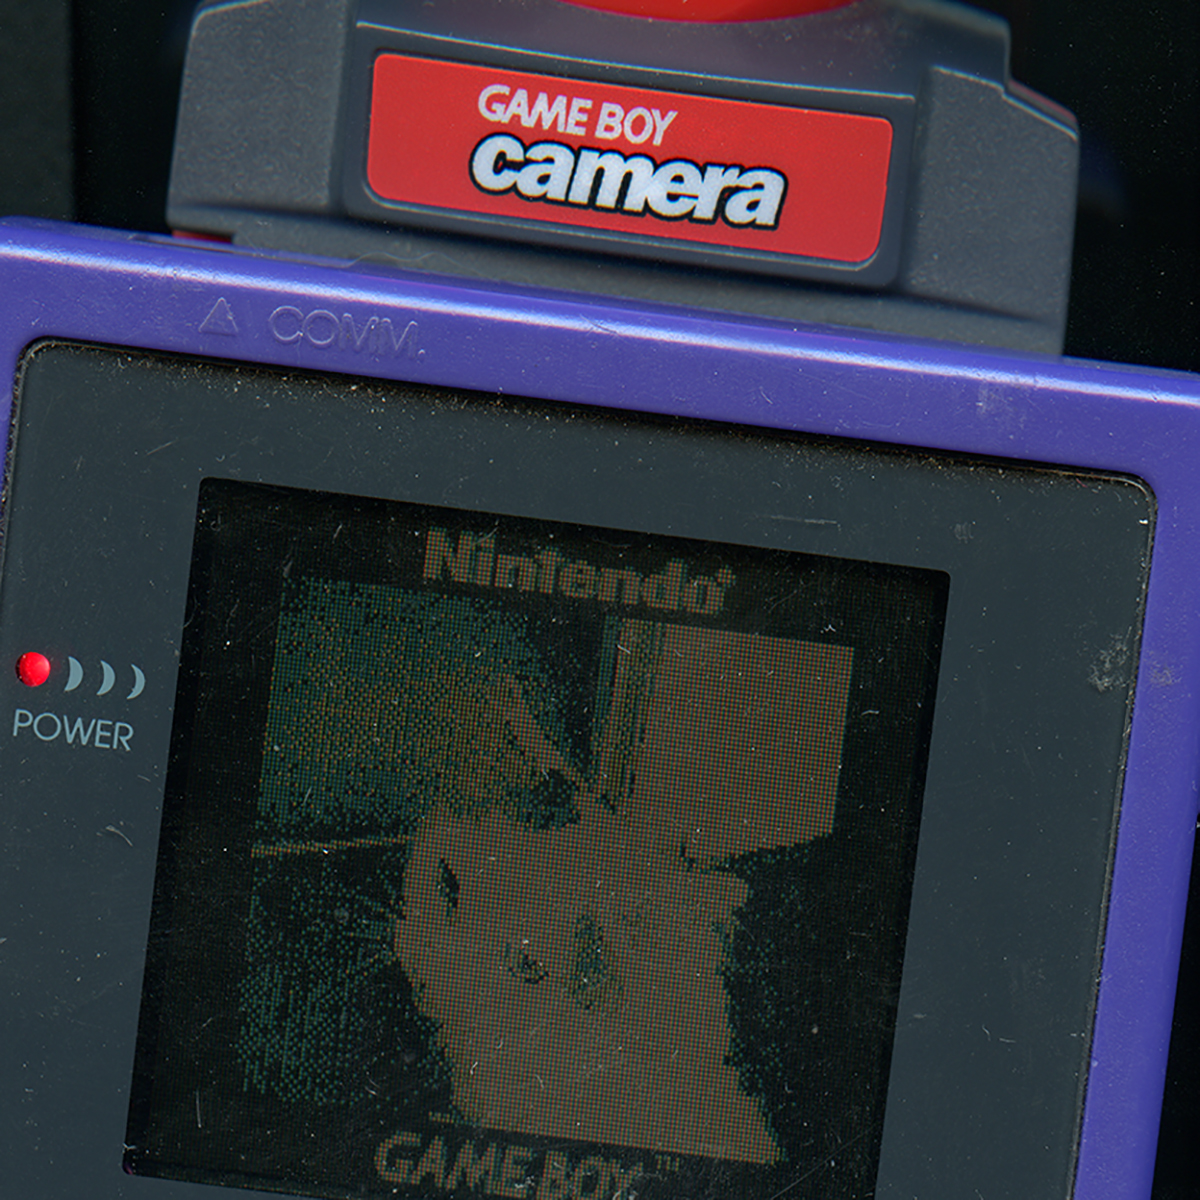
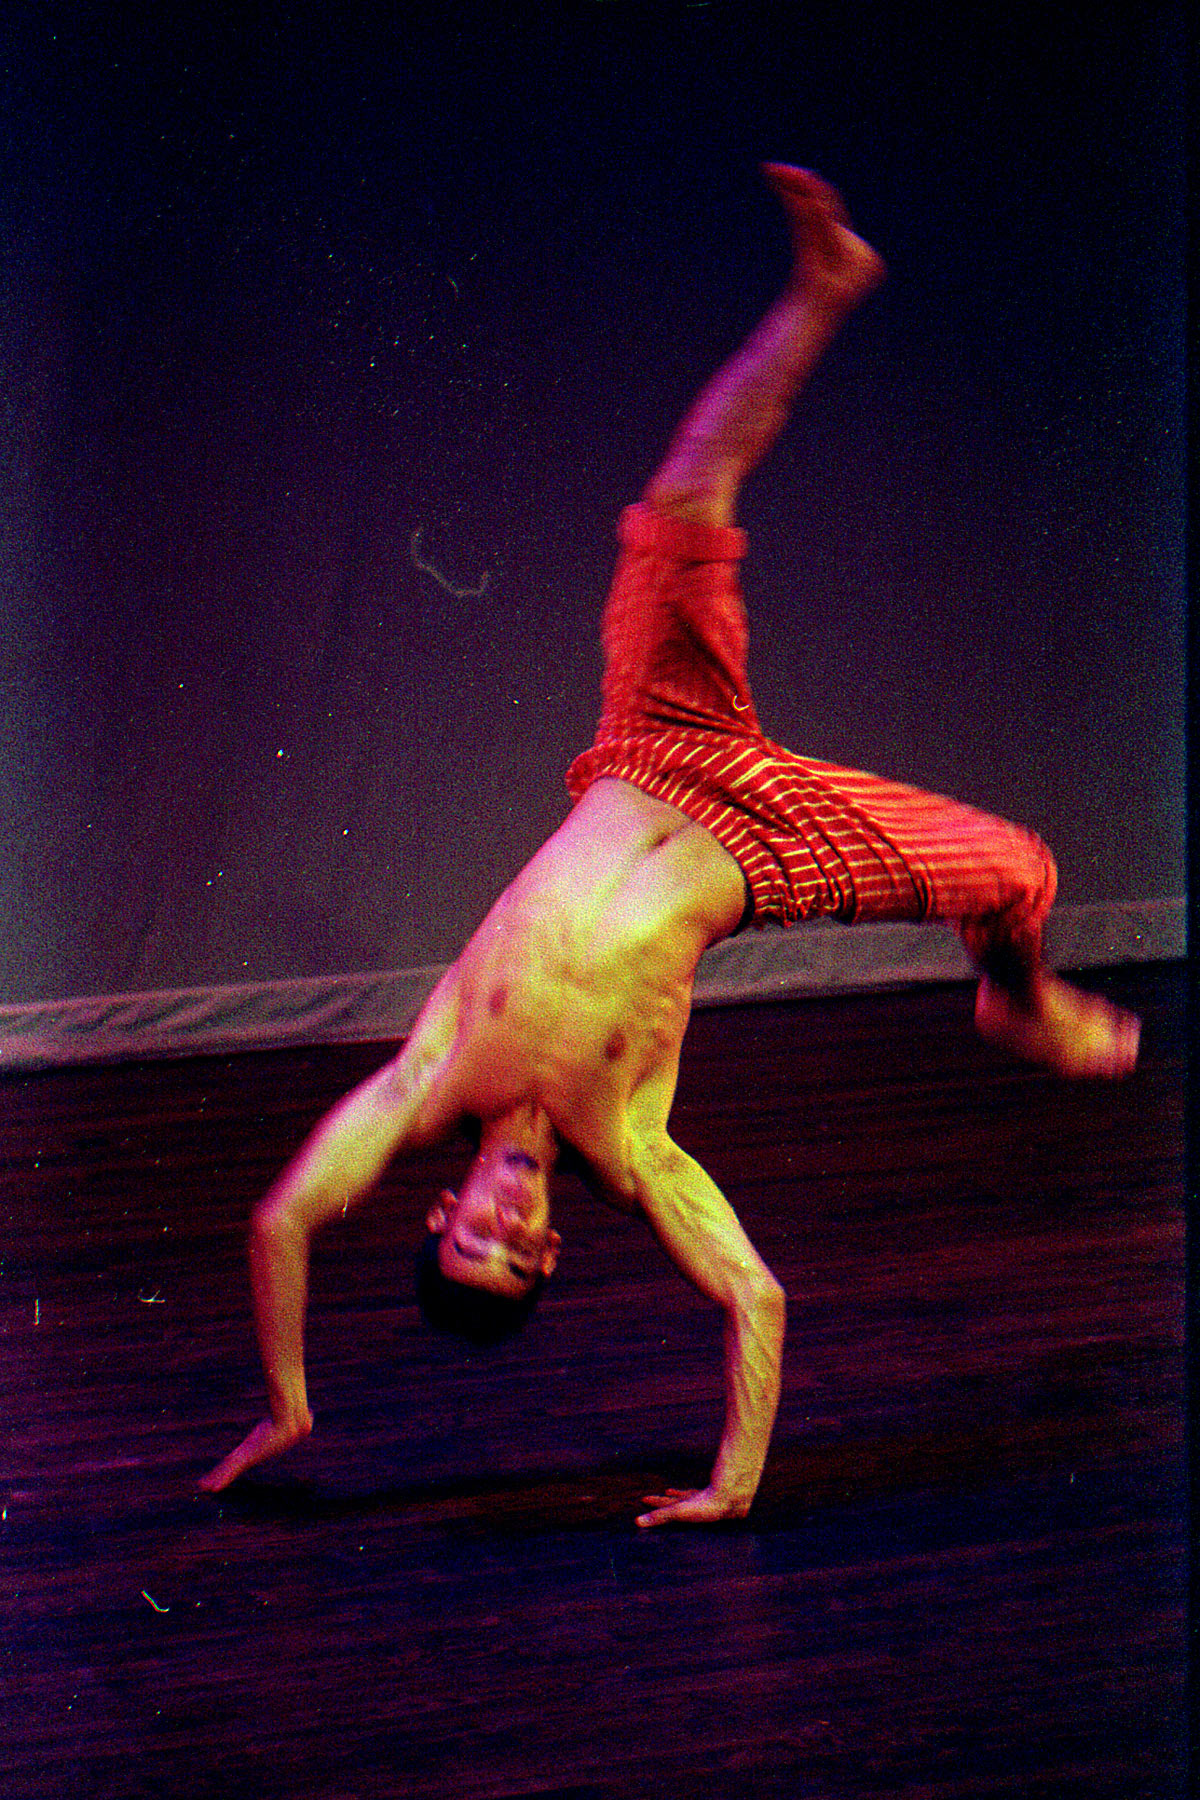
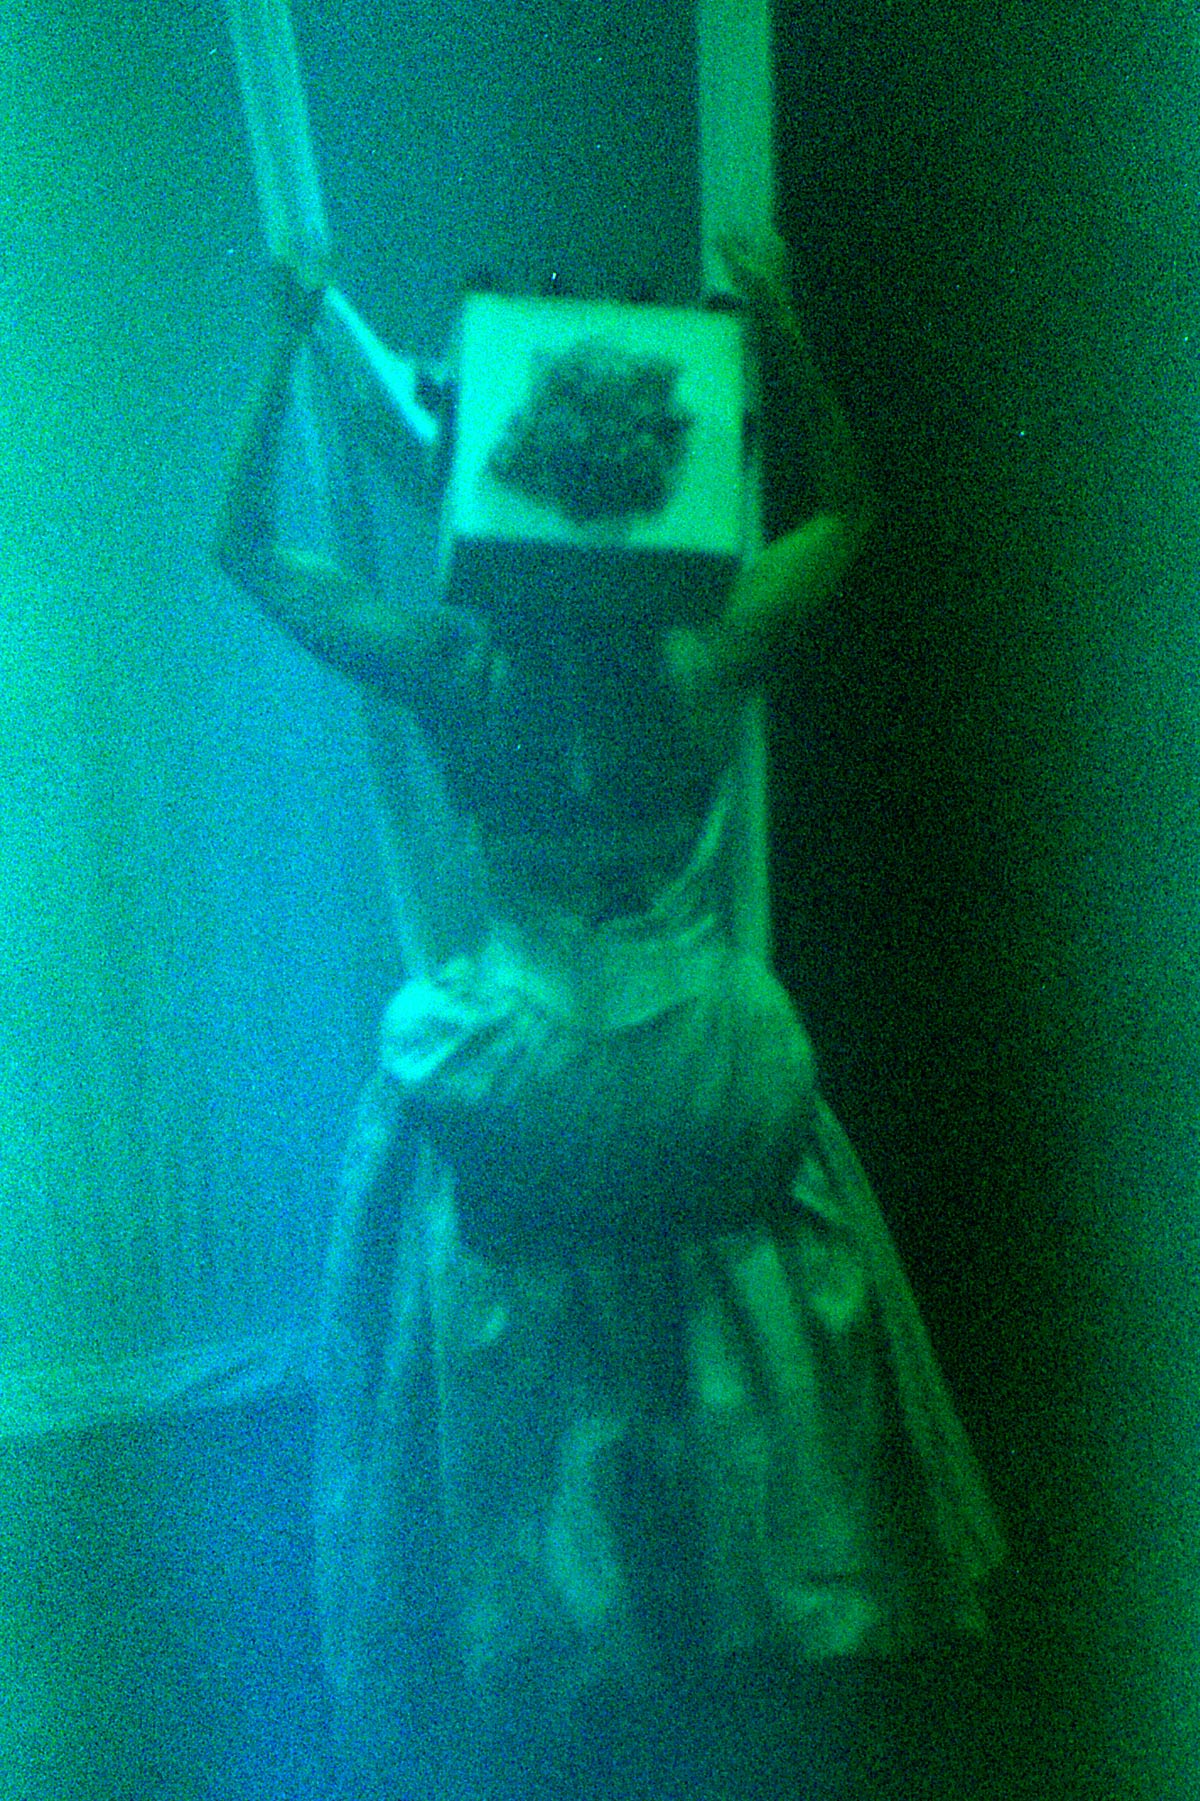
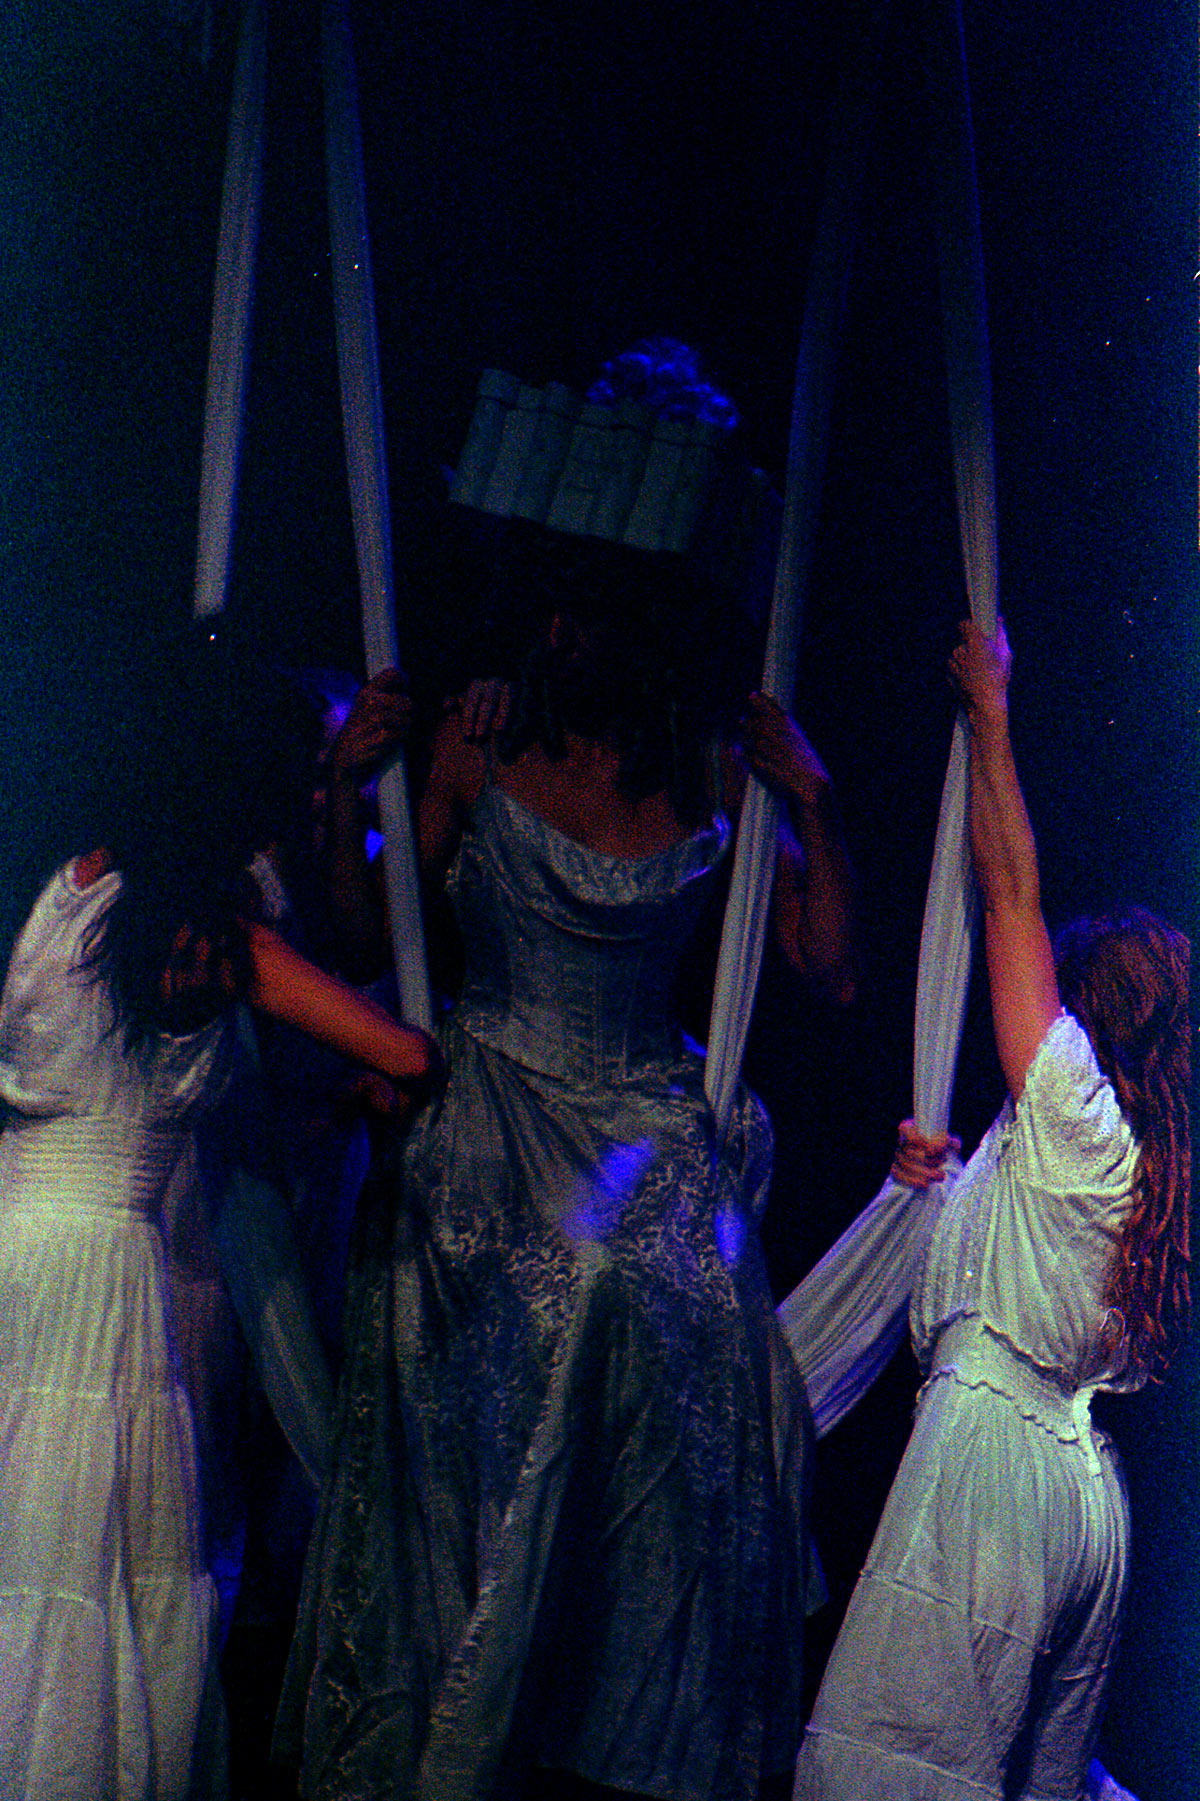
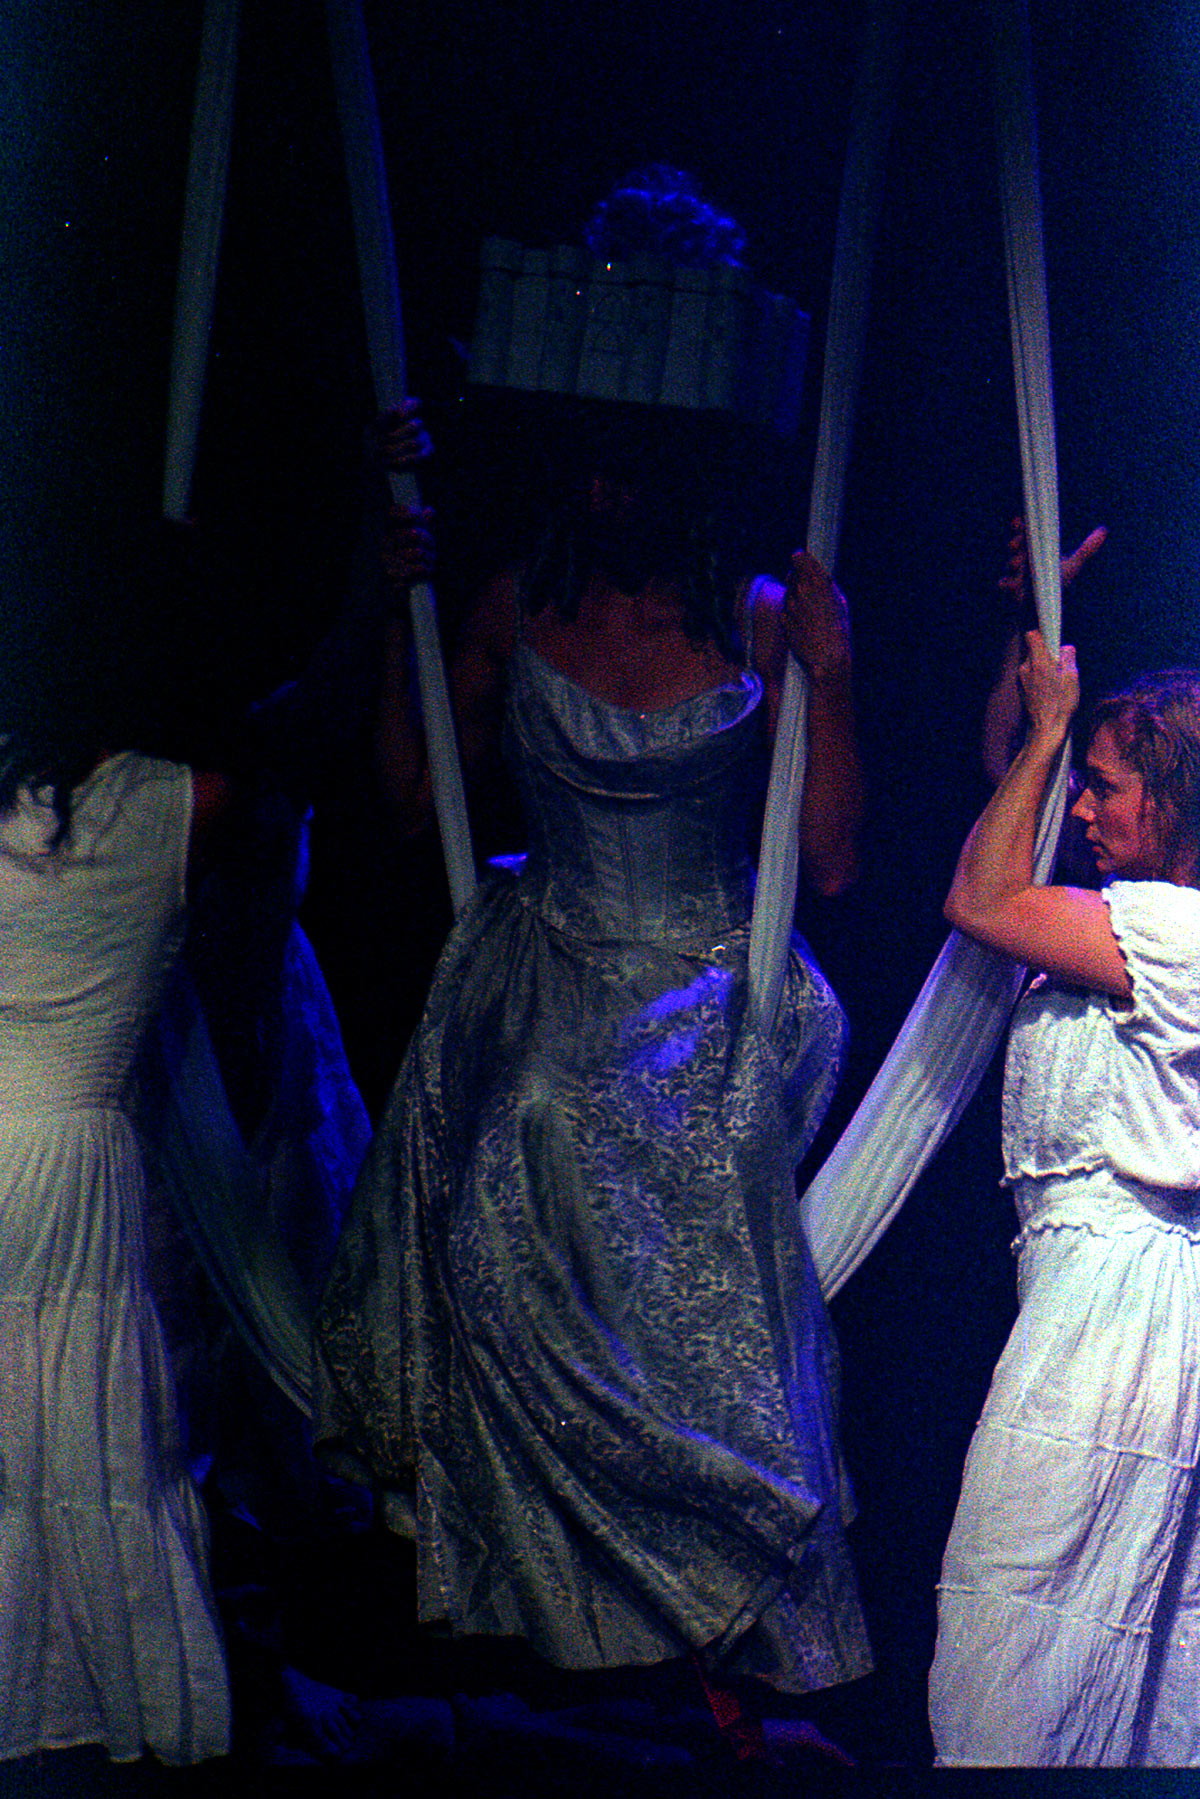
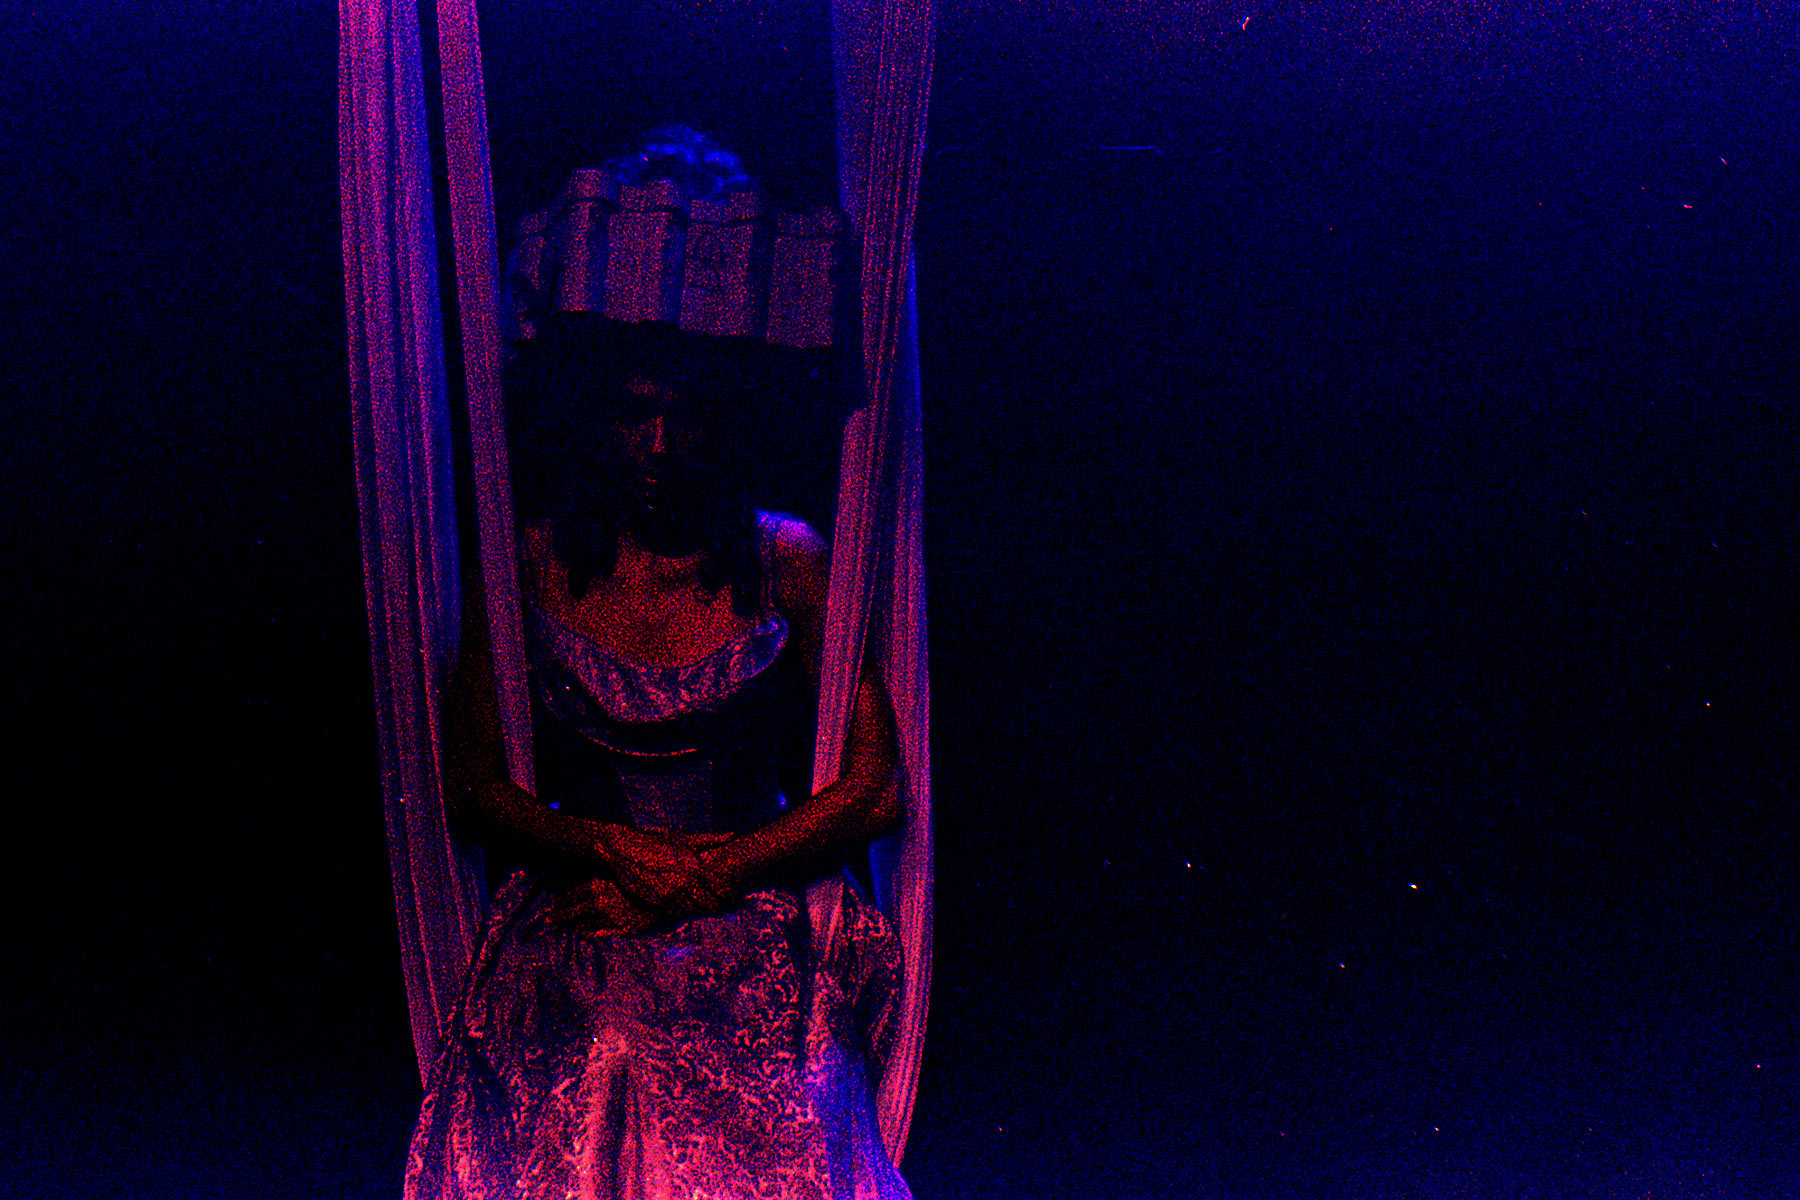
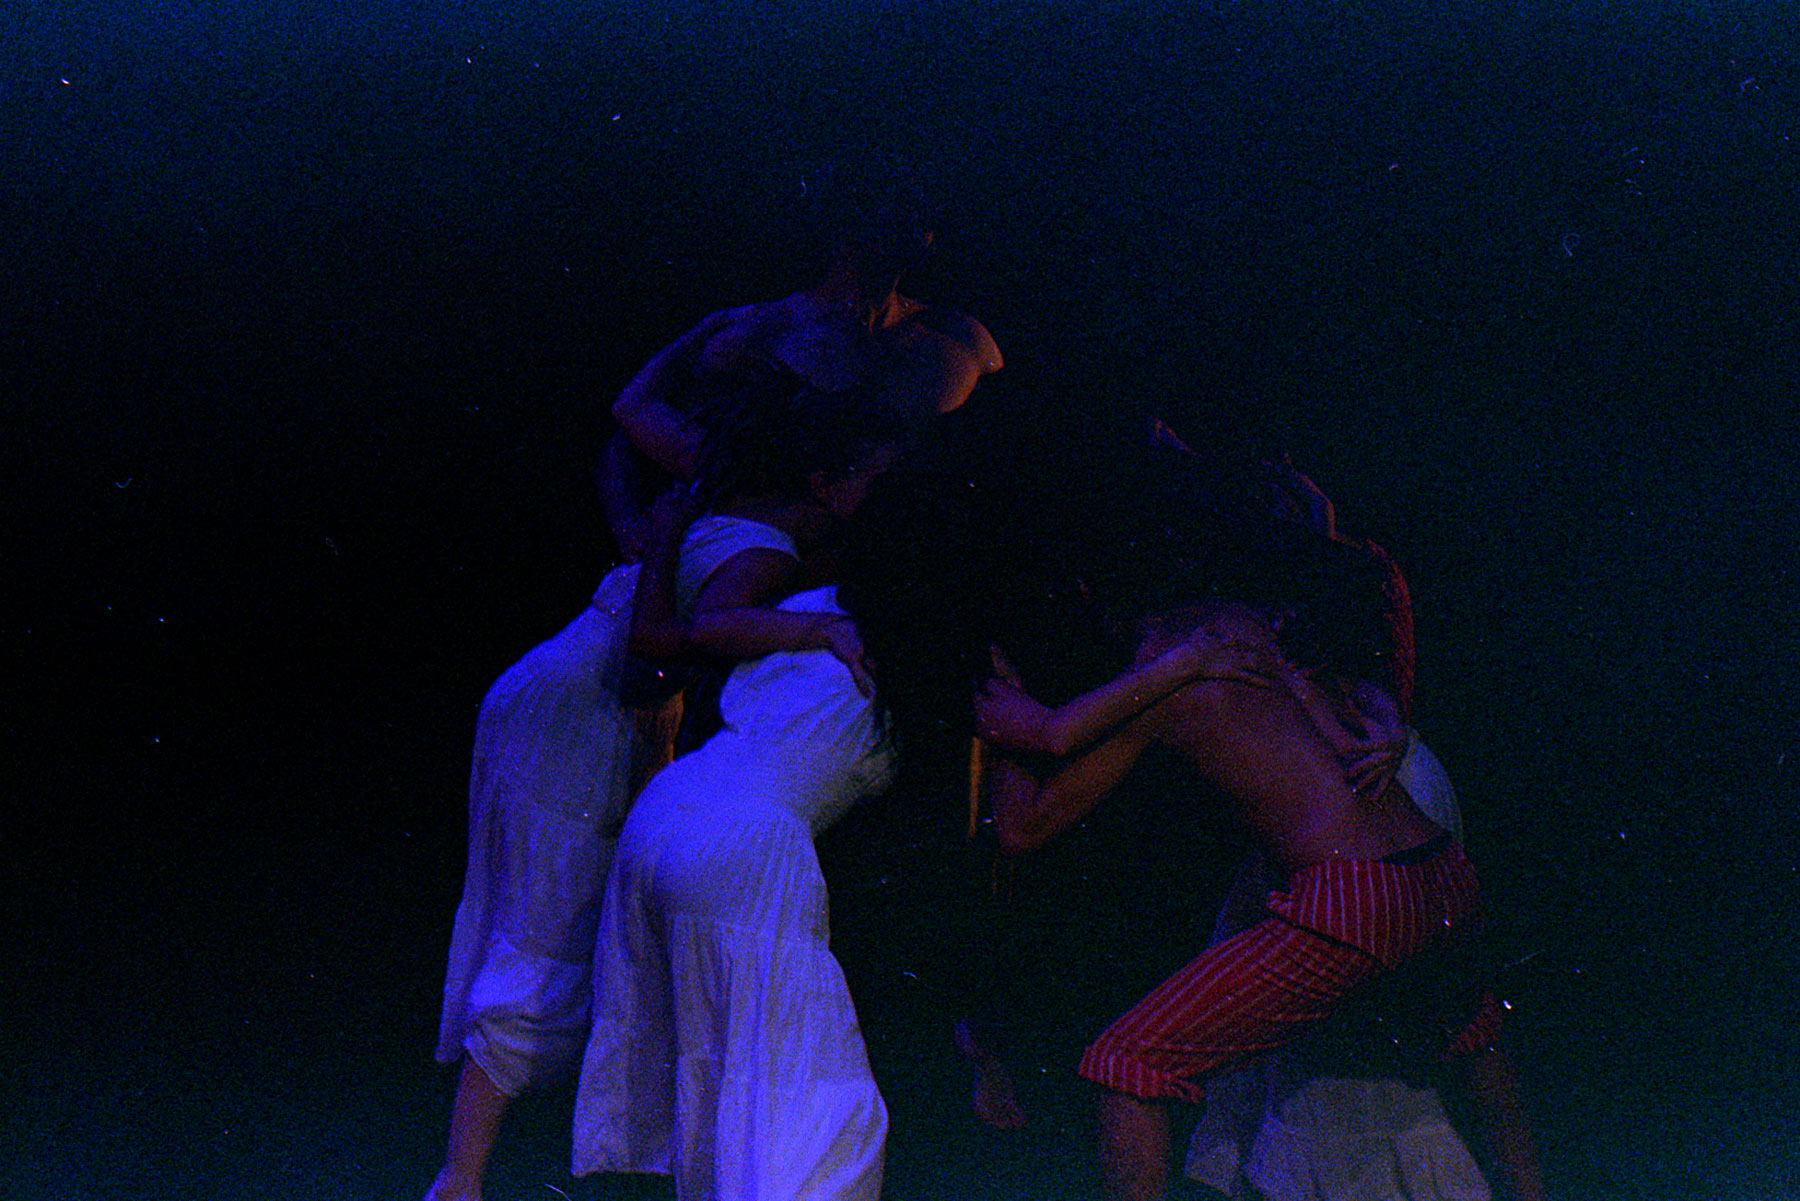
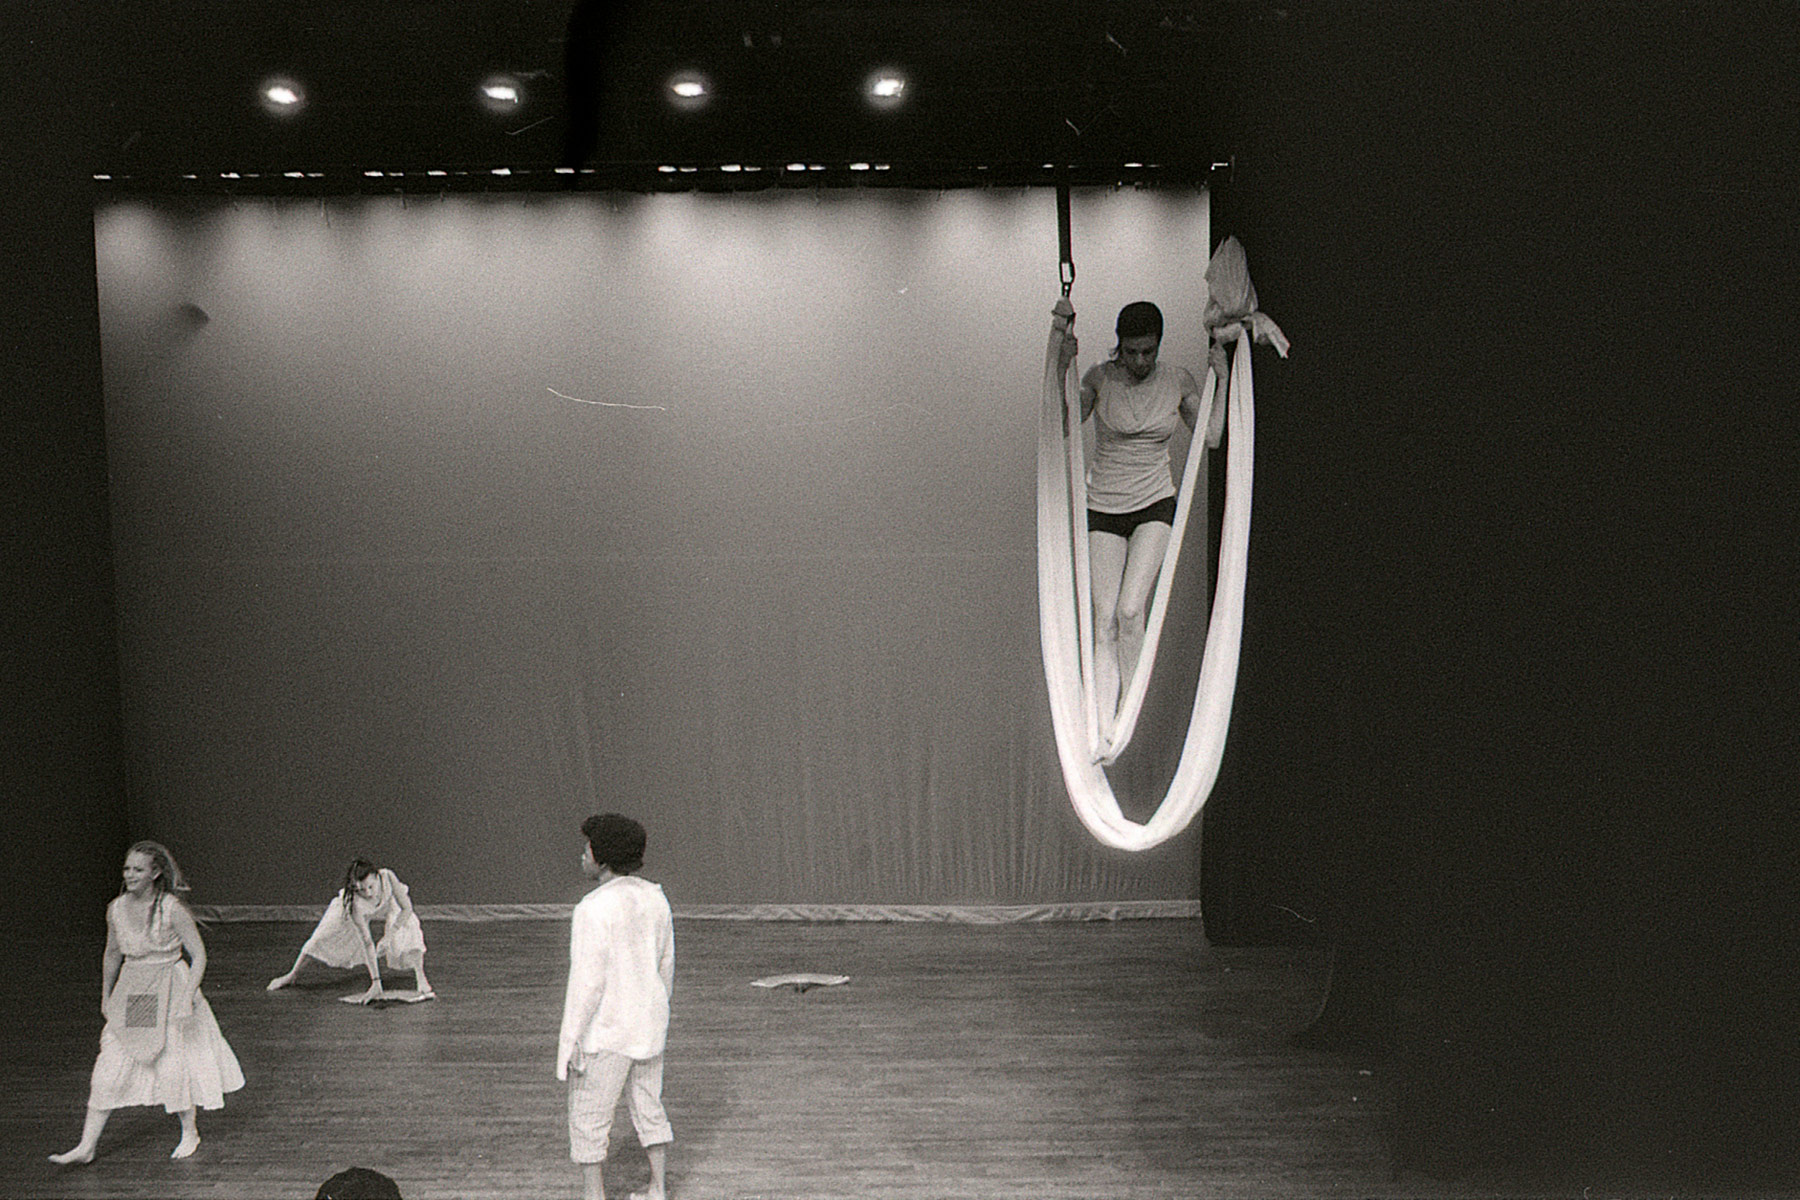
Yes, I can already hear what you are saying. "But Blake, the Gameboy camera is a digital camera and this is an all film project". Well you know what? Its my party and I'll cry if I want to. That made absolutely no sense, so I digress– 

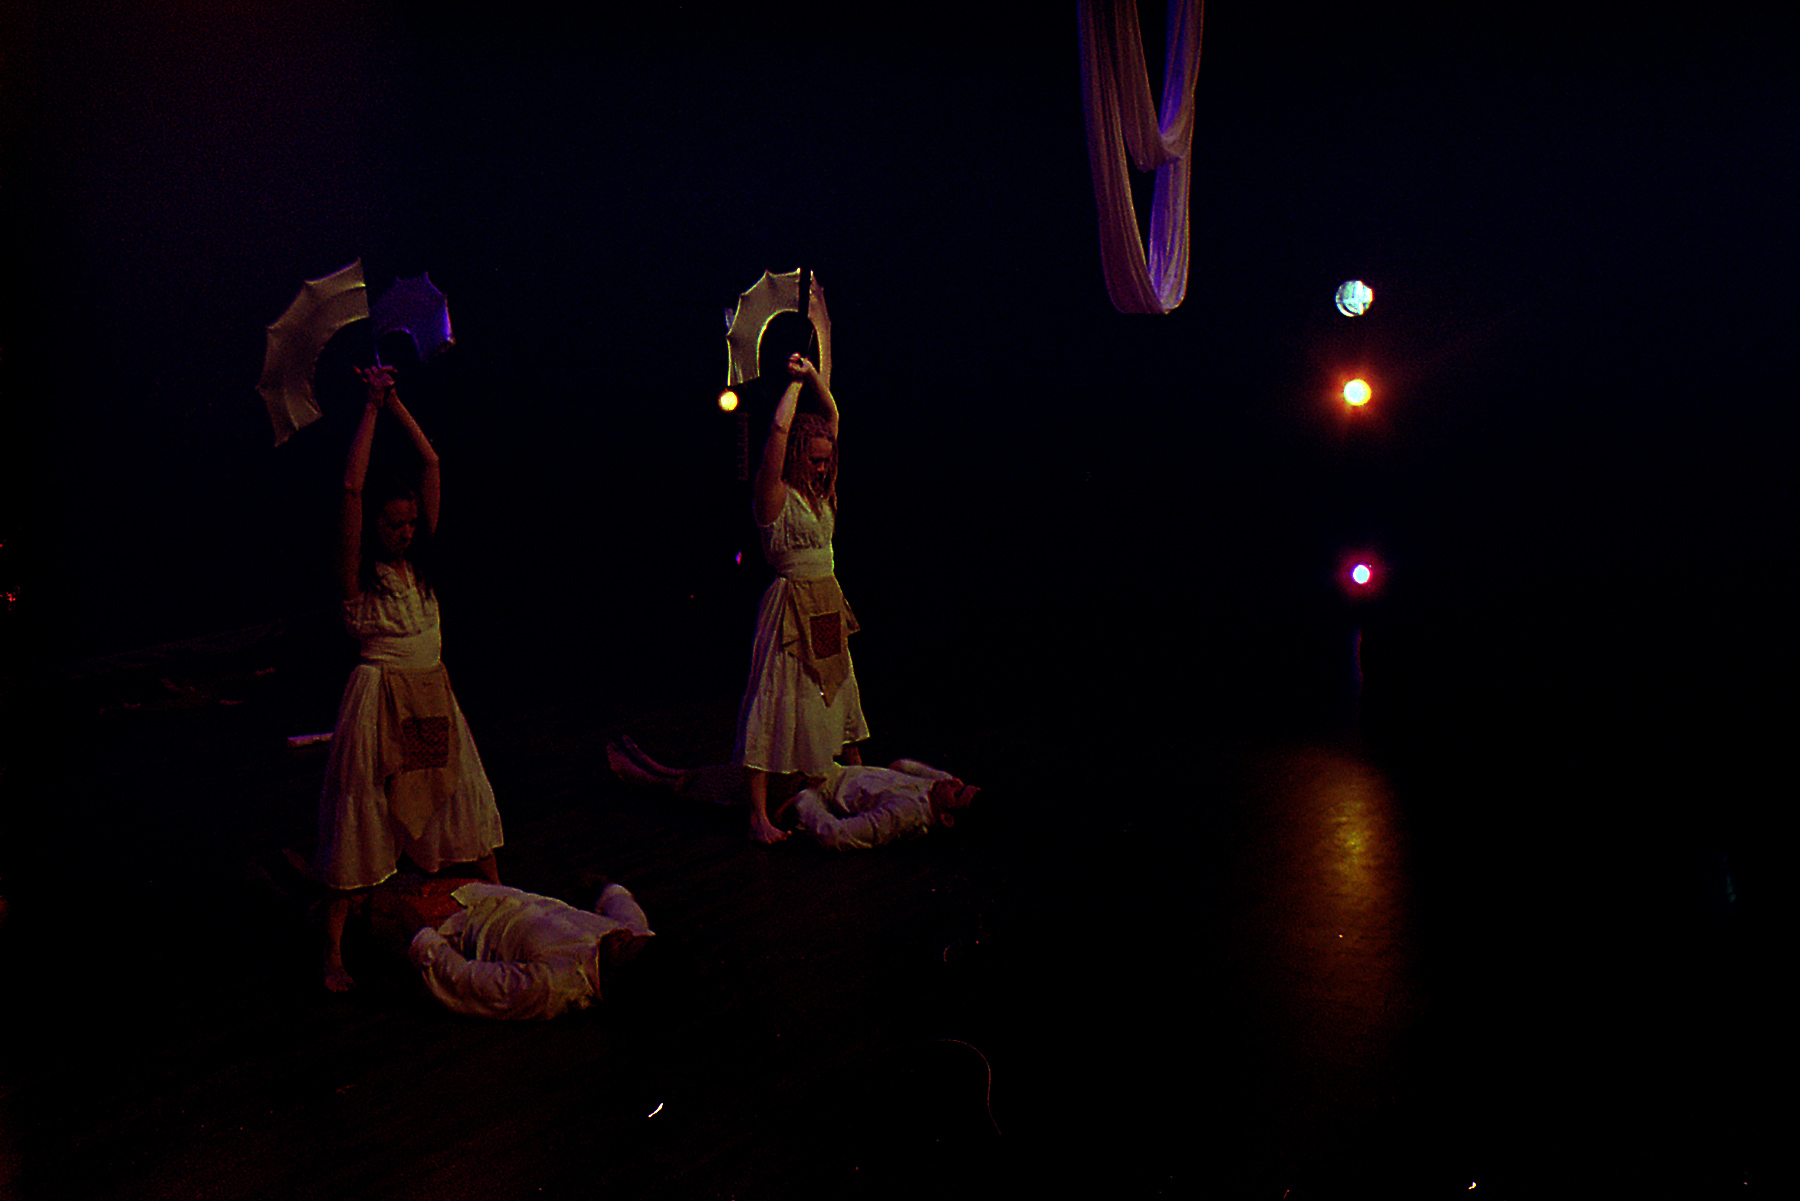
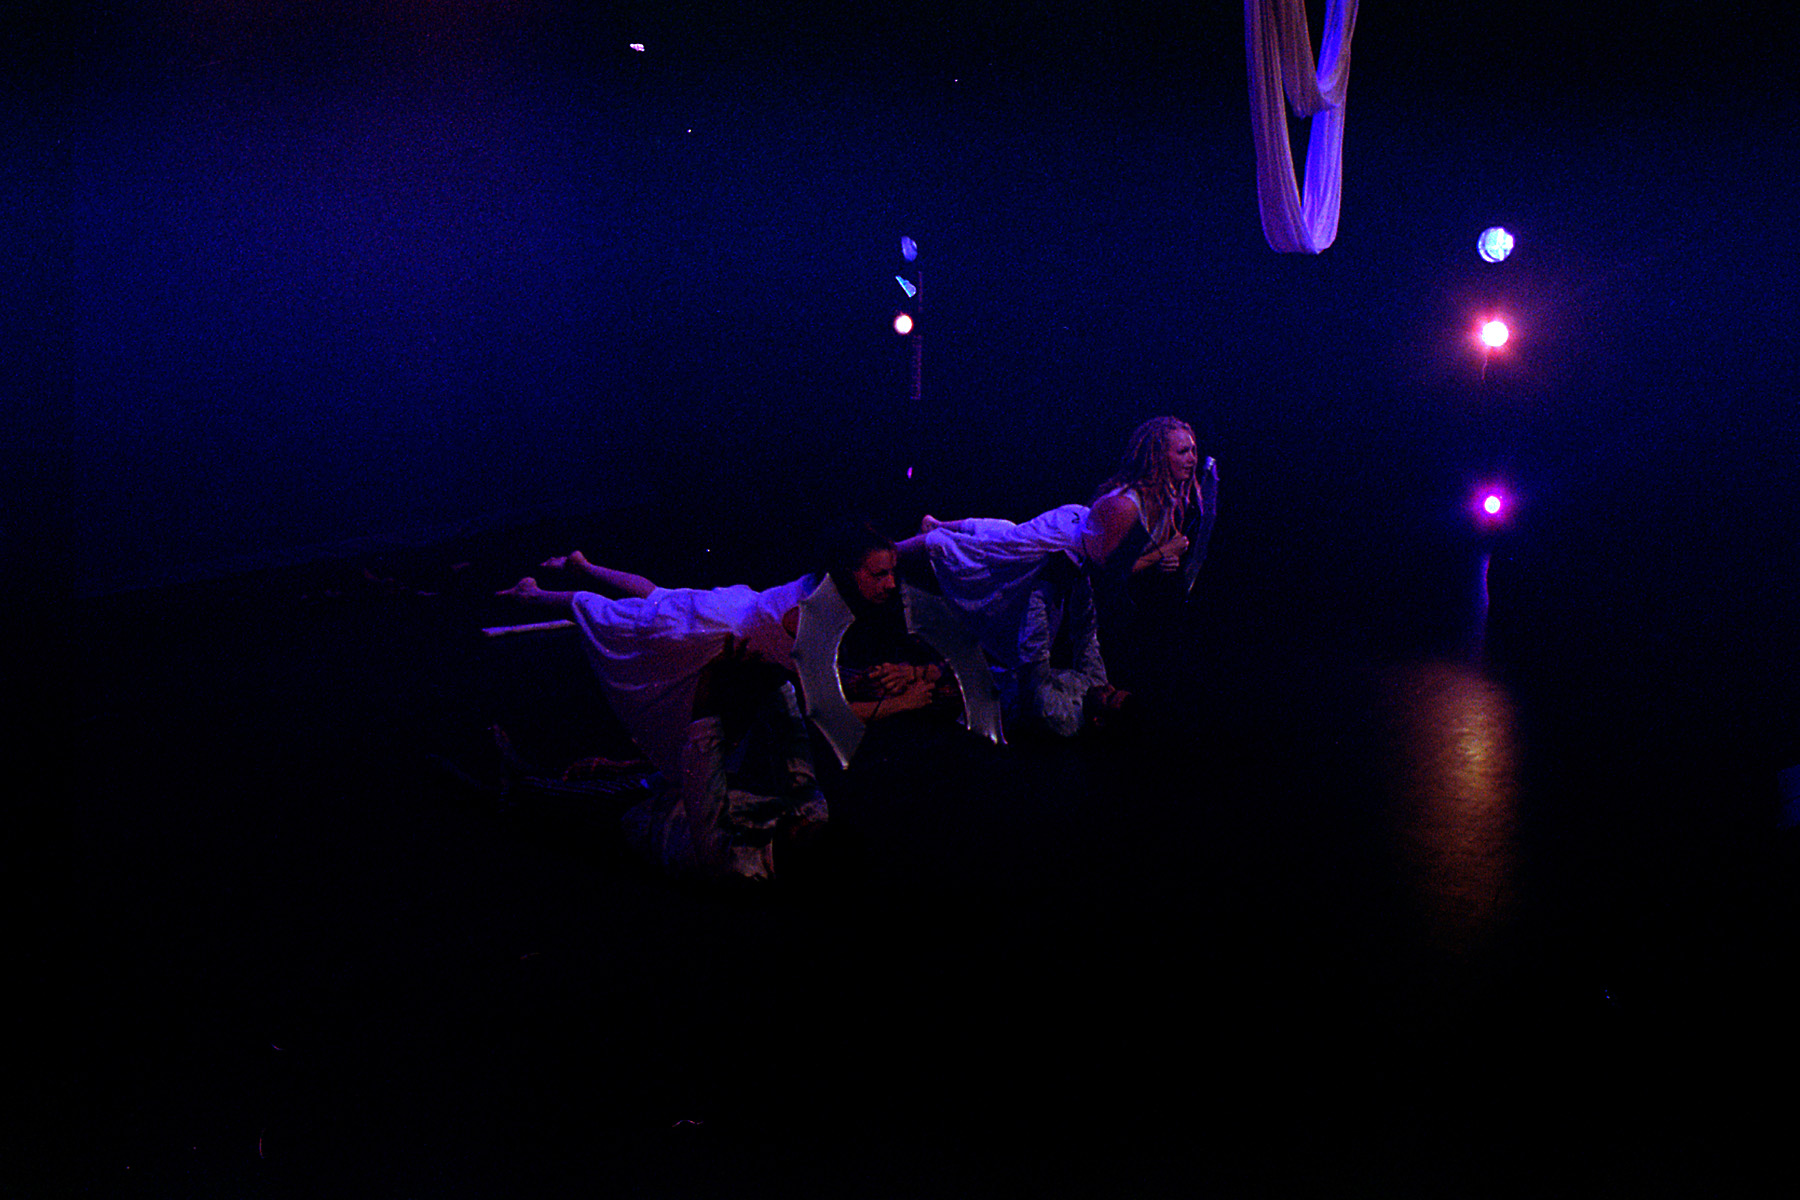
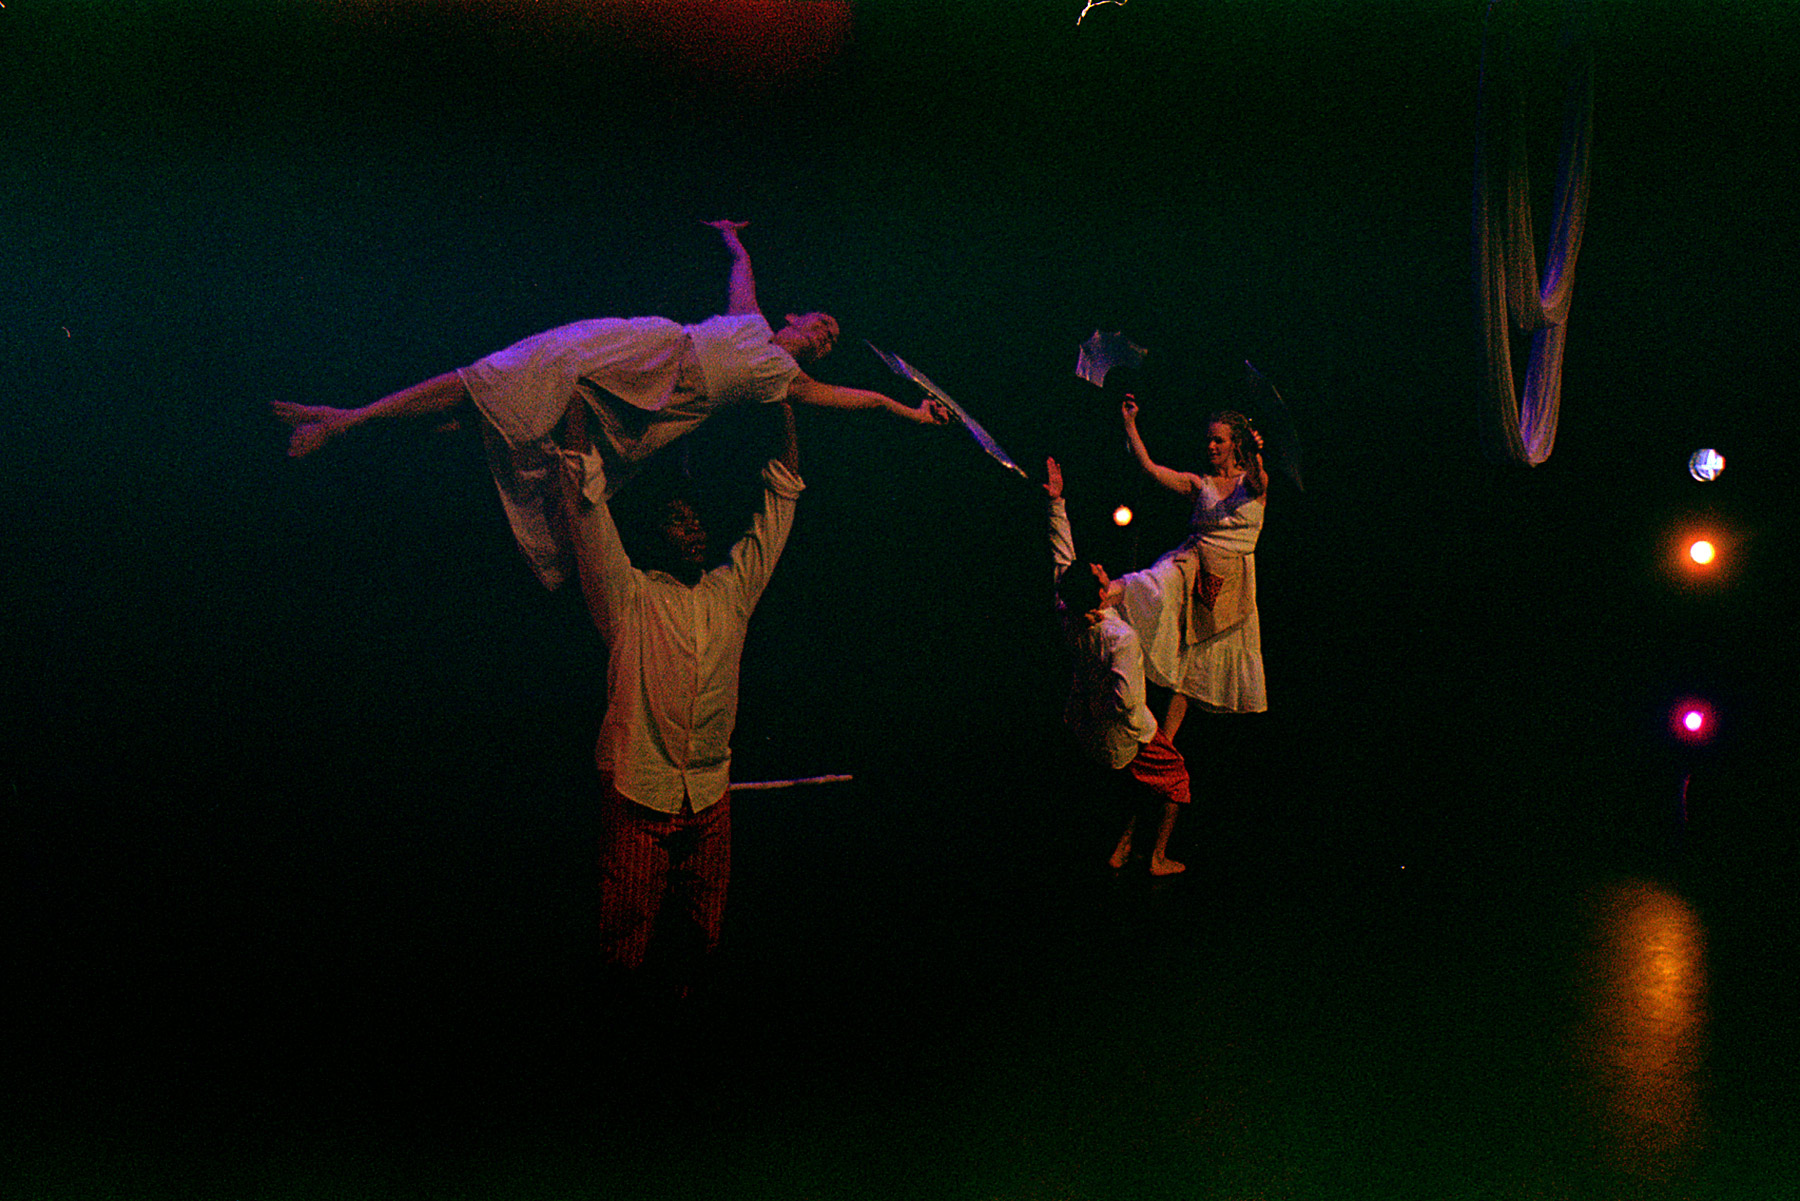
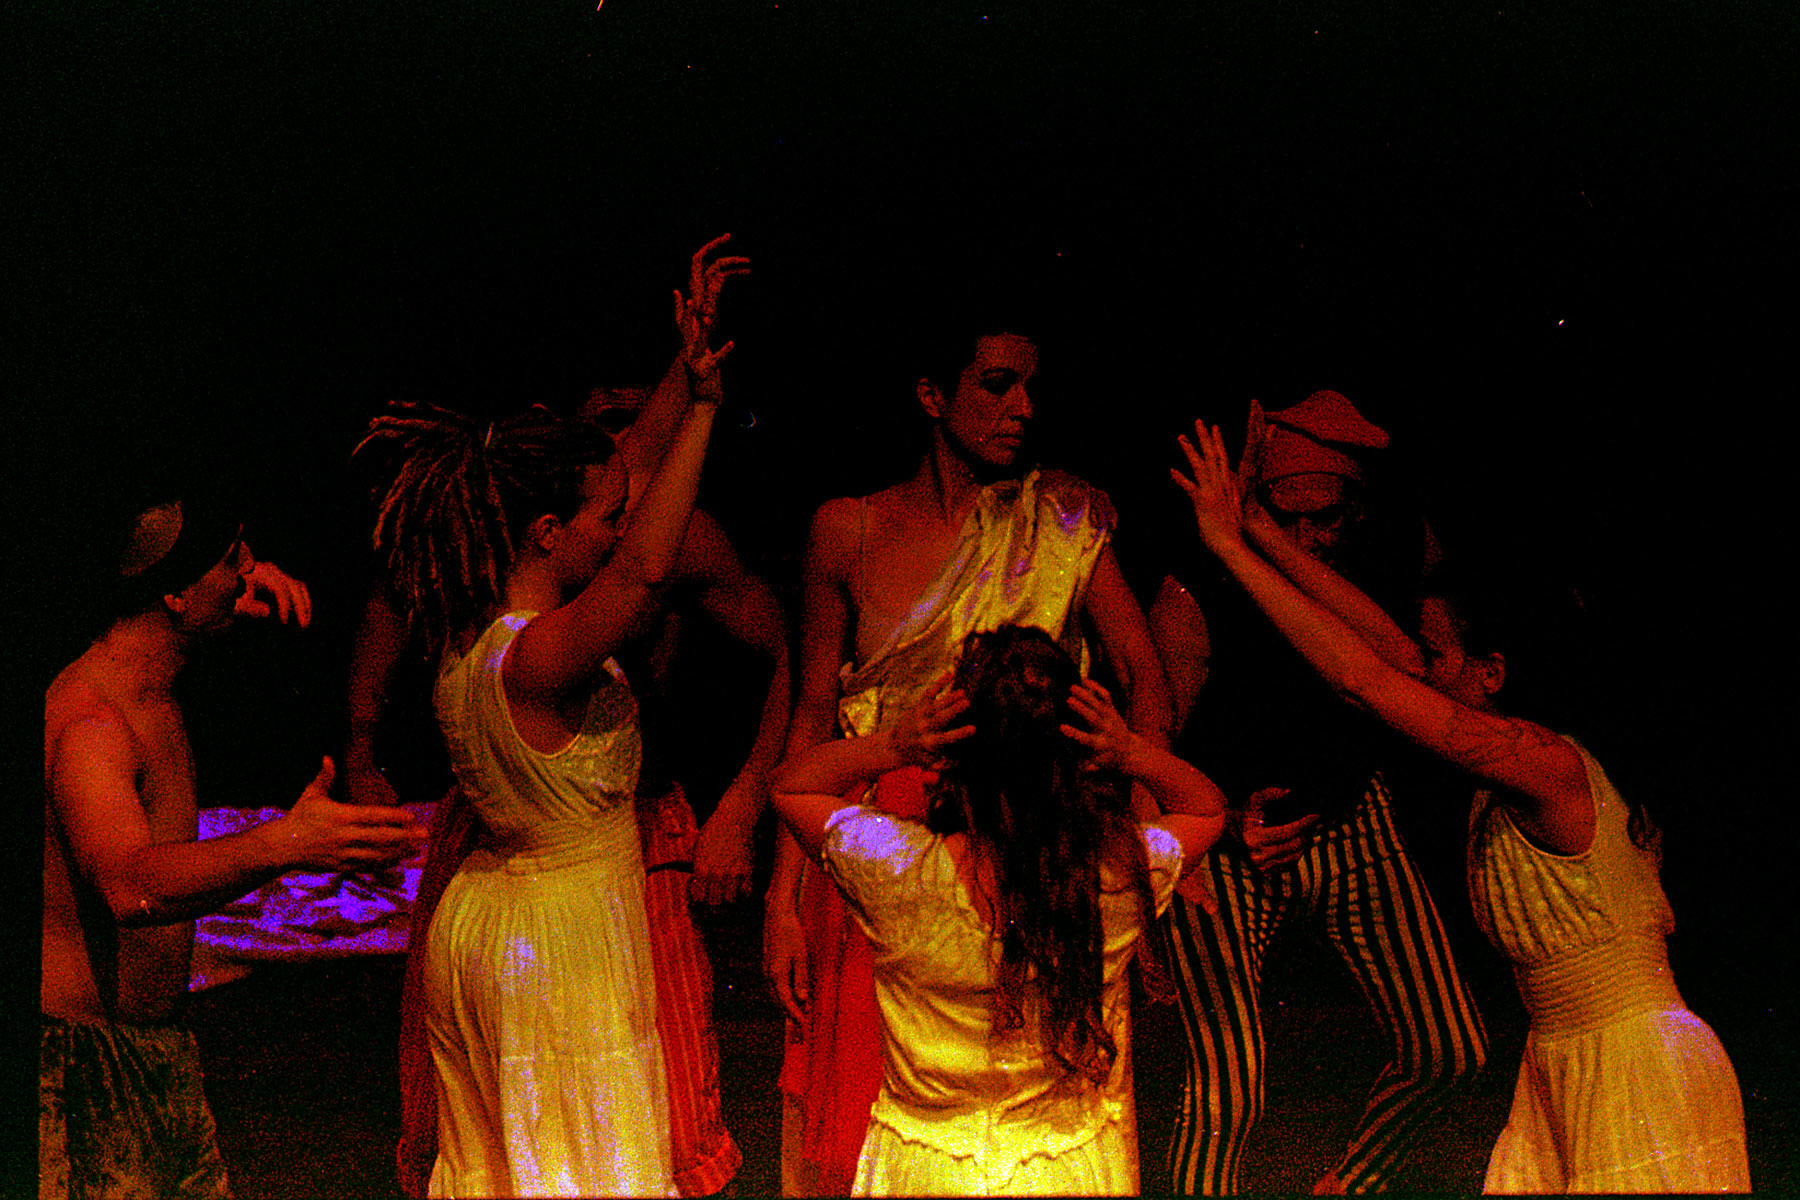
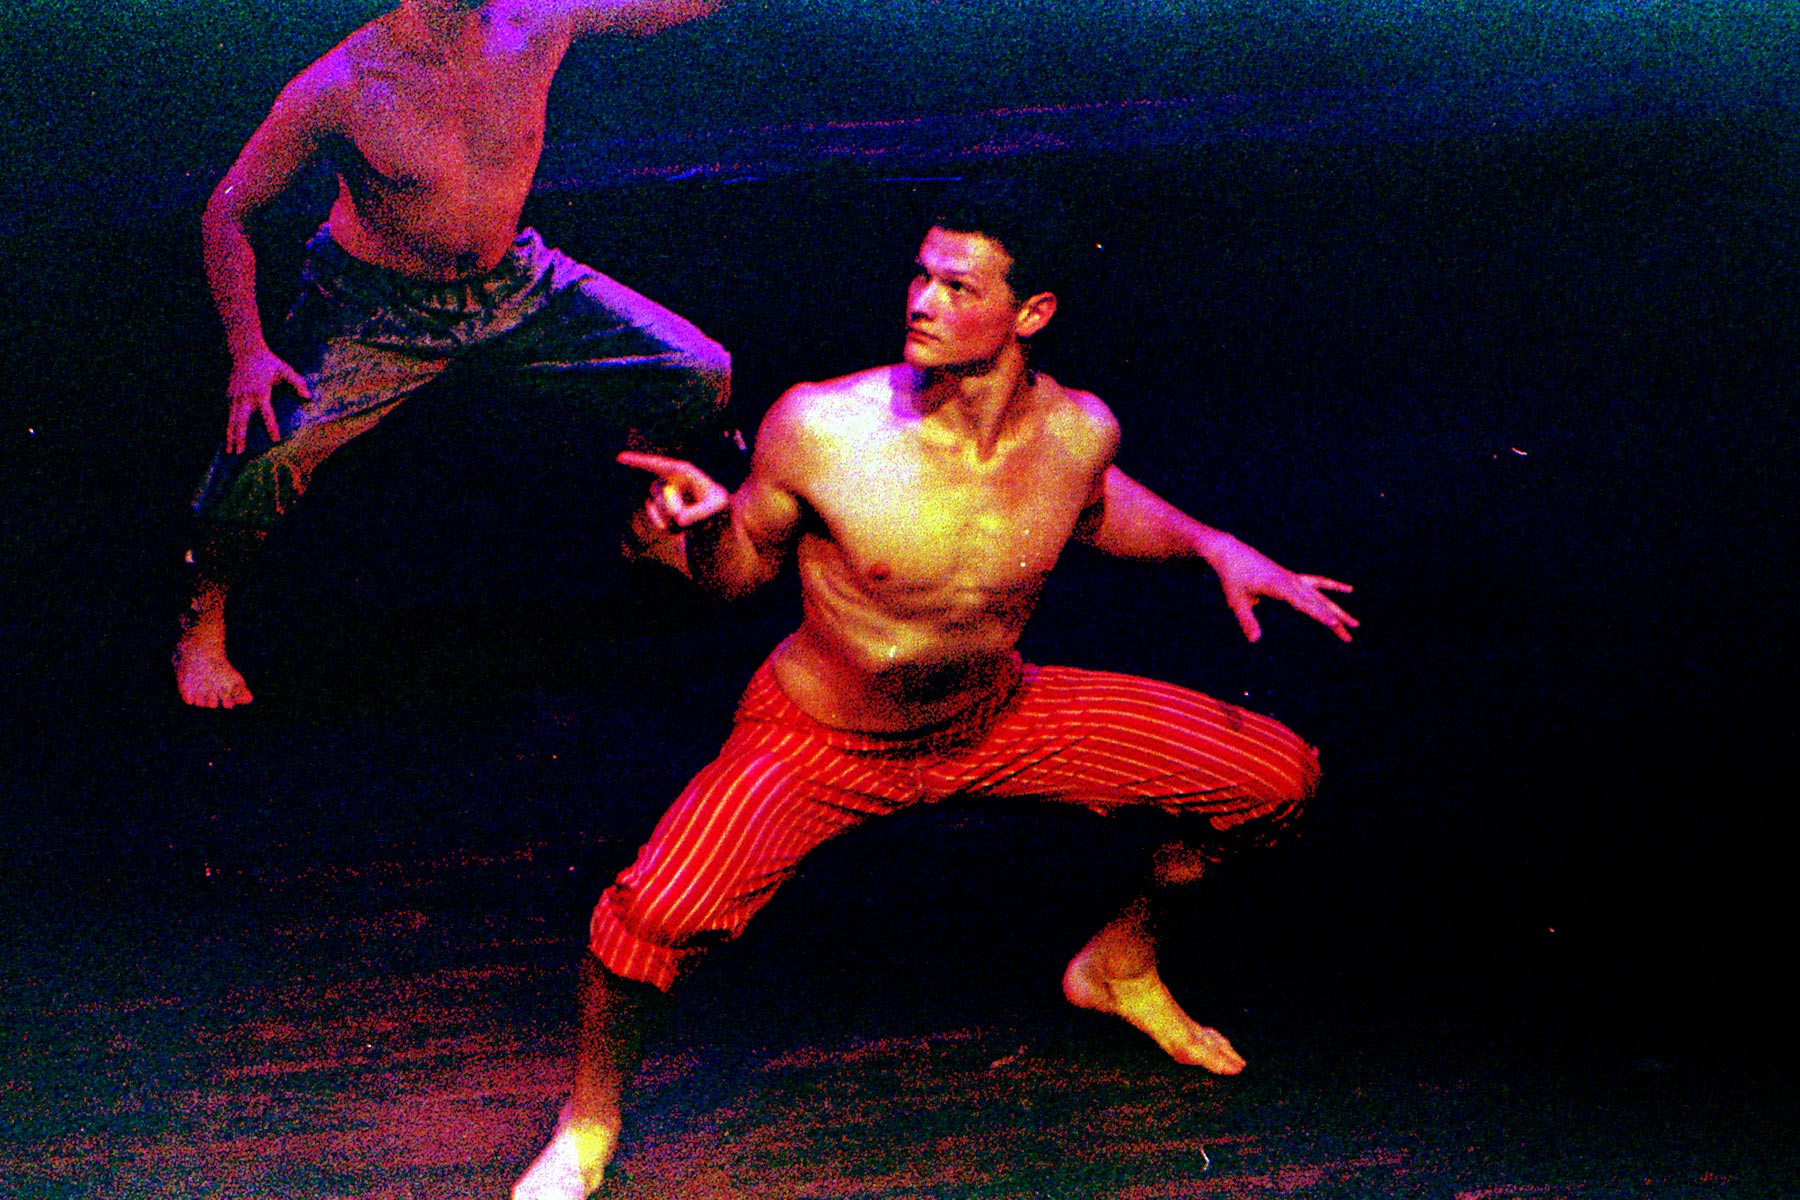
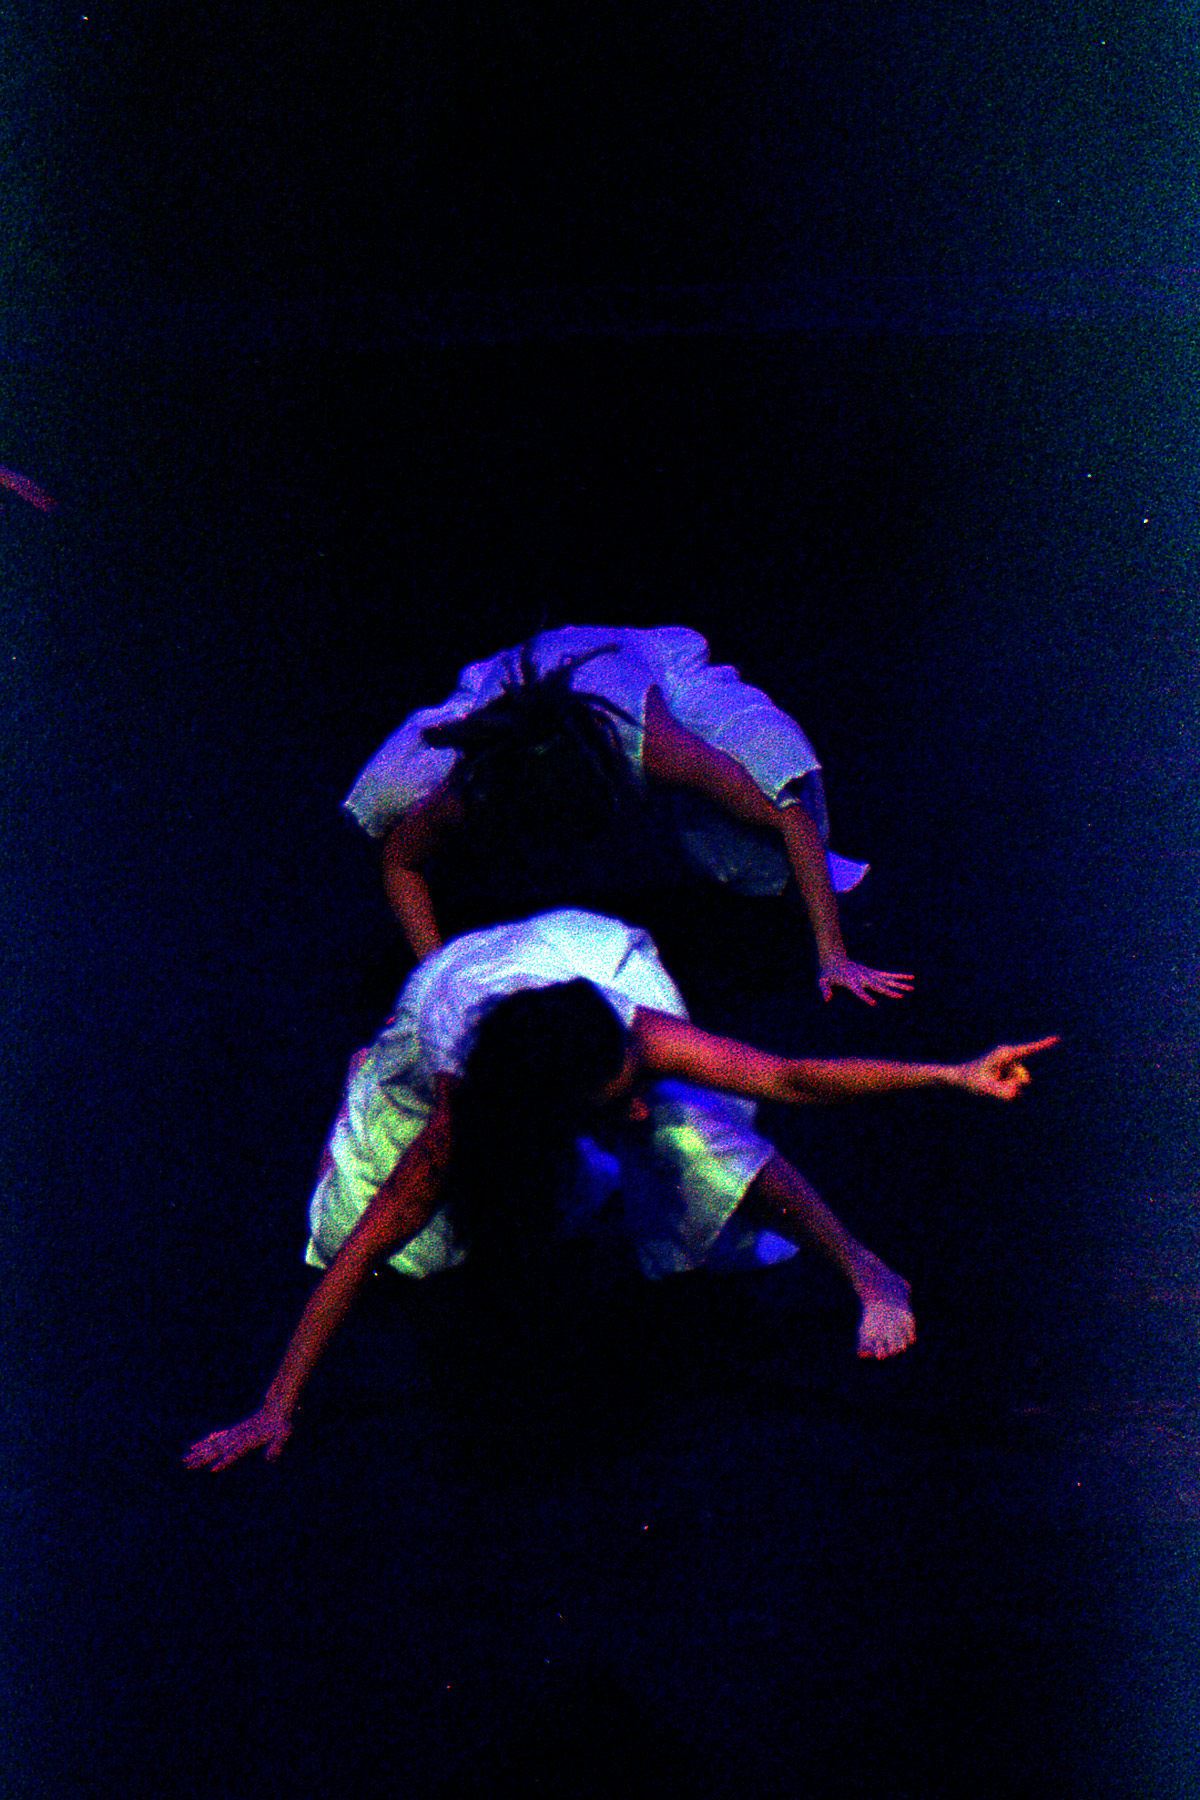
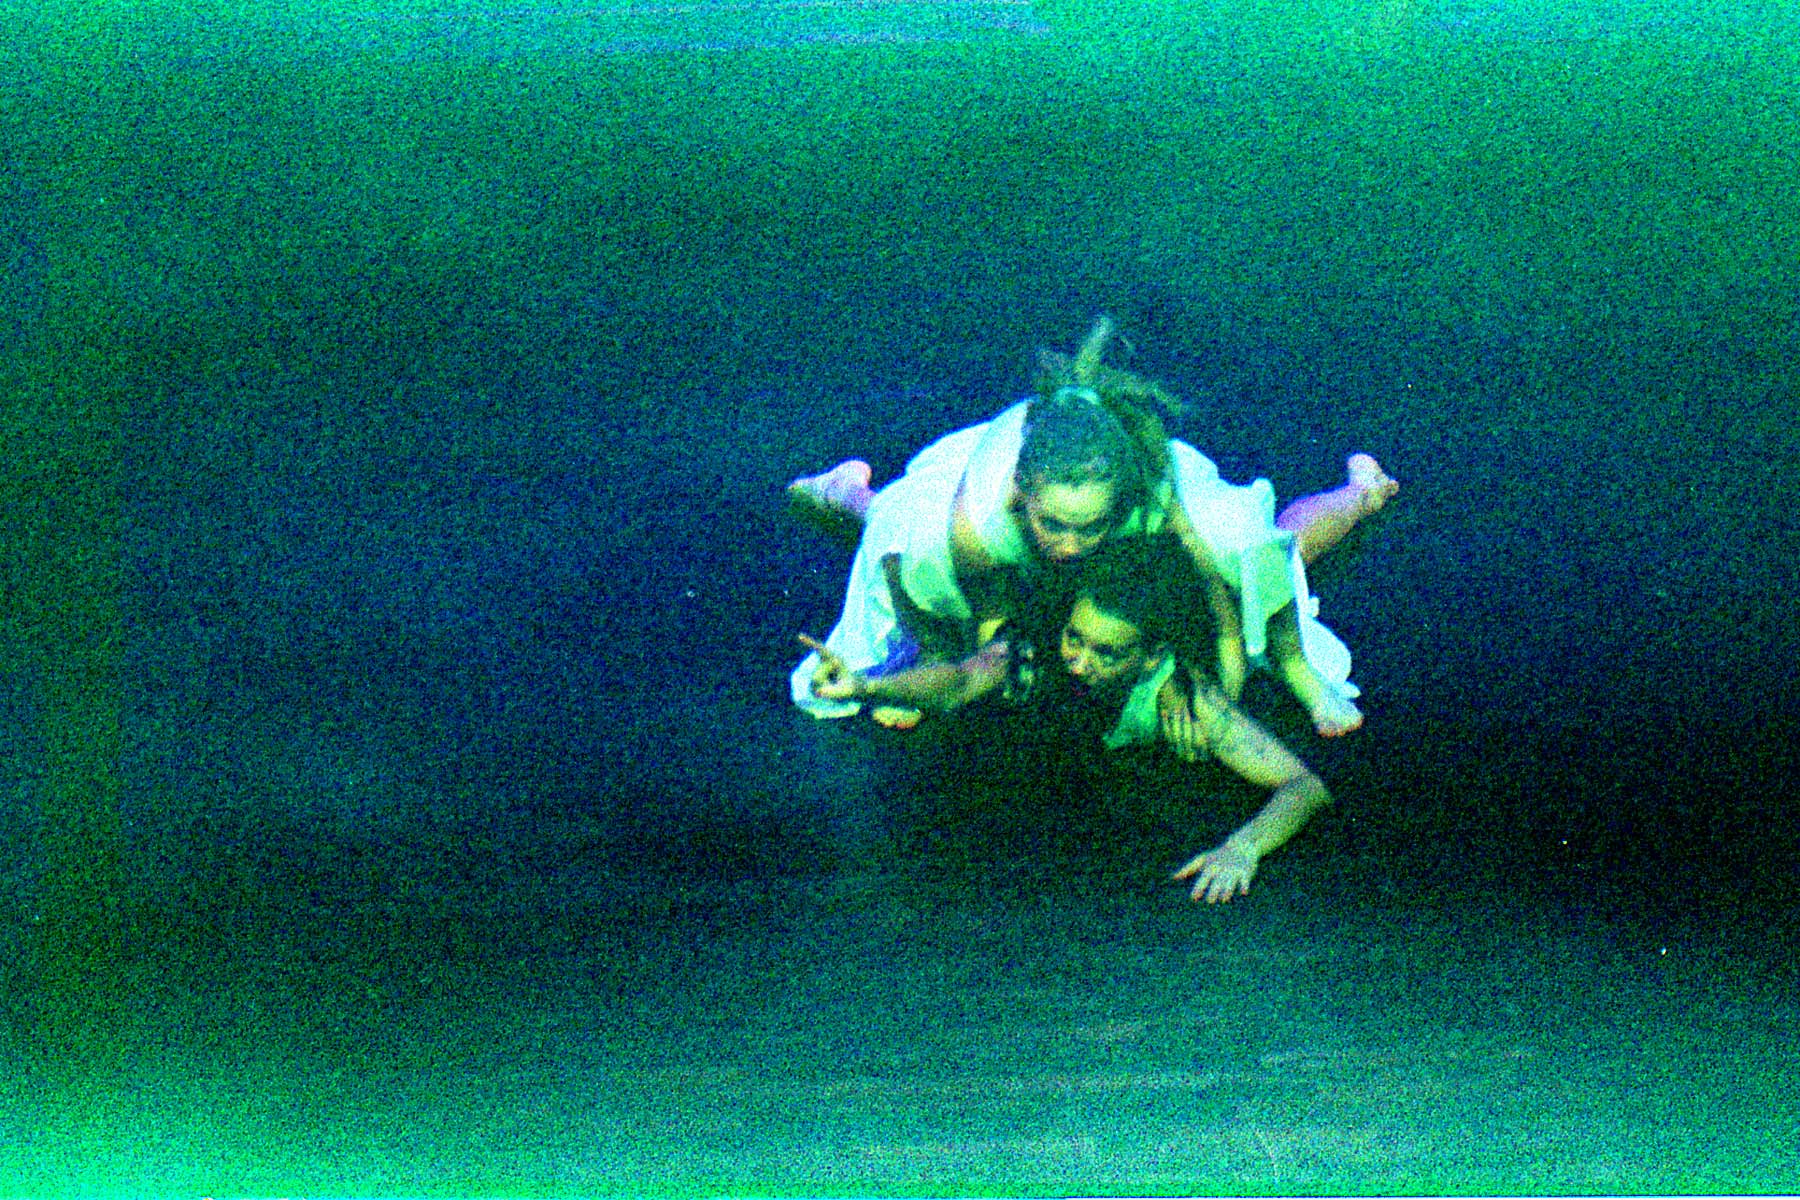
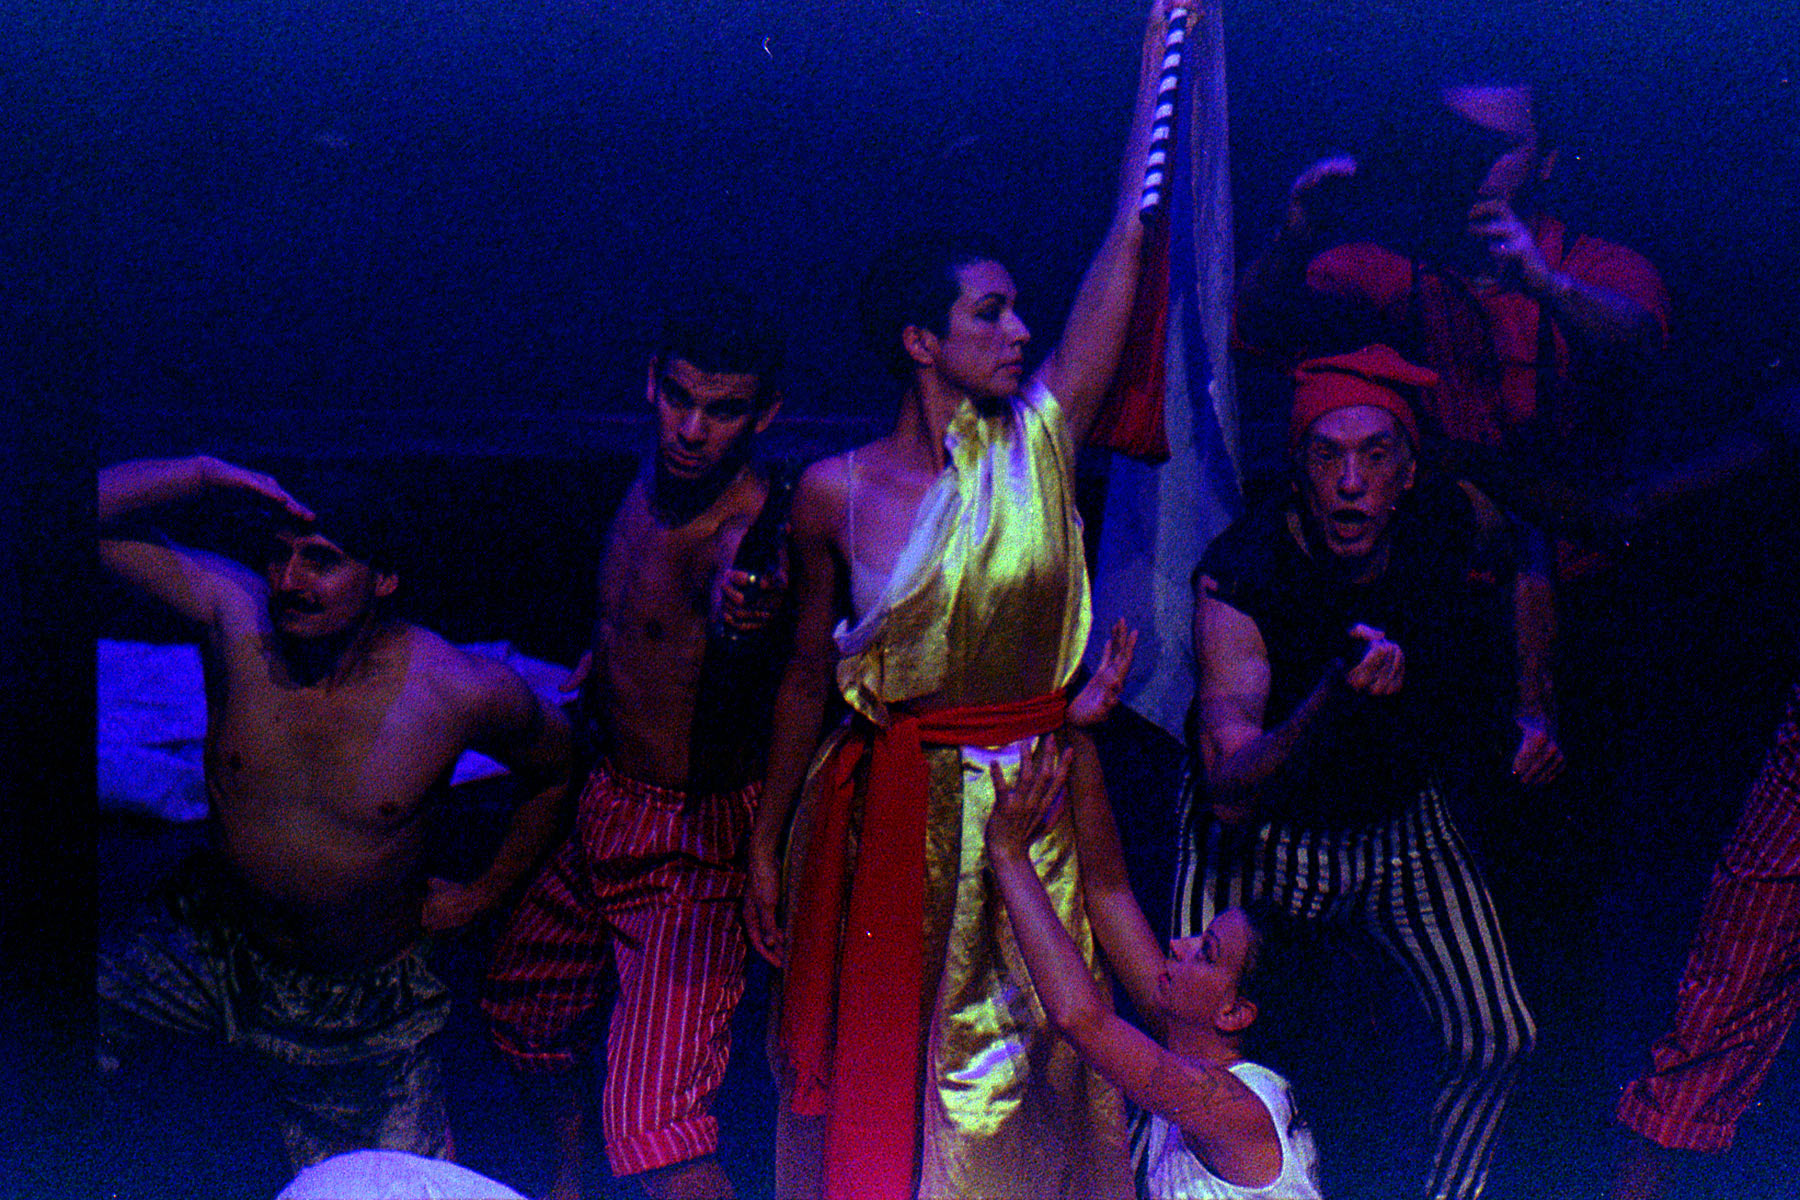
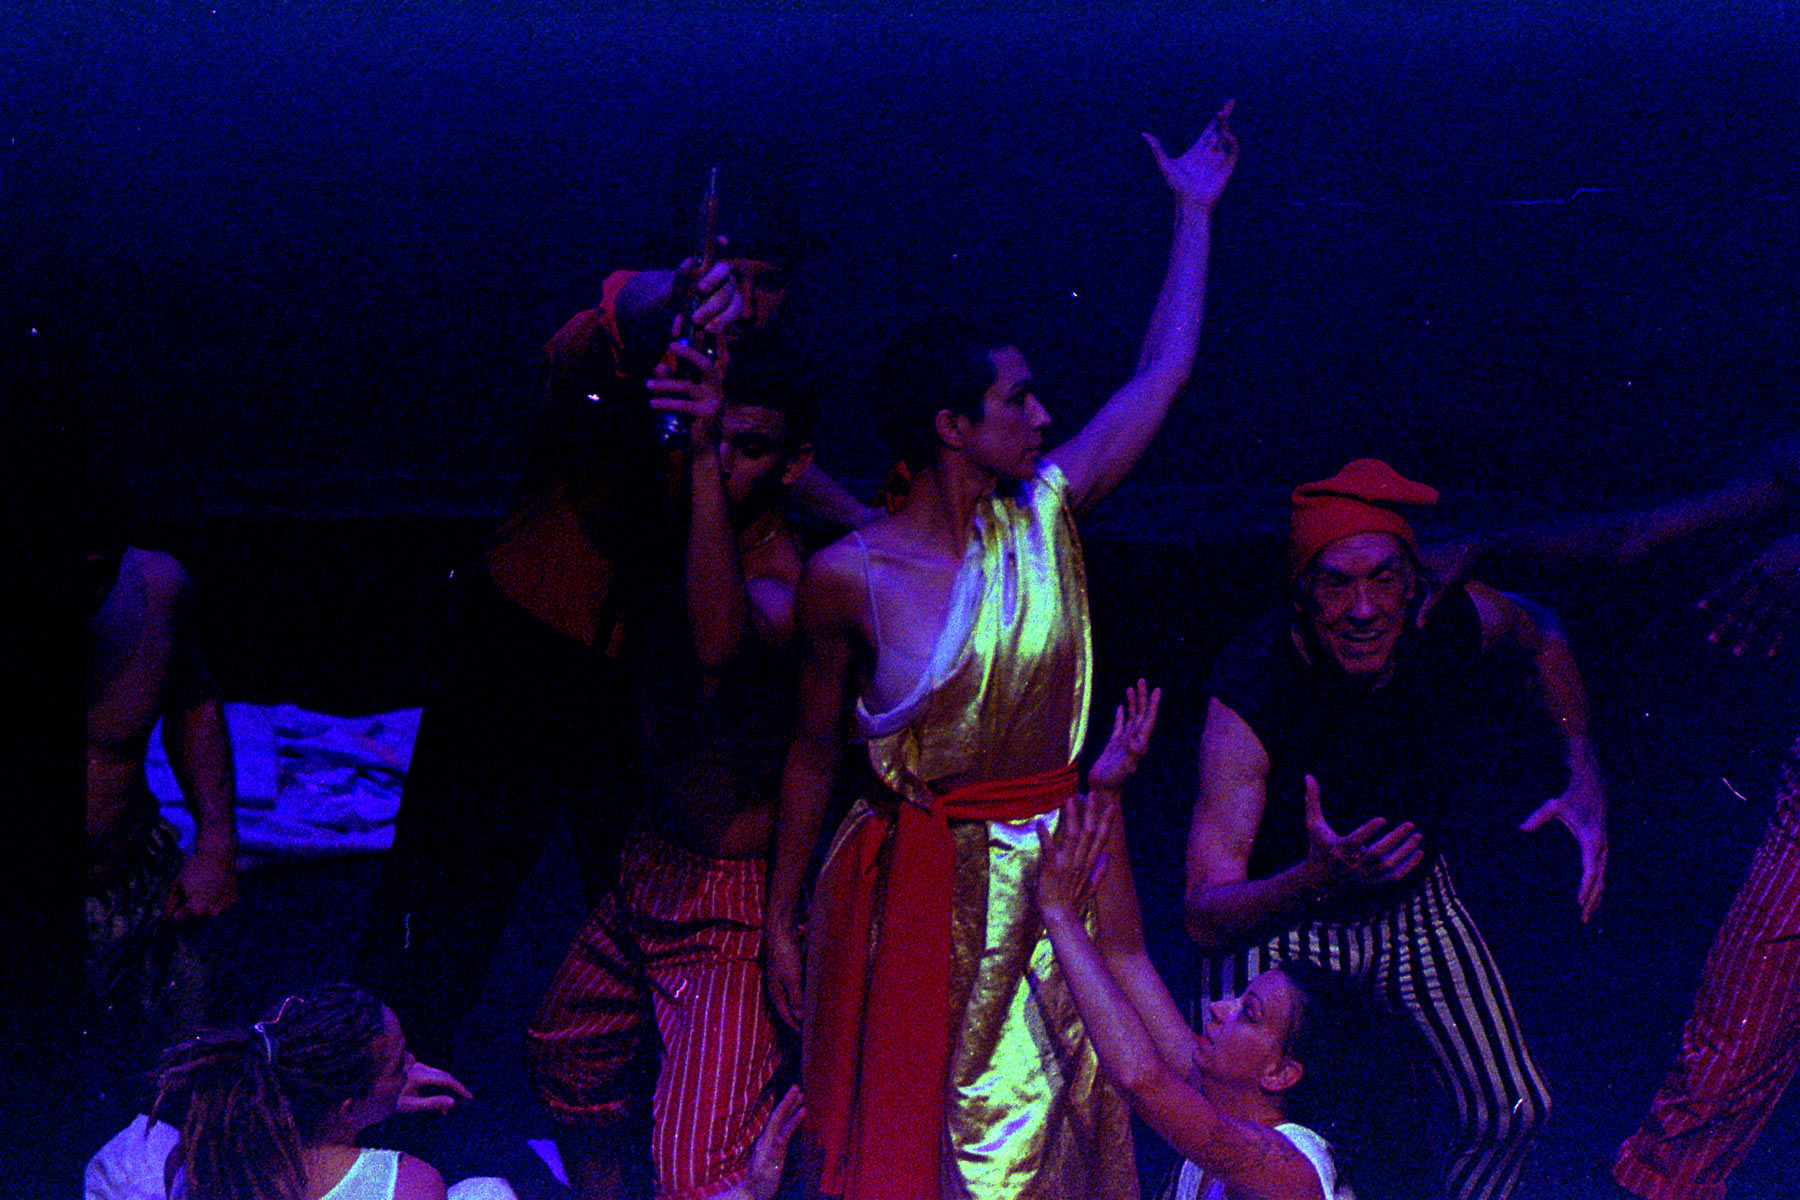
If you are anywhere near the Atlanta area you know that today is the first official day of DragonCon 2015. As you read this I am either just getting up, or am already in the process of taking a lot of photos of the "Comicon of the South". That means loads of neat cosplay photos, and generally nerd-ity will be coming just around the corner. 

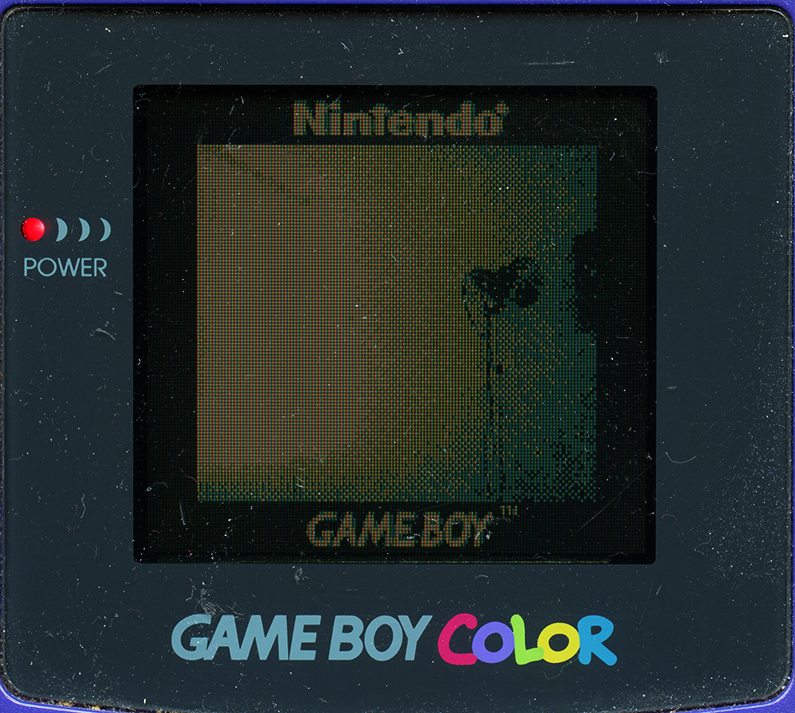
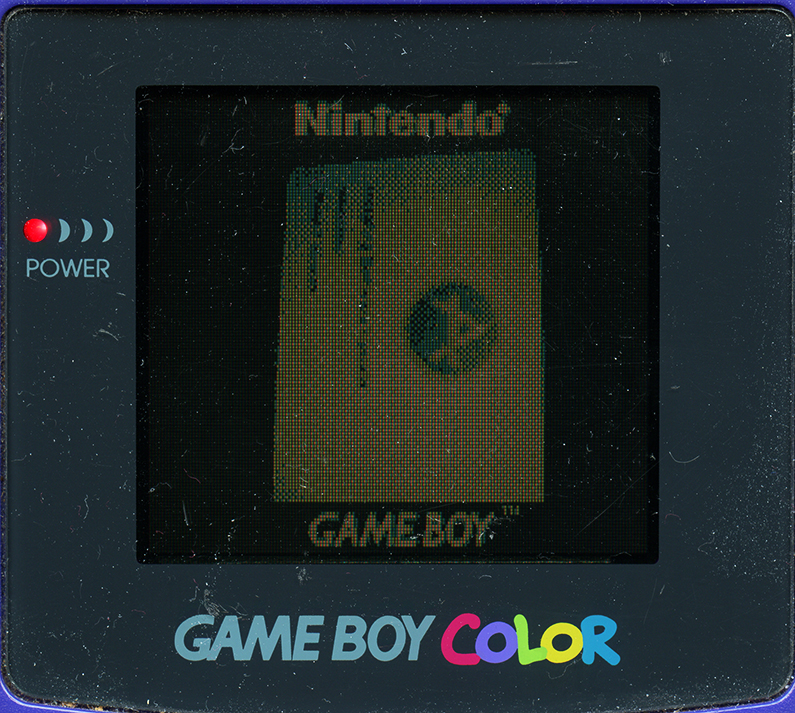
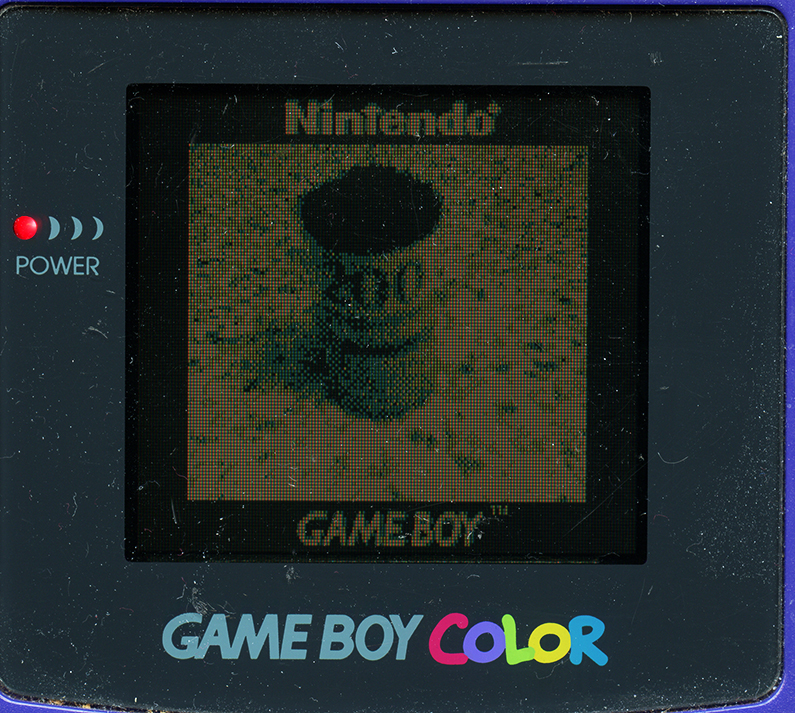
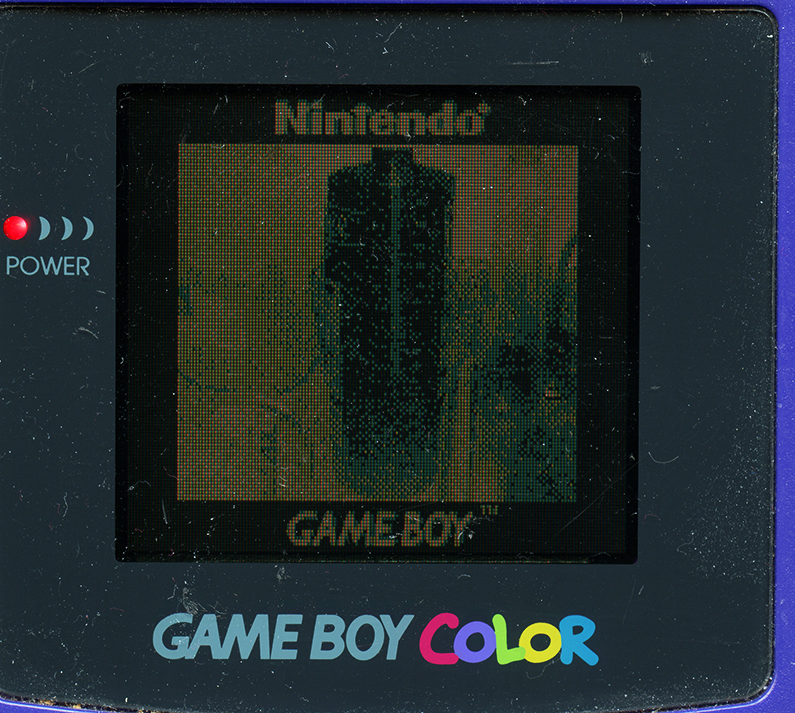
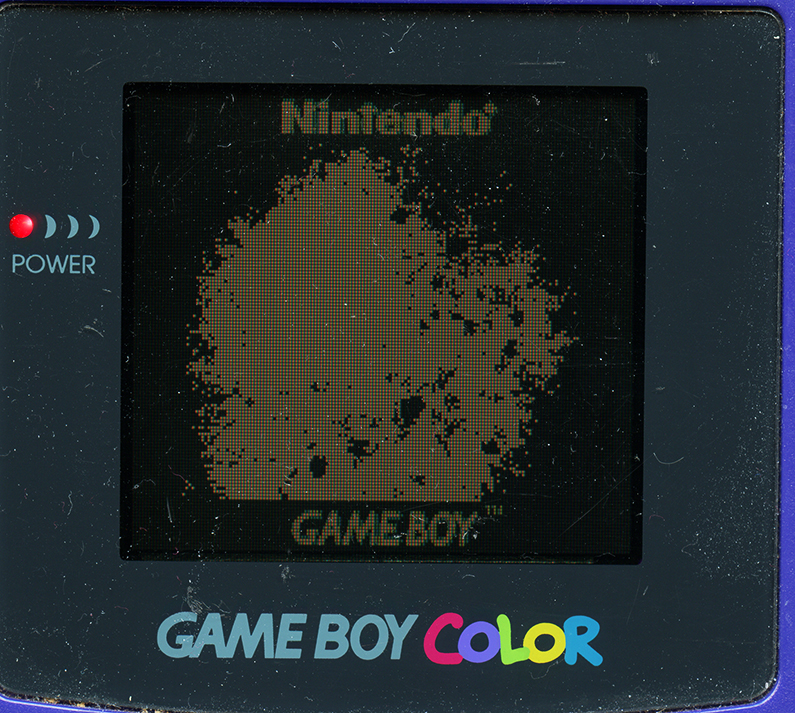
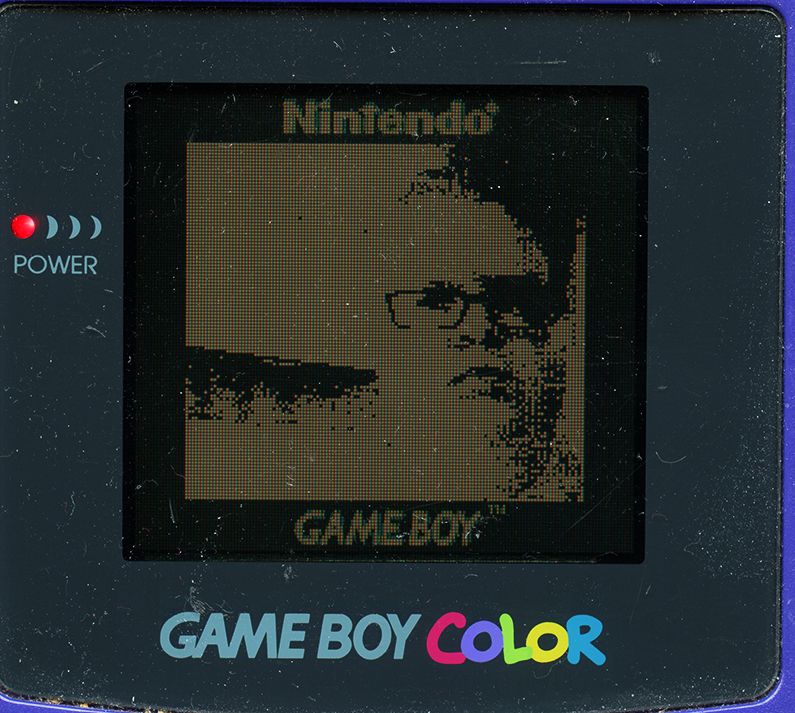
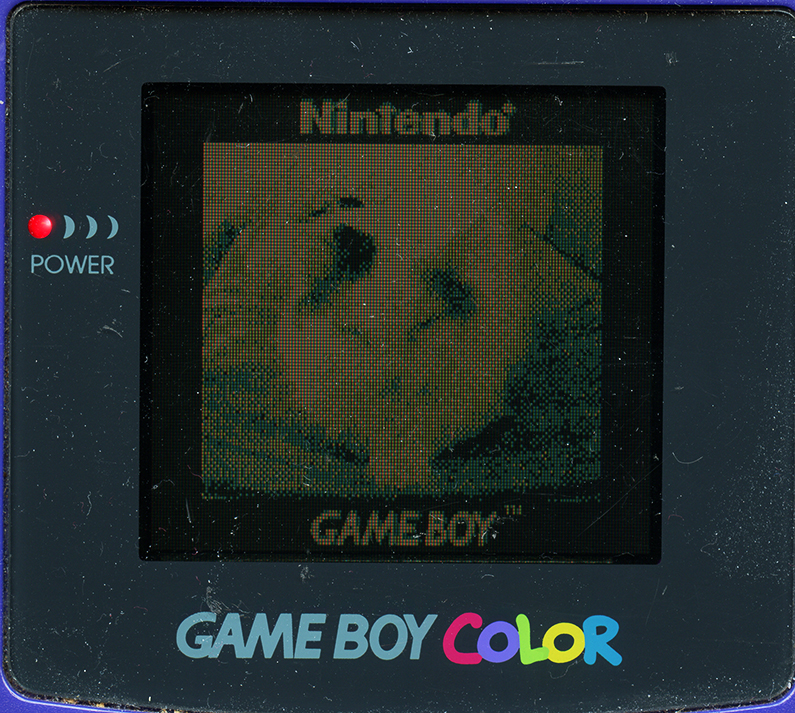
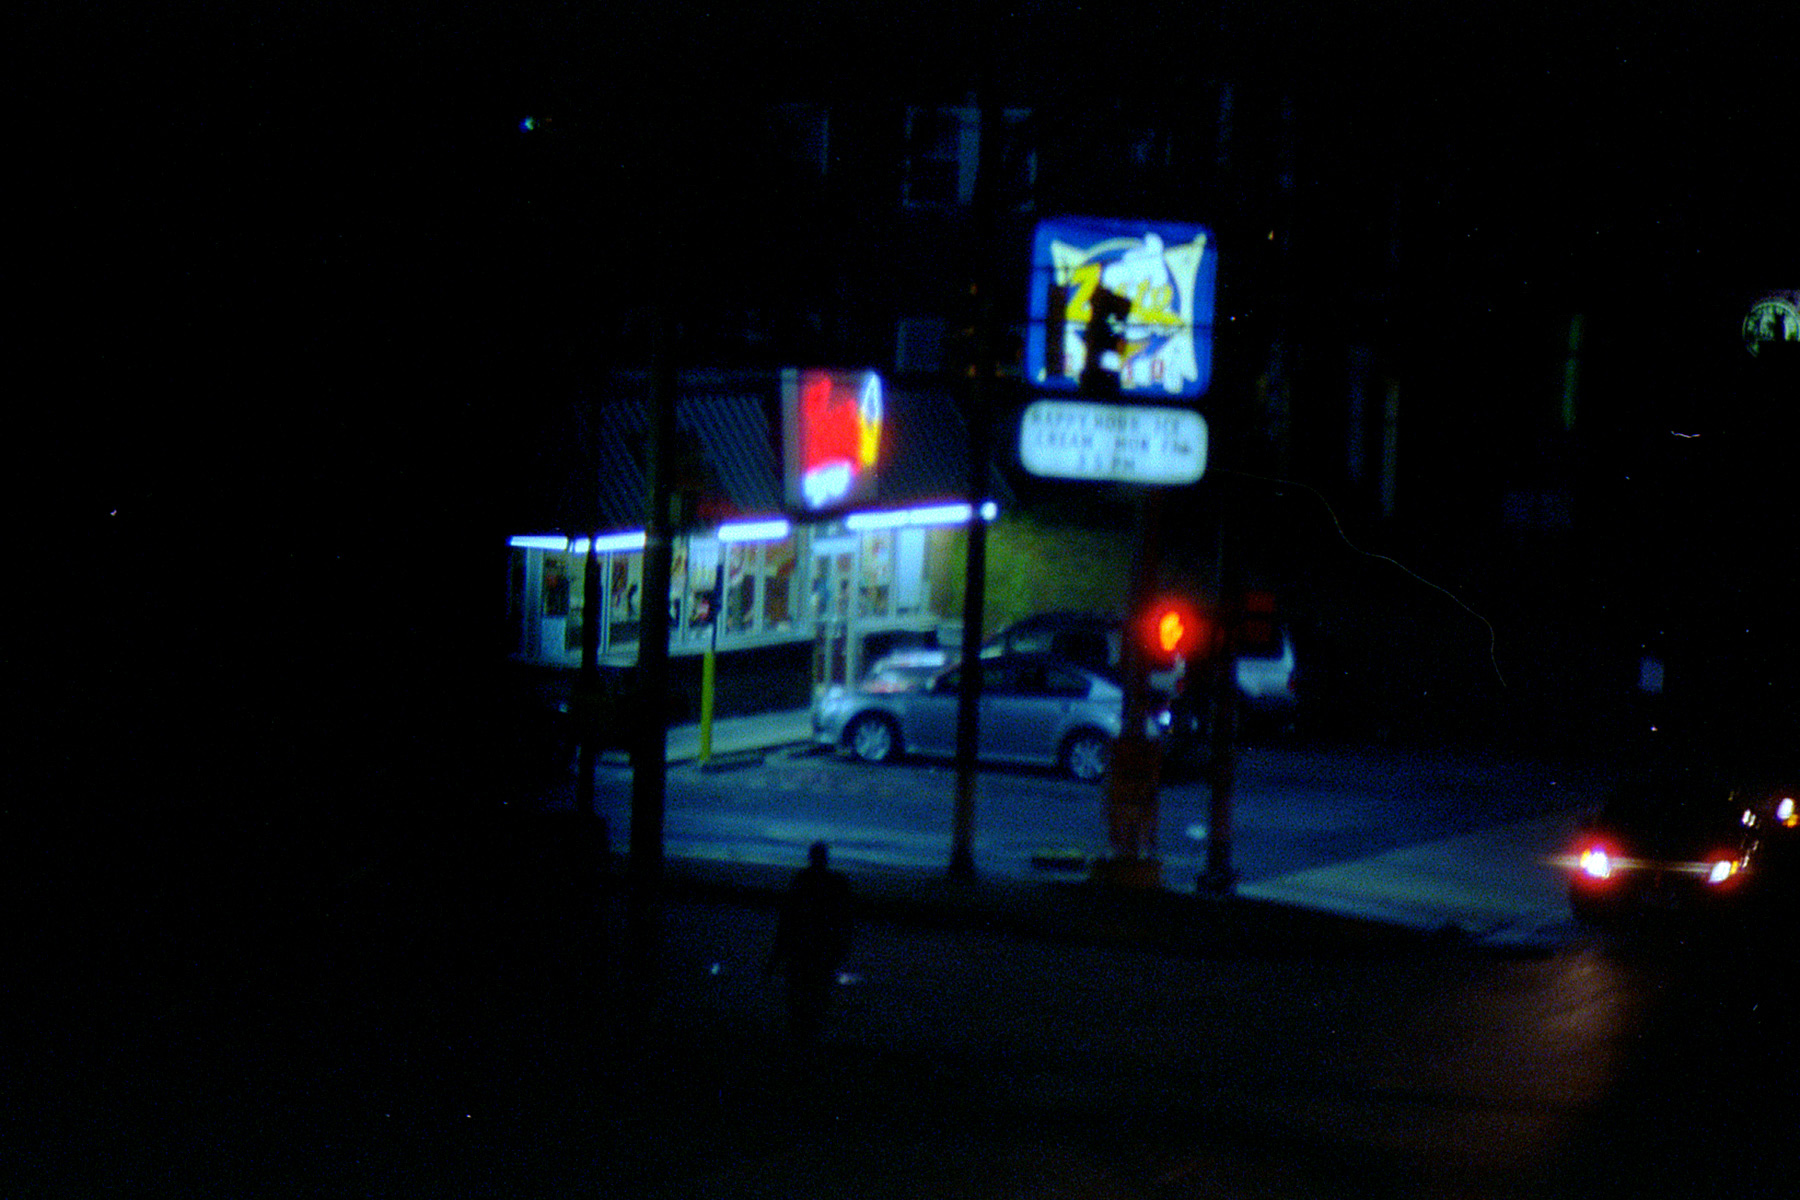
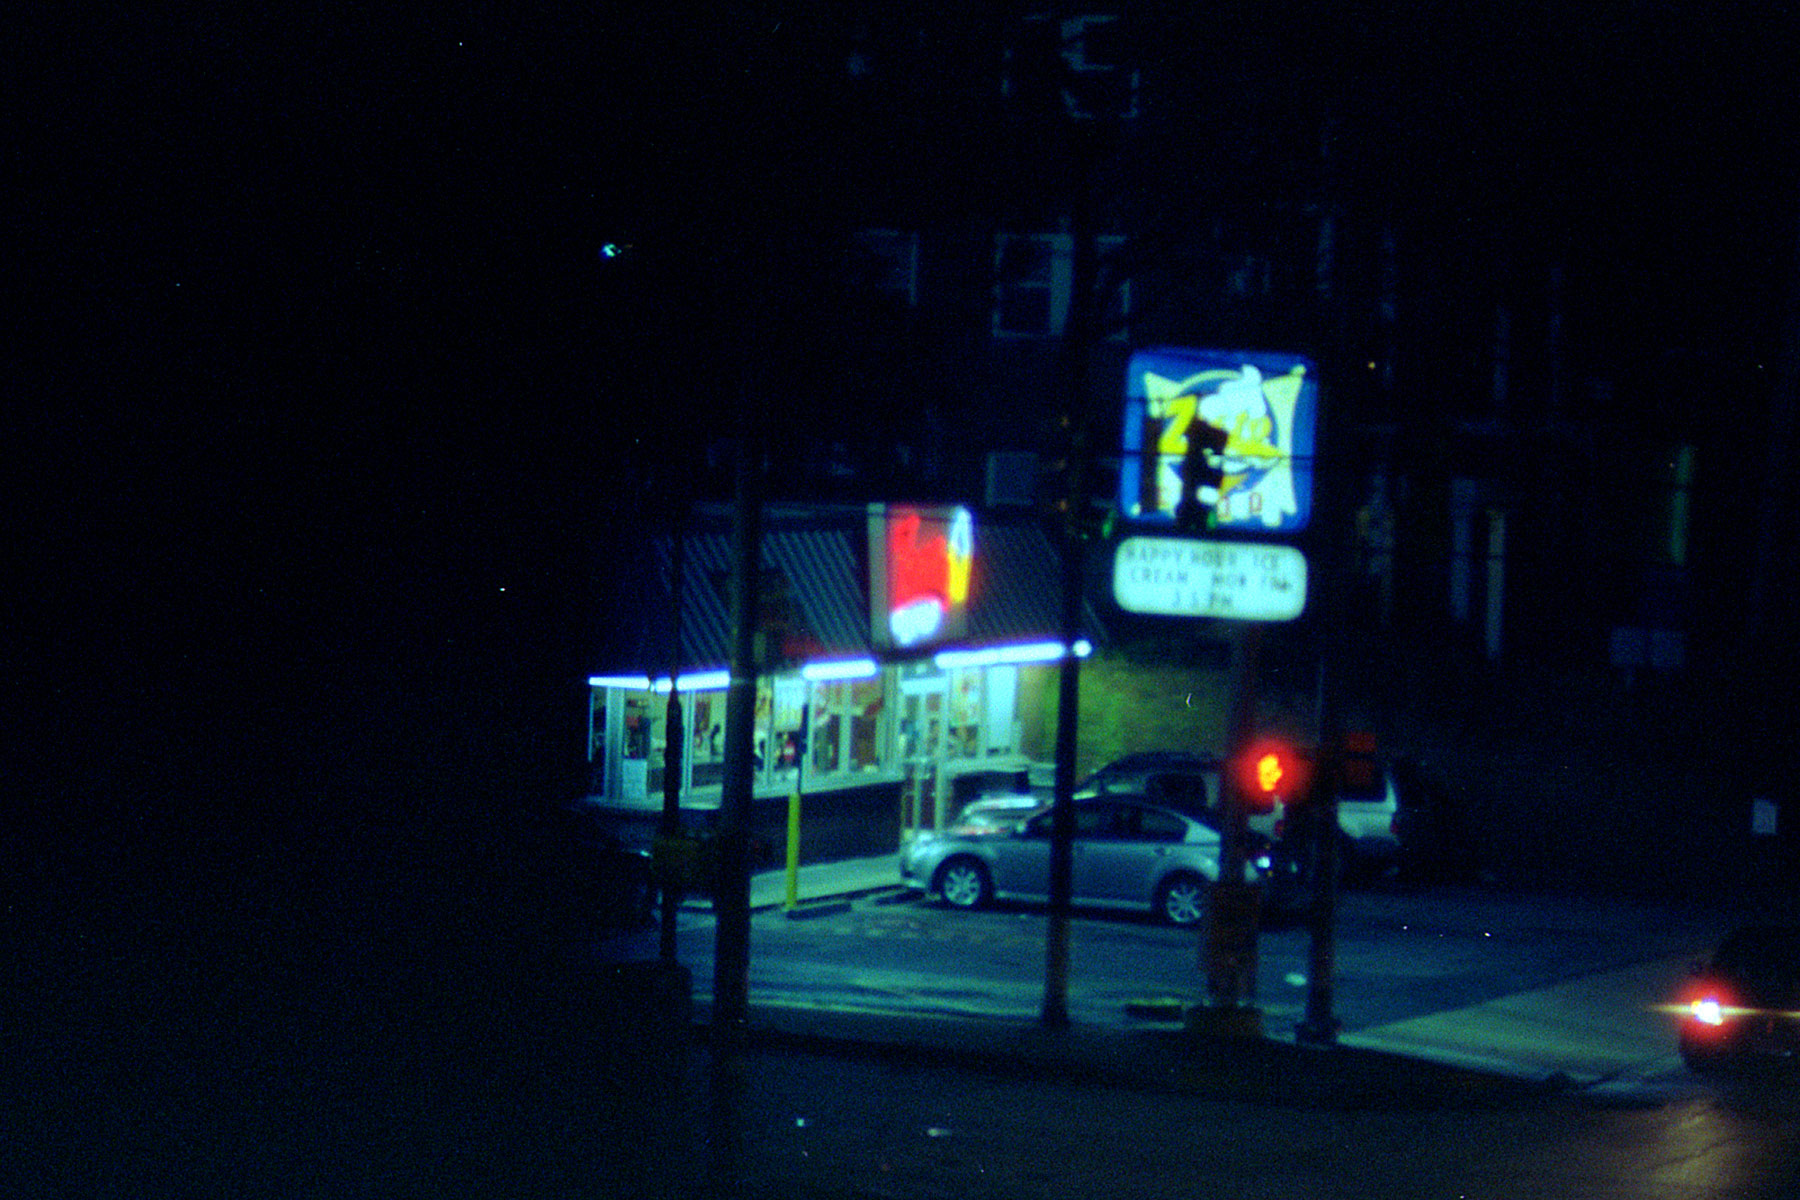
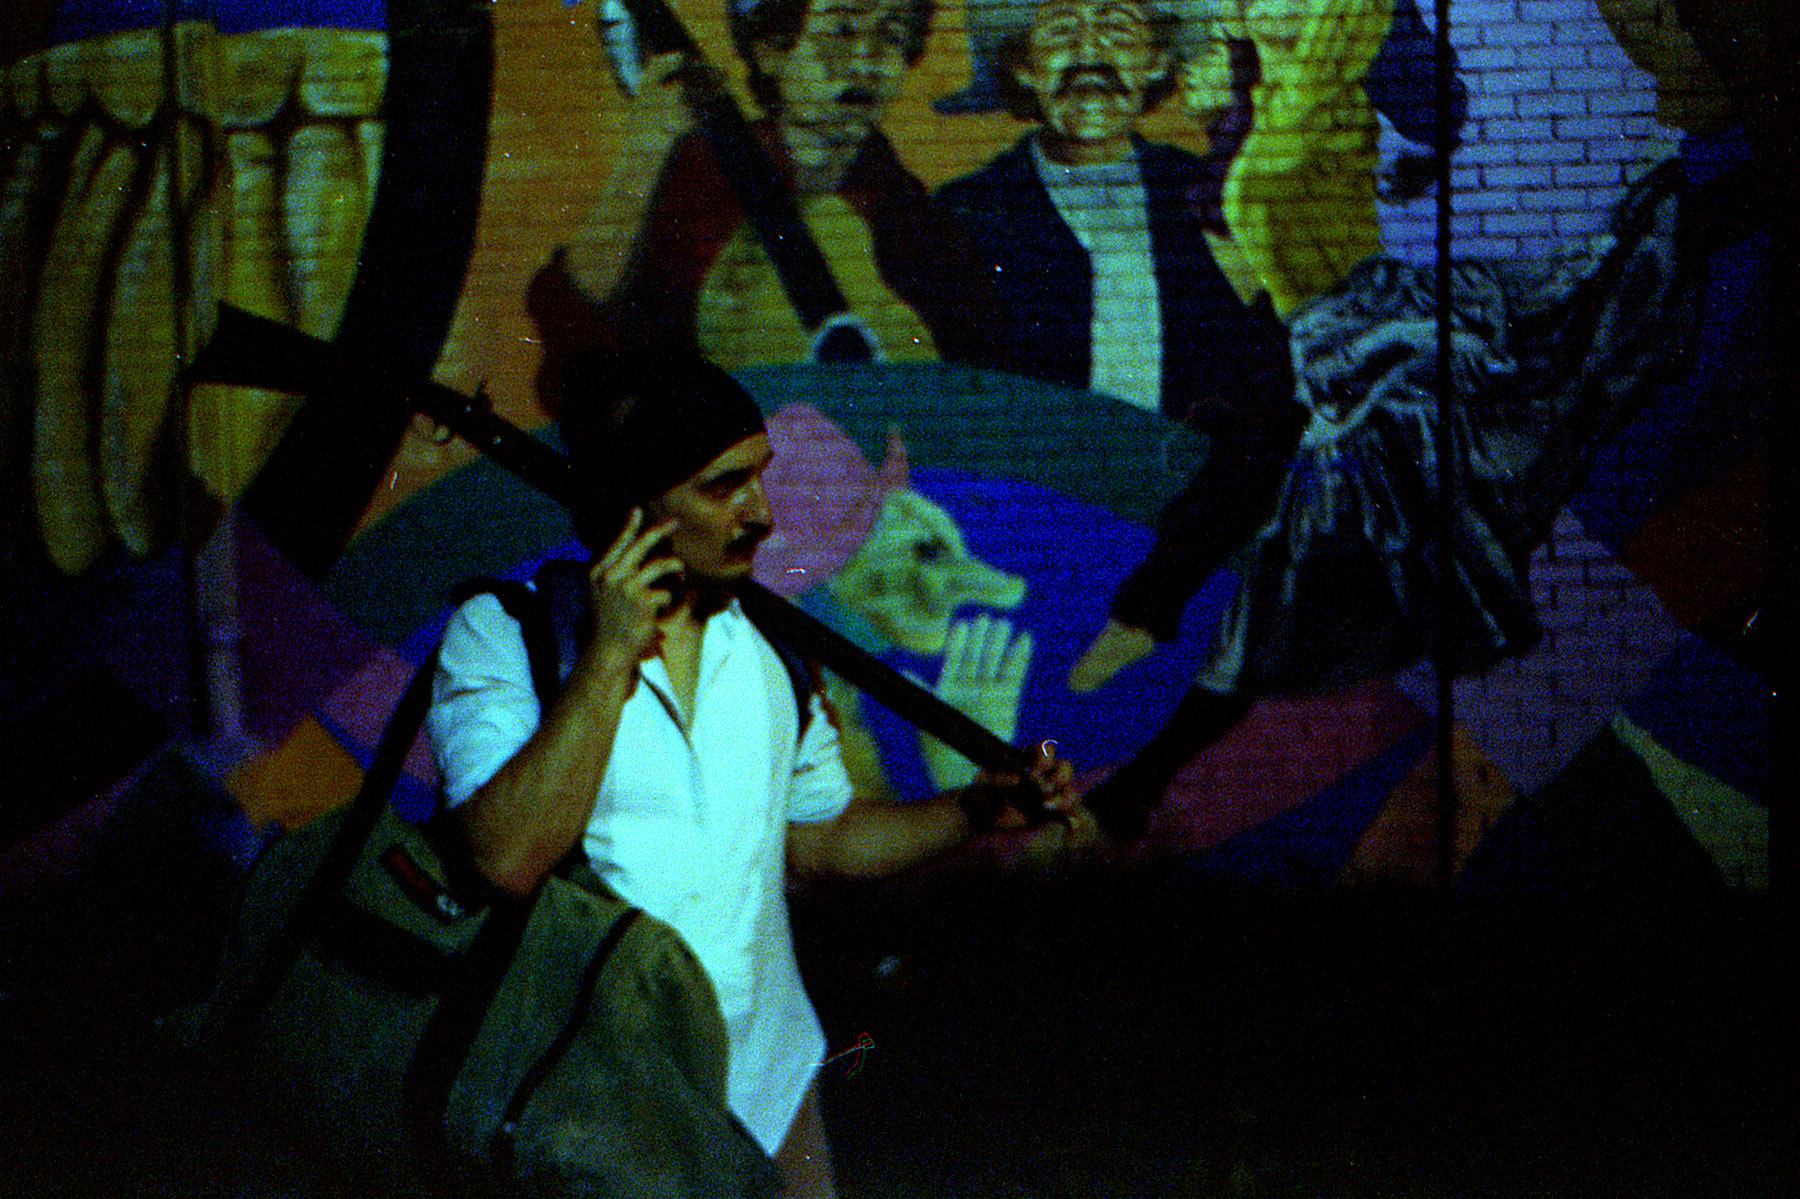
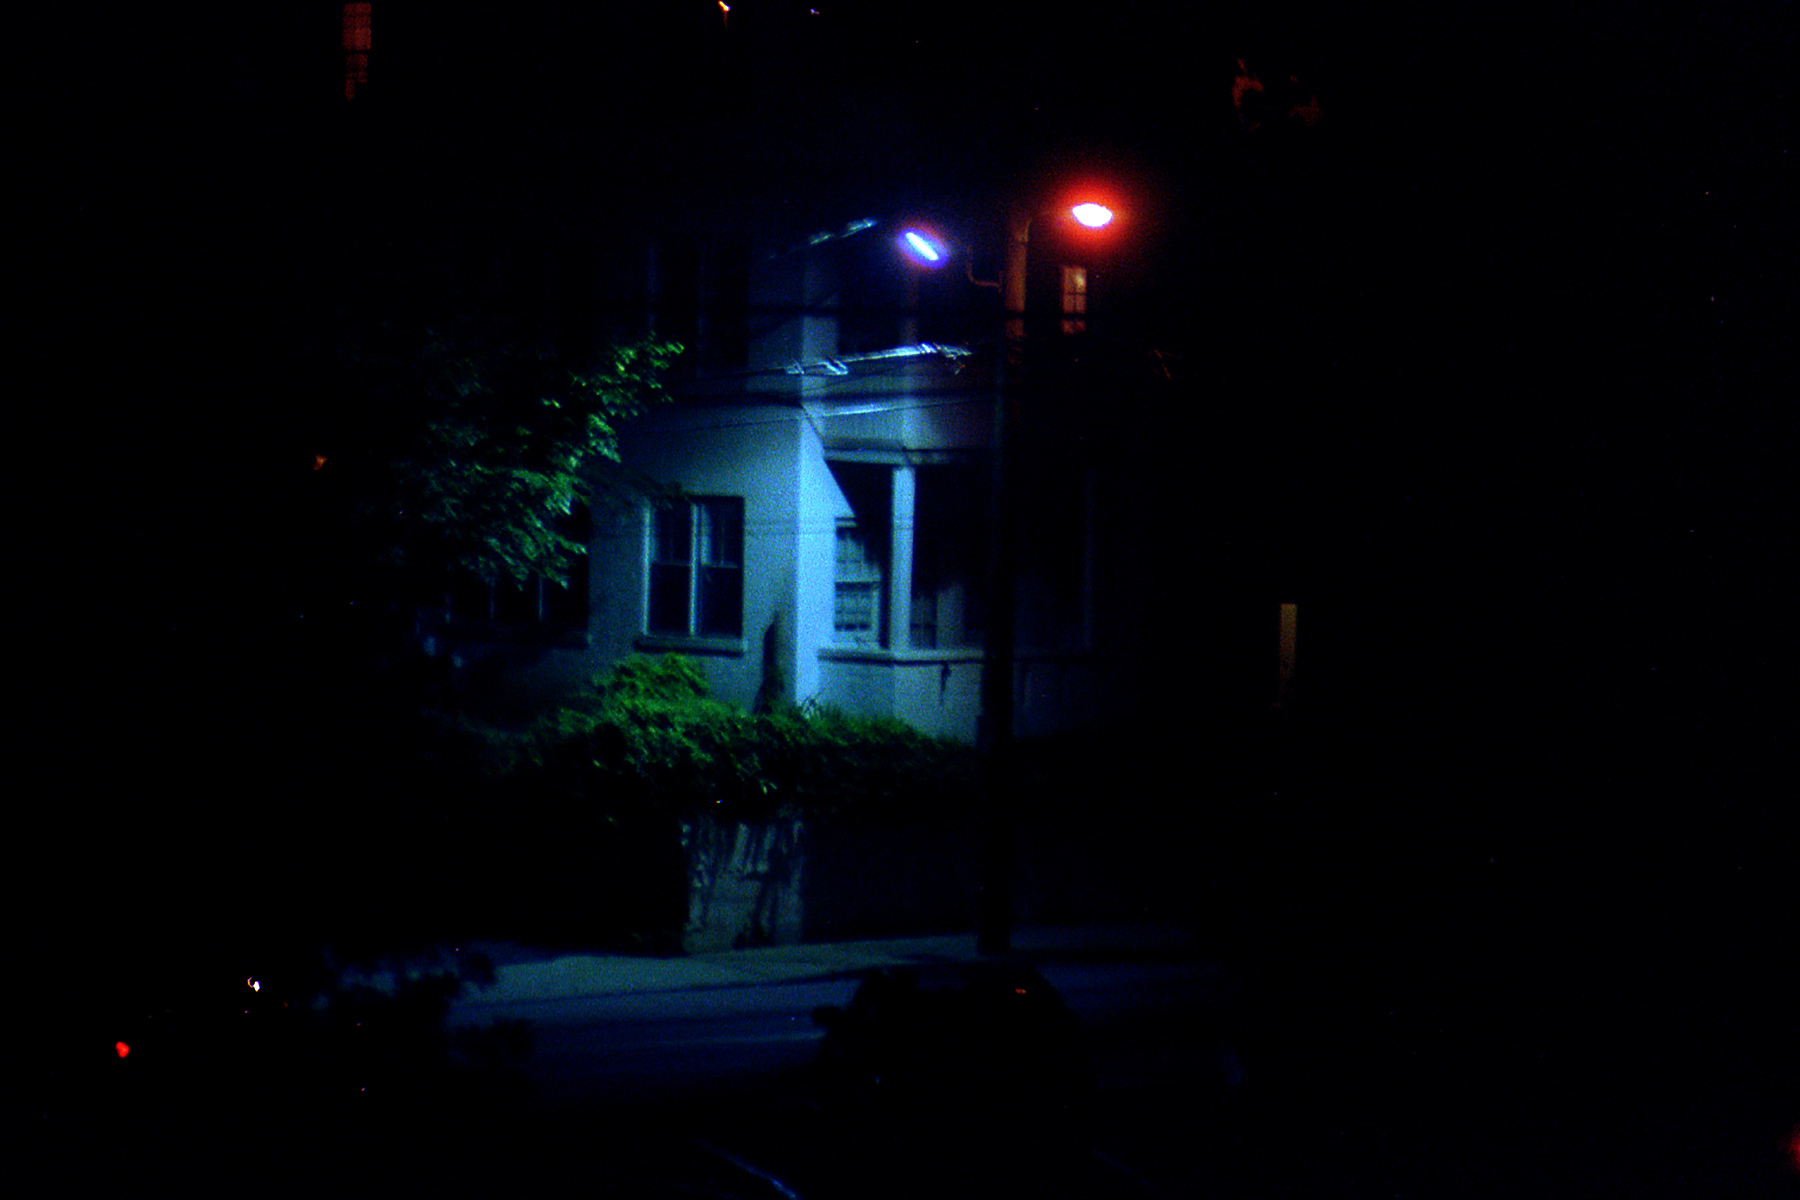
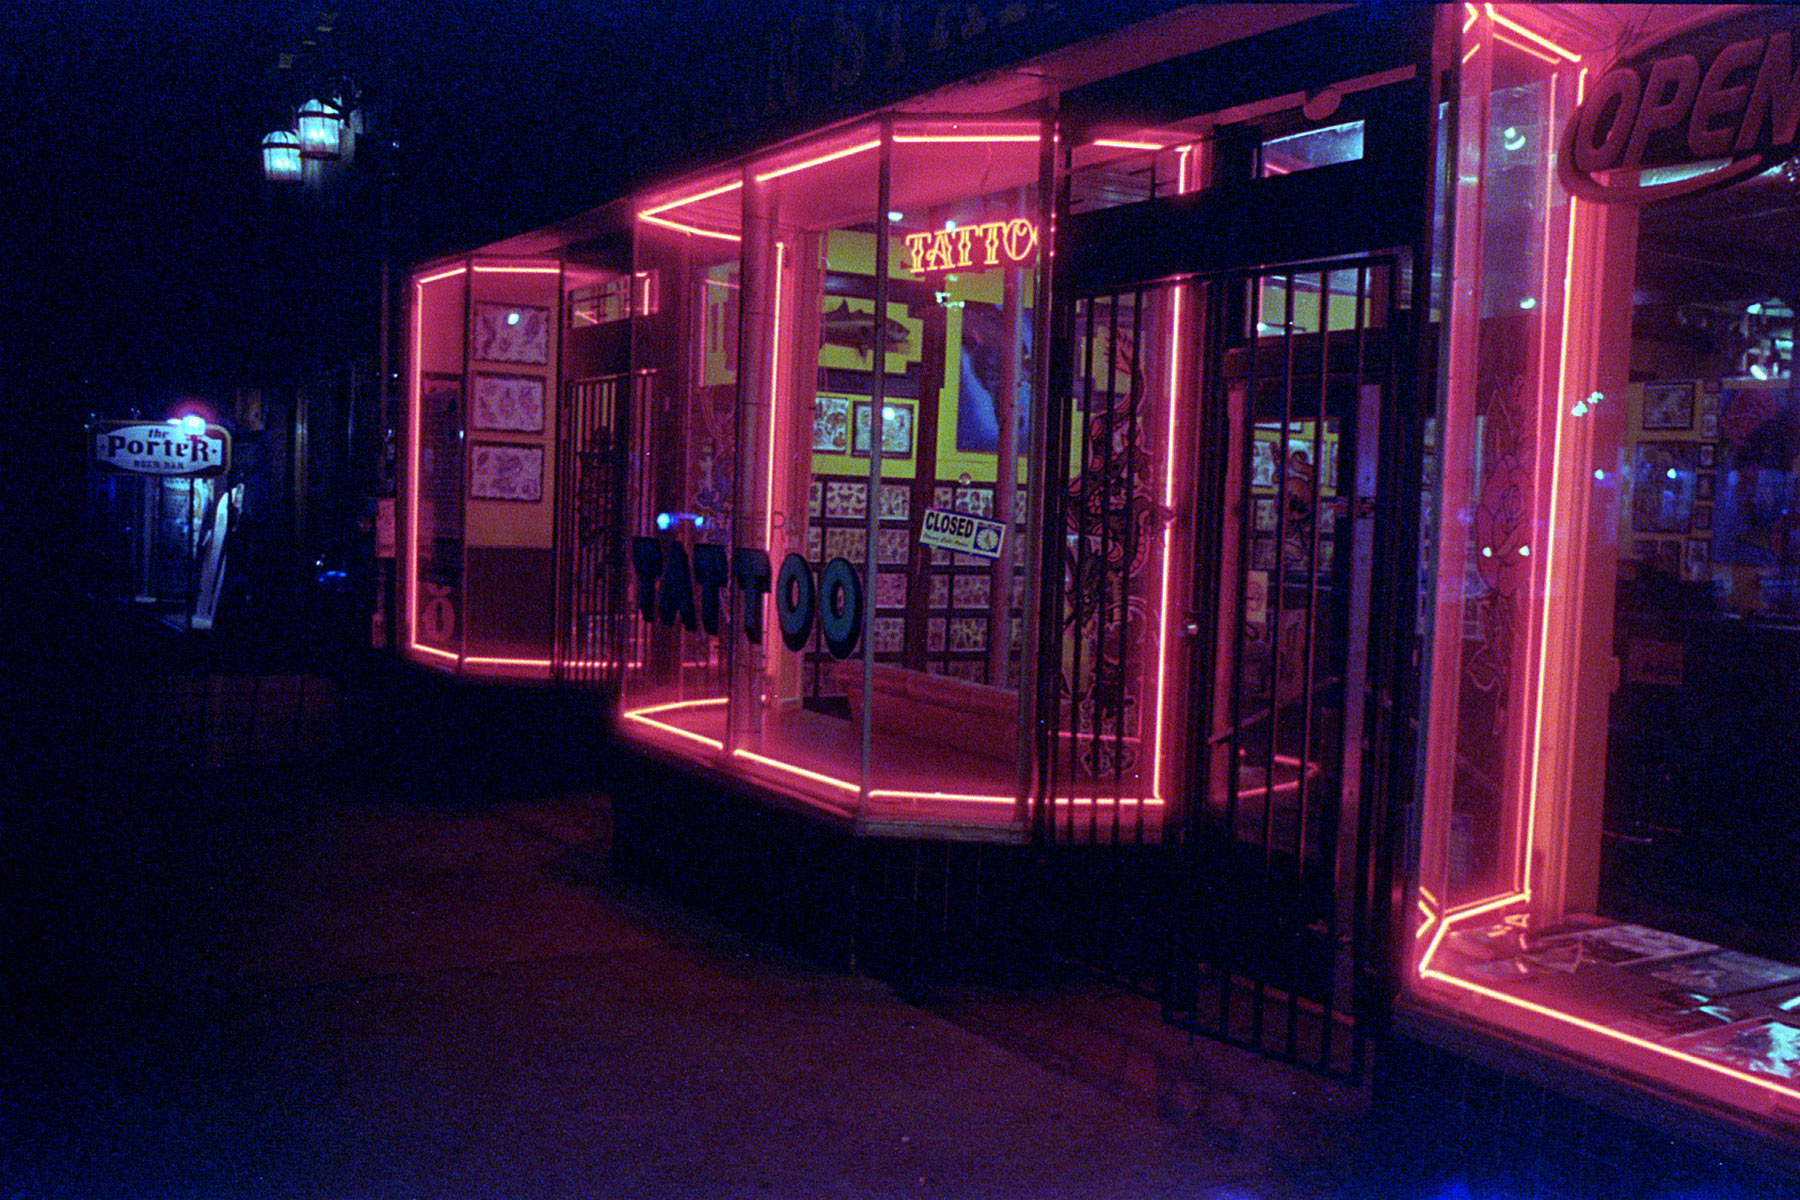
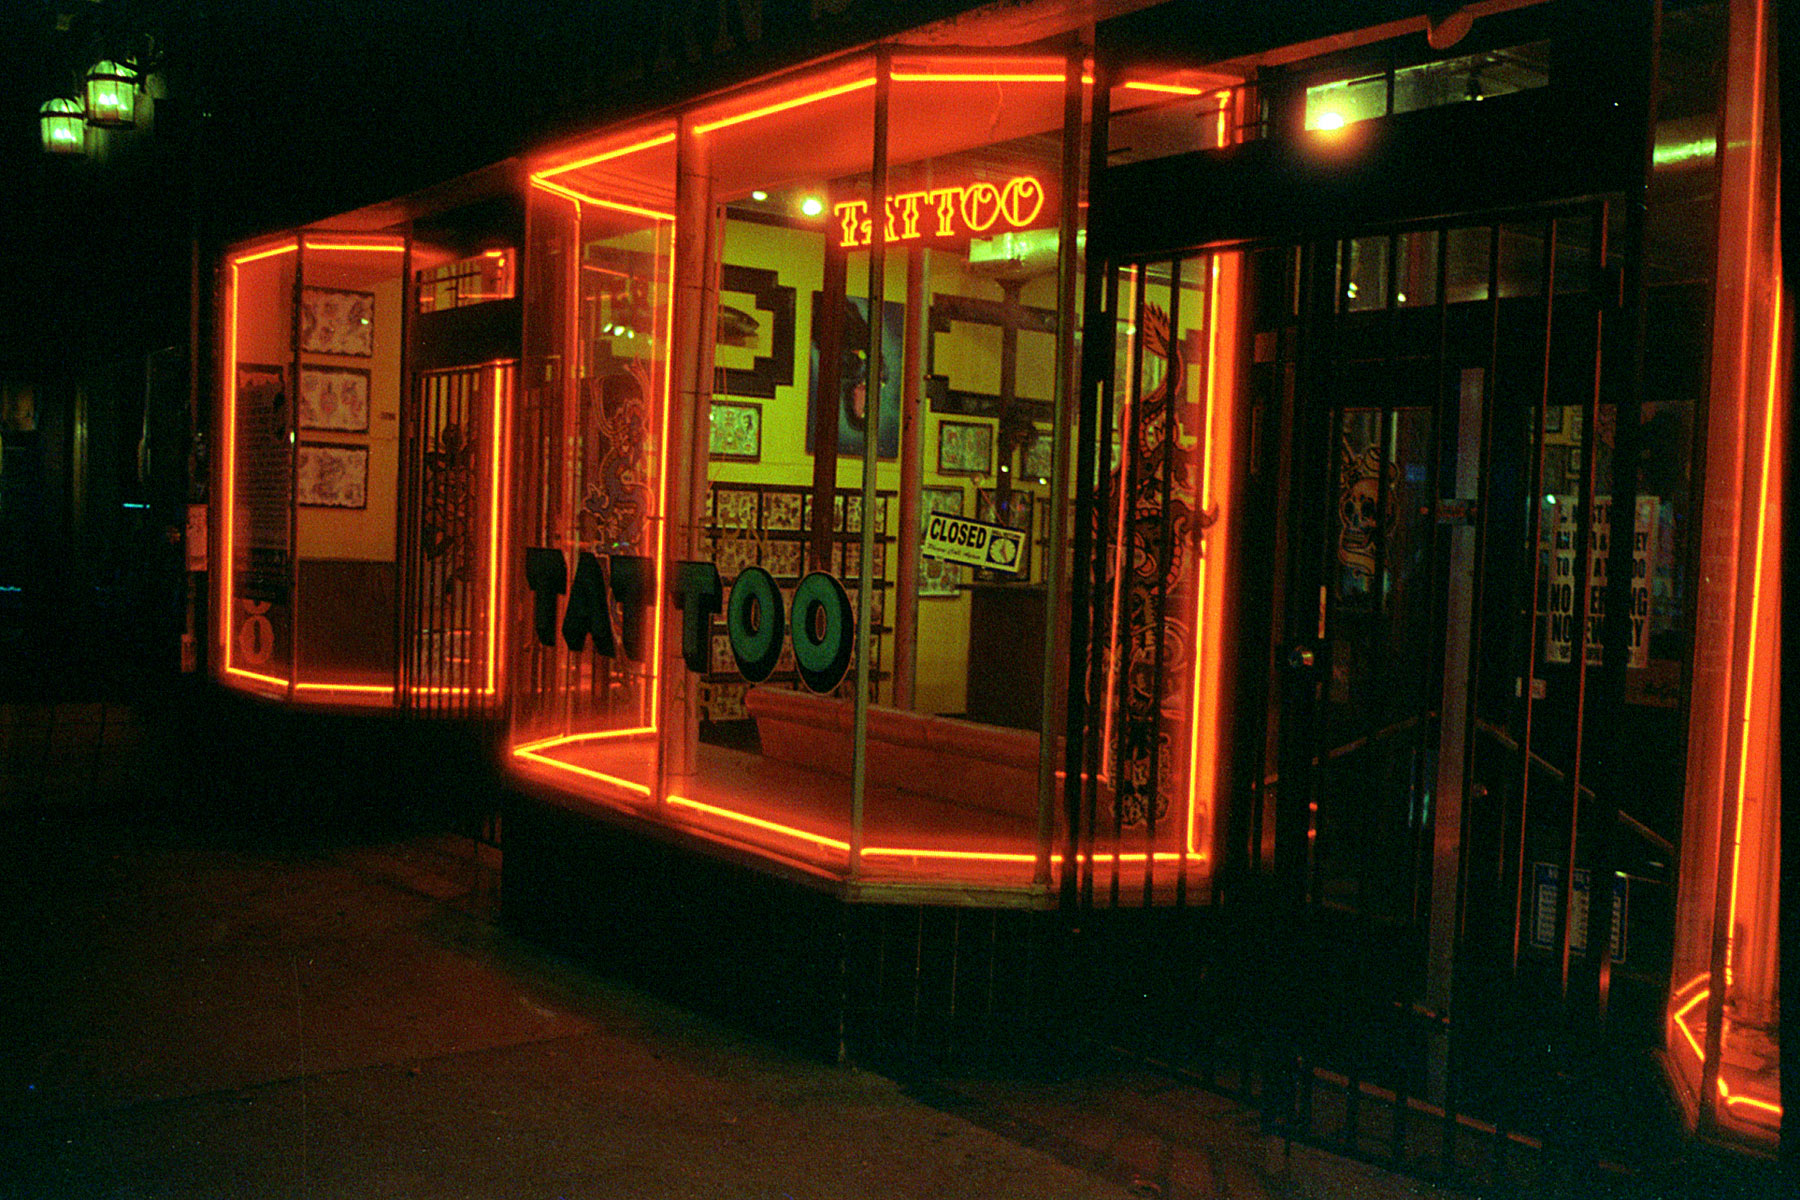
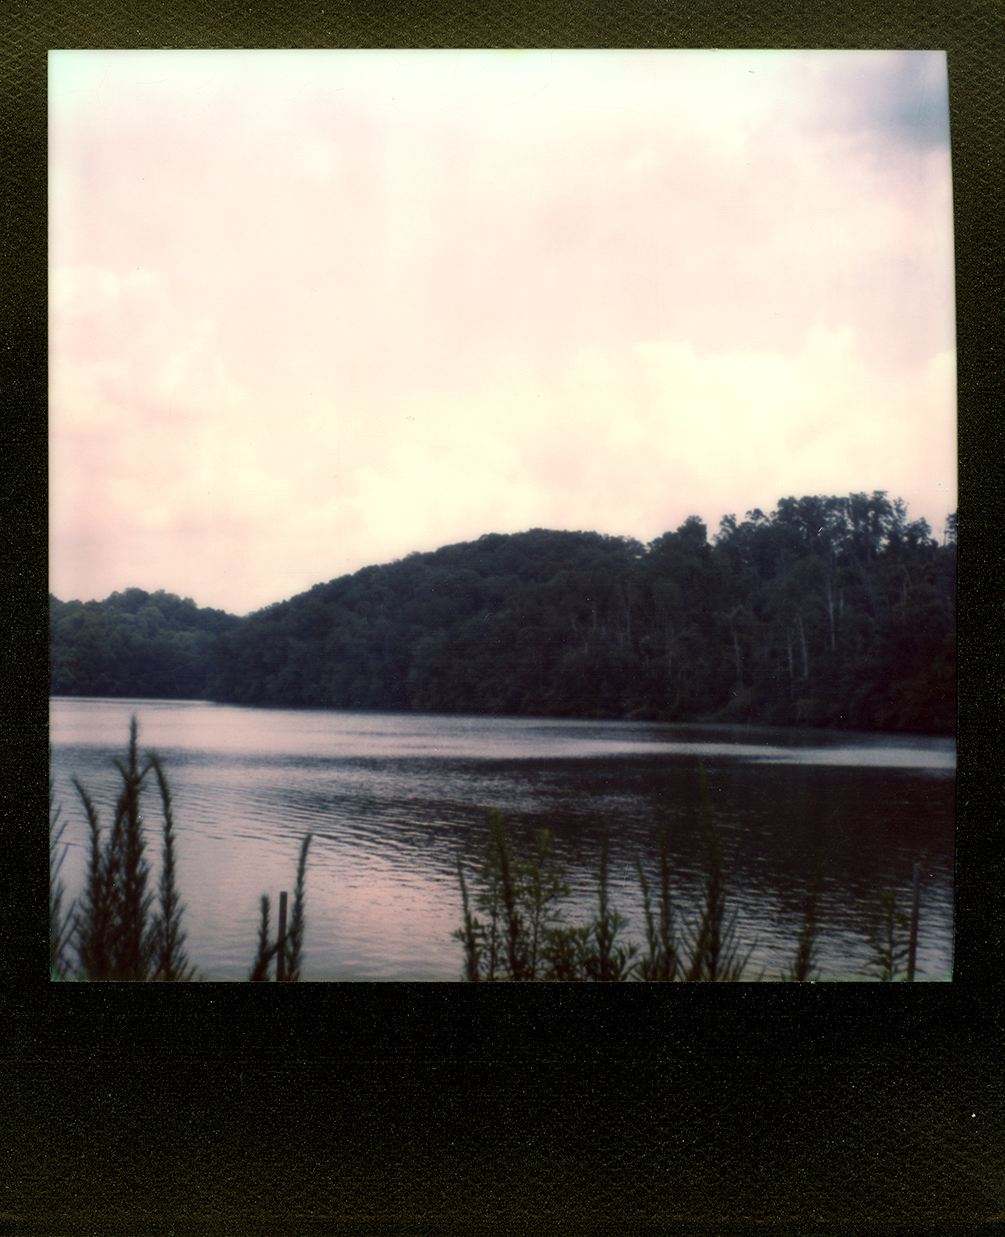
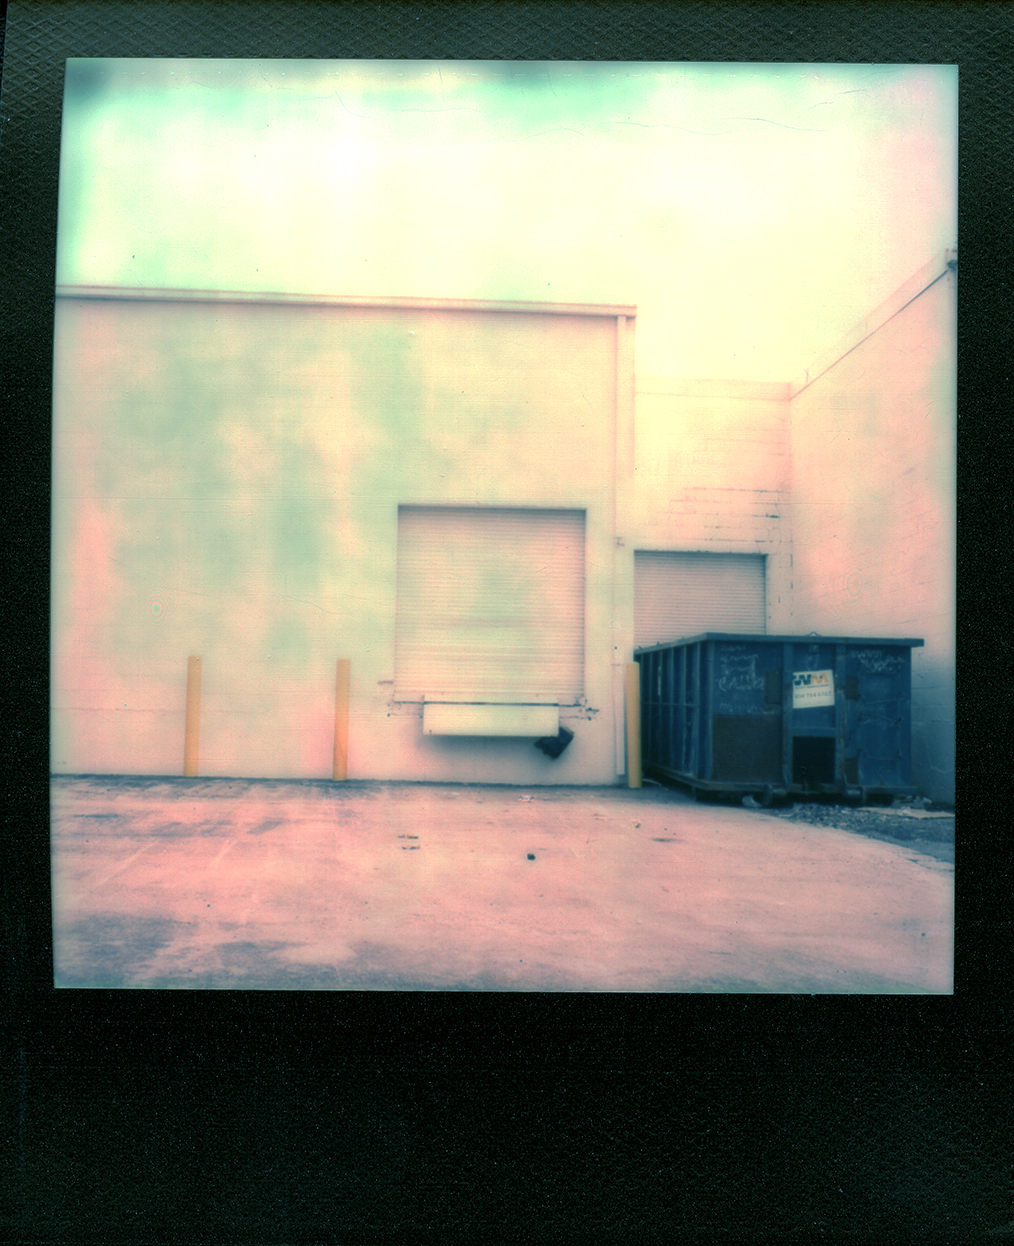
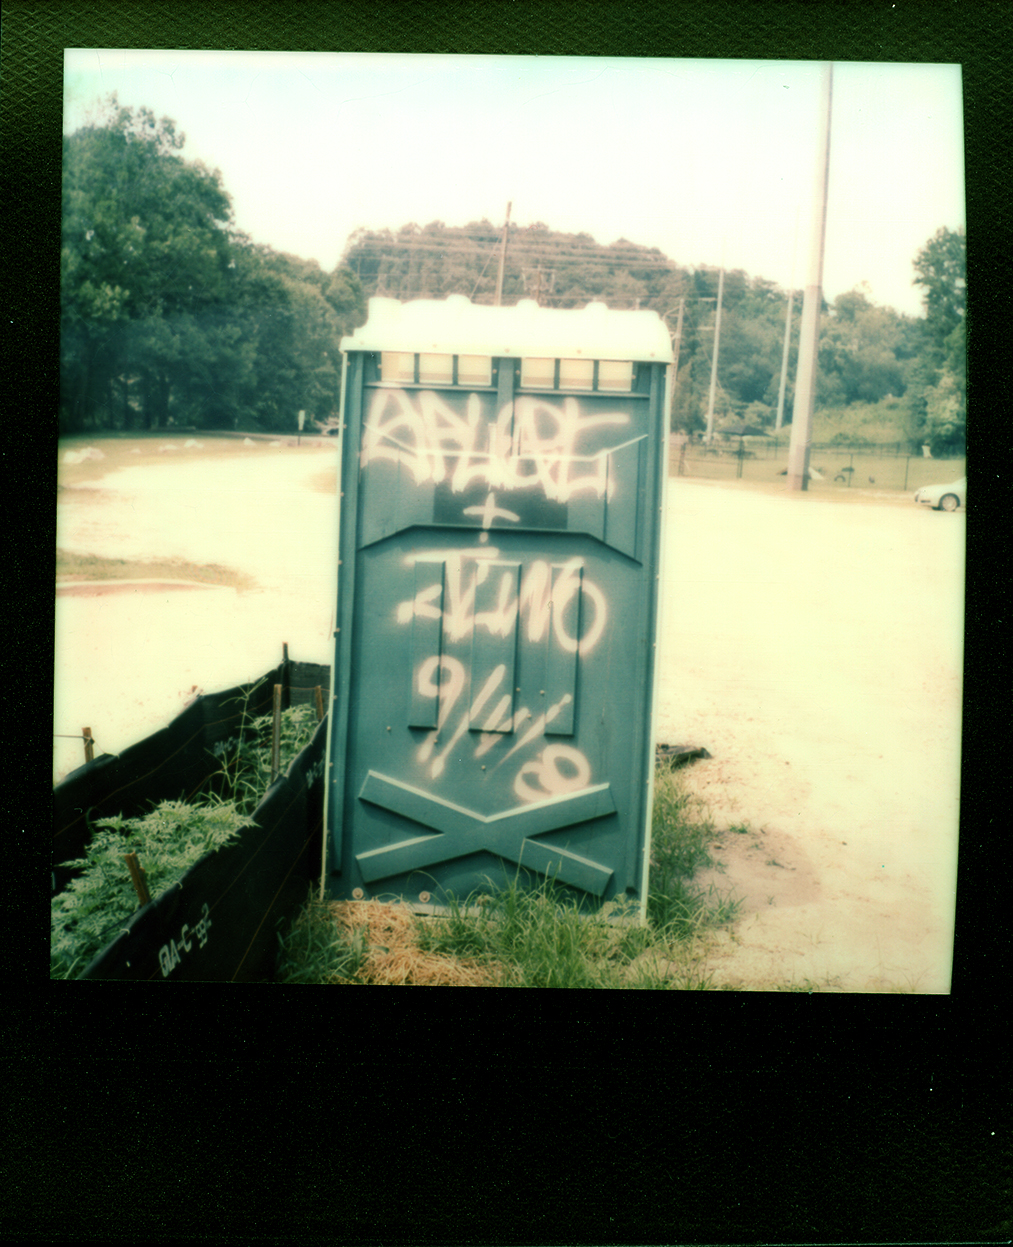
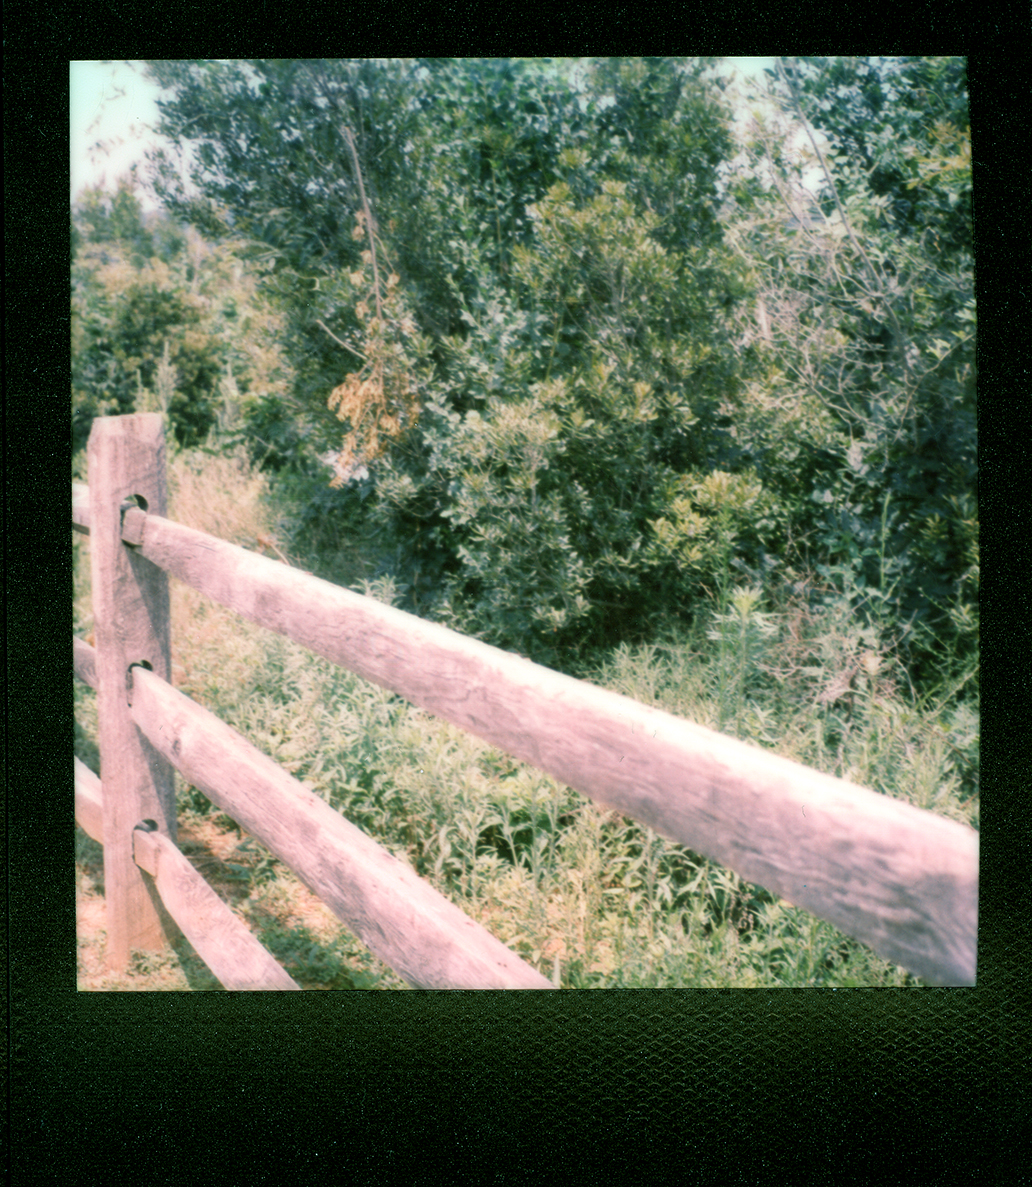
Based on my release schedule be ready to see those photos in a few weeks, but until then I will tide you over with photos taken with the "8-bit pinhole camera". I had intended on printing these photos out (so I could at least attempt to justify using a digital camera) but if any of you ever had the Gameboy Printer accessory that came as an option, you may remember that it was a pain in the ass (at best) to use. Also the one I had just didn't like at all to connect, and when it did I think the batteries or the paper had gone bad. So I just scanned the screen of the gameboy. 

Please enjoy, and don't hate me too much. Regularly scheduled film updates will return next week, and hopefully I get a few good shots at Con.

Week 22c – The Imperial Opa (and Little 5 Points) – CineStill 800 ISO Tungsten Xpro C-41

The jury still is out on this set. I'm not exactly happy with it, but at least things look better than the last roll.  Cinestill film is a great concept, and looking back I really should have bought more than just a single roll when I had the disposable income. 

Almost all of the demo images I have seen from it had a very great and unique look. I'm not sure if I just missed exposure on everything, or if my post production process just is that bad, but mine turned out very dark and muddy. And honestly I like more of the shots that I don't normally take like exteriors and the oddly shaped multiple exposure more than the shots of people.

I'd be curious to see what I could do with a LOT more light, really blowing it out, instead of being so dark. From my testing here it seems like even though this is an 800 speed film it really needs a LOT of light to expose "properly". But we'll cross that bridge when I can.

Development Notes:
C-41 Process with Unicolor Kit.
Color correction in Photoshop after scan.

Week 22b – The Imperial Opa – Kodak Max 800 (TERRIBLY EXPIRED)

If it weren't for about 3 images on this roll, it'd be safe to say that I could consider it a failure. But sometimes this happens with expired film, and based on the other uses of this same batch I should have expected that it wouldn't turn out the way I wanted. 

Short of throwing the rest of it out (maybe a roll or two) any ideas how to make the most out of it? Since everything was so terribly underexposed I'm assuming I should shoot it as a lower speed film? 

If you want to see much better photos from this week, please be sure to check out the gallery of digital shots taken at the same time on my extra blog. 

Development Notes:
C-41 Development using Unicolor Kit

Week 22a – The Imperial Opa Rehearsal – Arista EDU 400

I always love working with friends. And when those friends just happen to be a part of a circus that makes things even better. 

I put out a call on Facebook for people who wanted to have some photographs made, and it wasn't too long before a long time friend and muse Nicolette (the one on the aerial) asked if I was available.

I'm not sure what exactly the event was for, but it seemed to be both a rehearsal session, and a studio recording of their Bastille Day performance. By the end of the night not only did I get a great show, but I also was introduced in true showman style as a "world famous photographer". A boy can dream anyway.

Development Notes:
Pretty much just like every other B&W Film I have developed for this blog.
1:100 Dilution of Rodinal
Stand Developed for 1 hour at 70º-ish
Standard Fix 4:00 

Week 21 – Location Scouting – Impossible Color SX-70 (Gen 1)

After a long-ish series of events, I finally tracked down and installed a frog tongue onto my SX-70. I had a spare pack of color film ready for an event sponsored by The Impossible Project here in Atlanta (that I ended up missing) and I figured I'd go test it out.

Even after doing all of the tips and tricks I have read, these photos turned out a little better, but still not where I want them to be for paying $25 bucks a pack. Aside from things being a little red on everything outside (Atlanta is quite warm) I just didn't feel like much of anything was exposed correctly. Oh well, it was a fun little experiment. Maybe once all of the kinks get worked out (if they ever do) I'll invest more time into Impossible instant films. 

Development Notes:
Frog Tongue shielded images after coming out of camera, placed into film box while developing
Minor color correction done post scan.

© 2006 – 2023 UNEXPhotography and Blake Griffin.

Privacy Policy