Fallout

Nikki Nuke'm – 2016

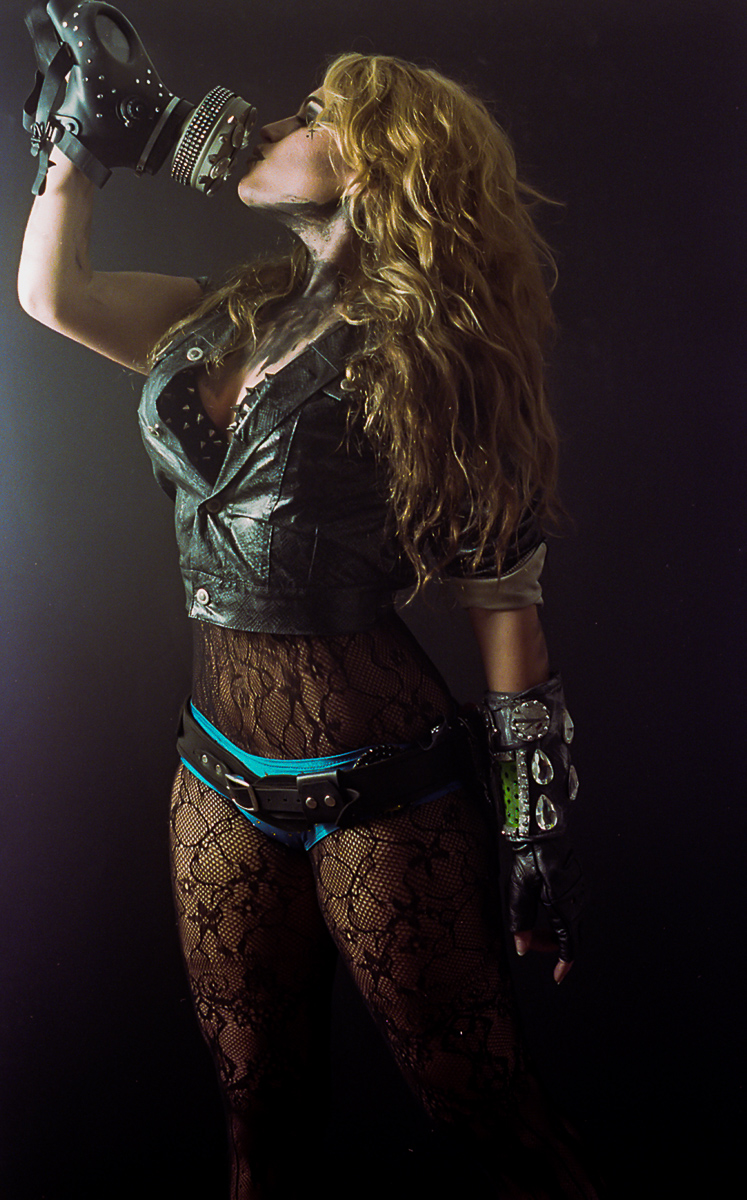
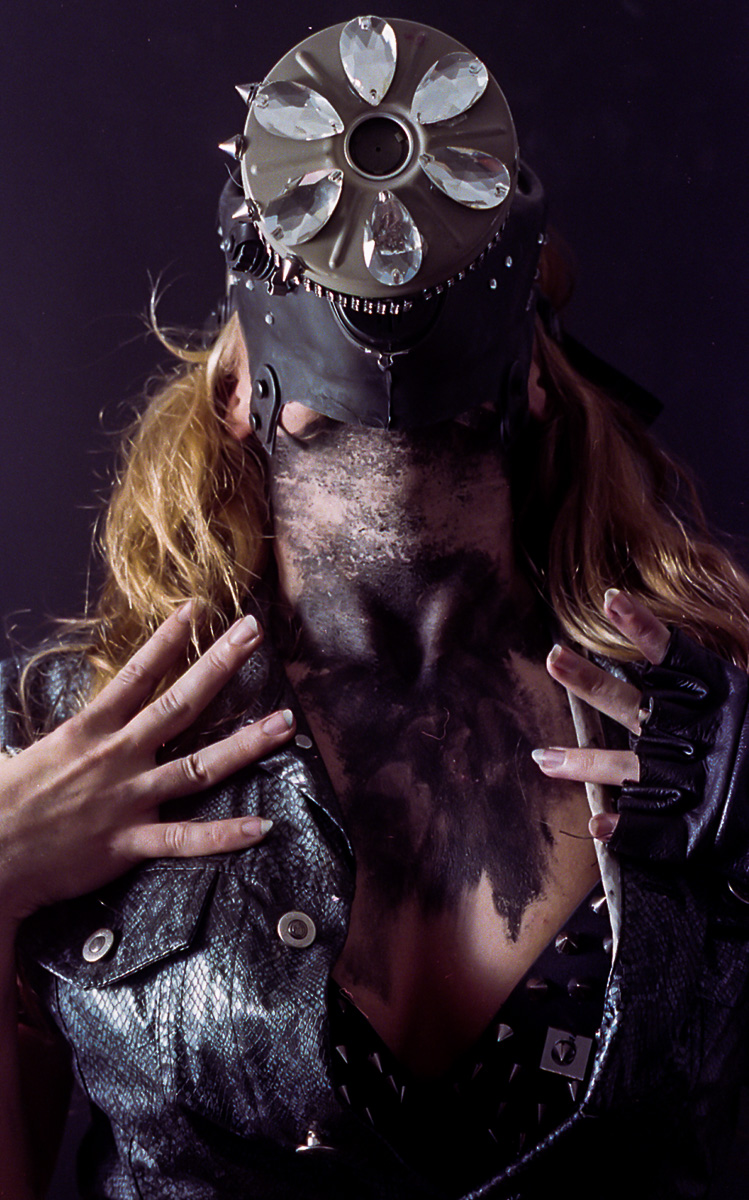
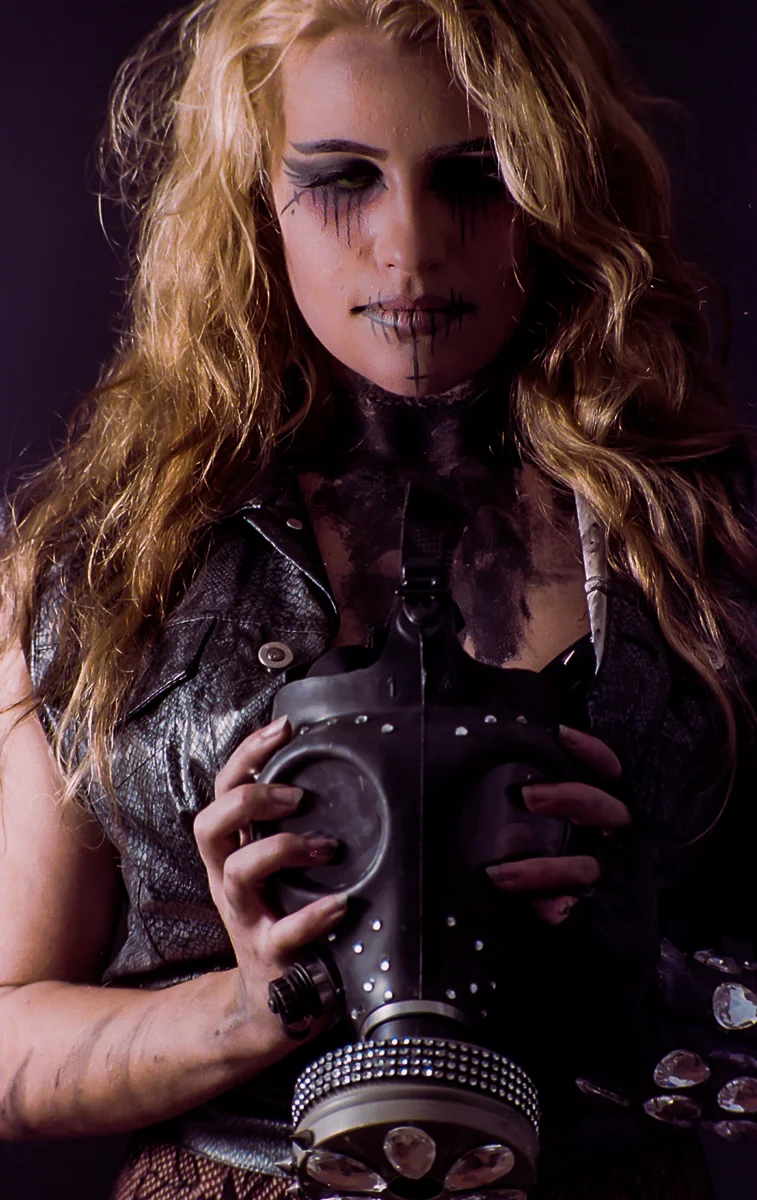
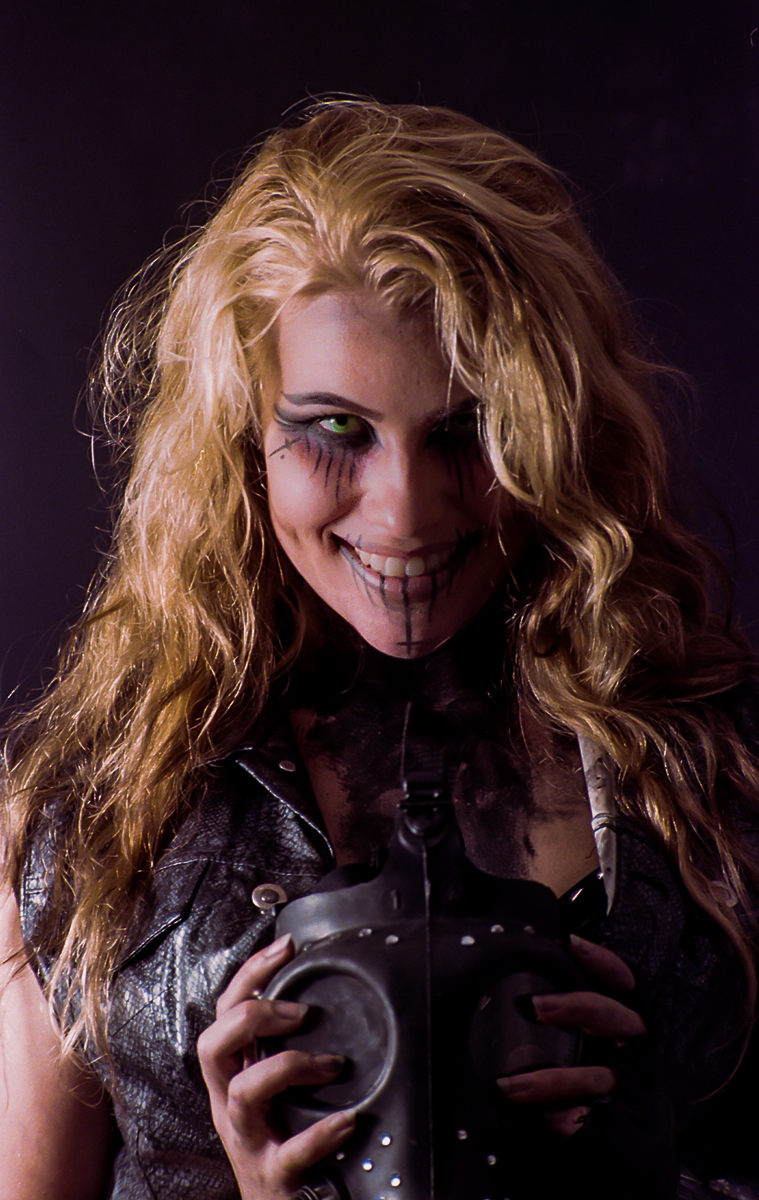
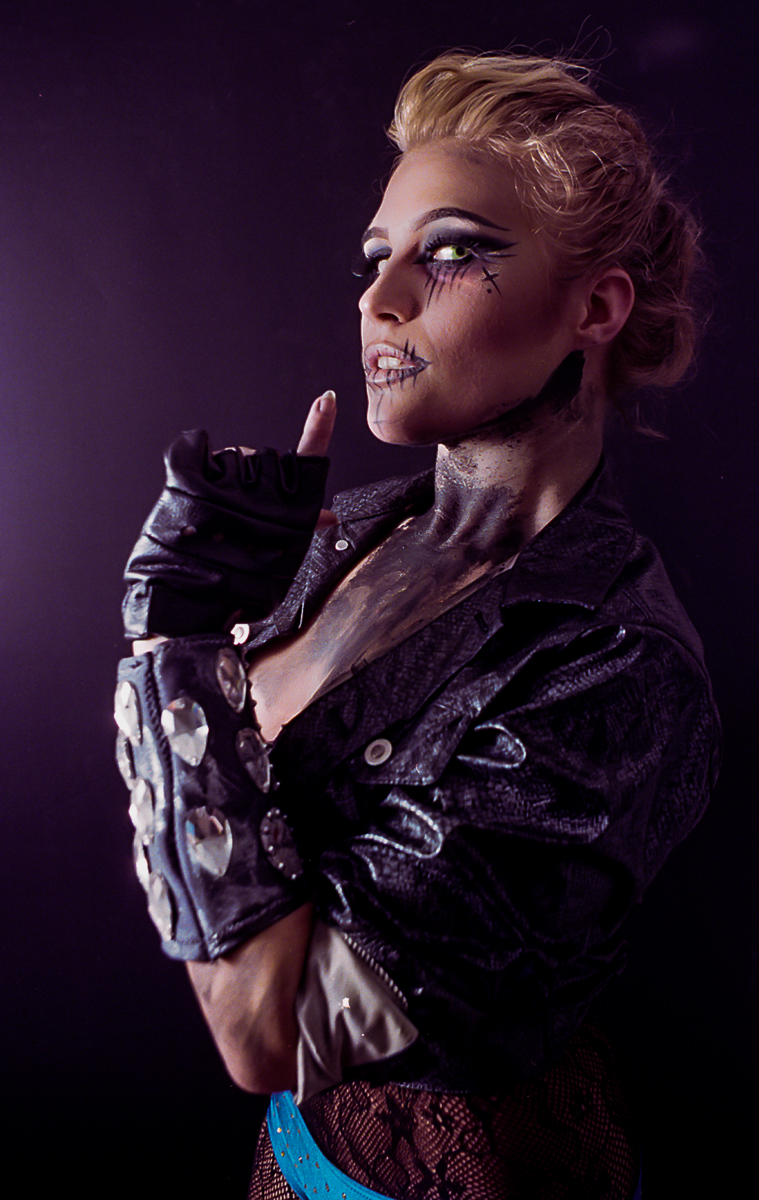
This was originally supposed to be a couple's shoot with Nikki and her partner Sig, but on the day we were scheduled to shoot we had to make a few changes as they had a last minute rehearsal for a show they are both performing in. But being a lady of her word, we re-booked for the next day and decided to set up the backdrop and see what we could come up with. 

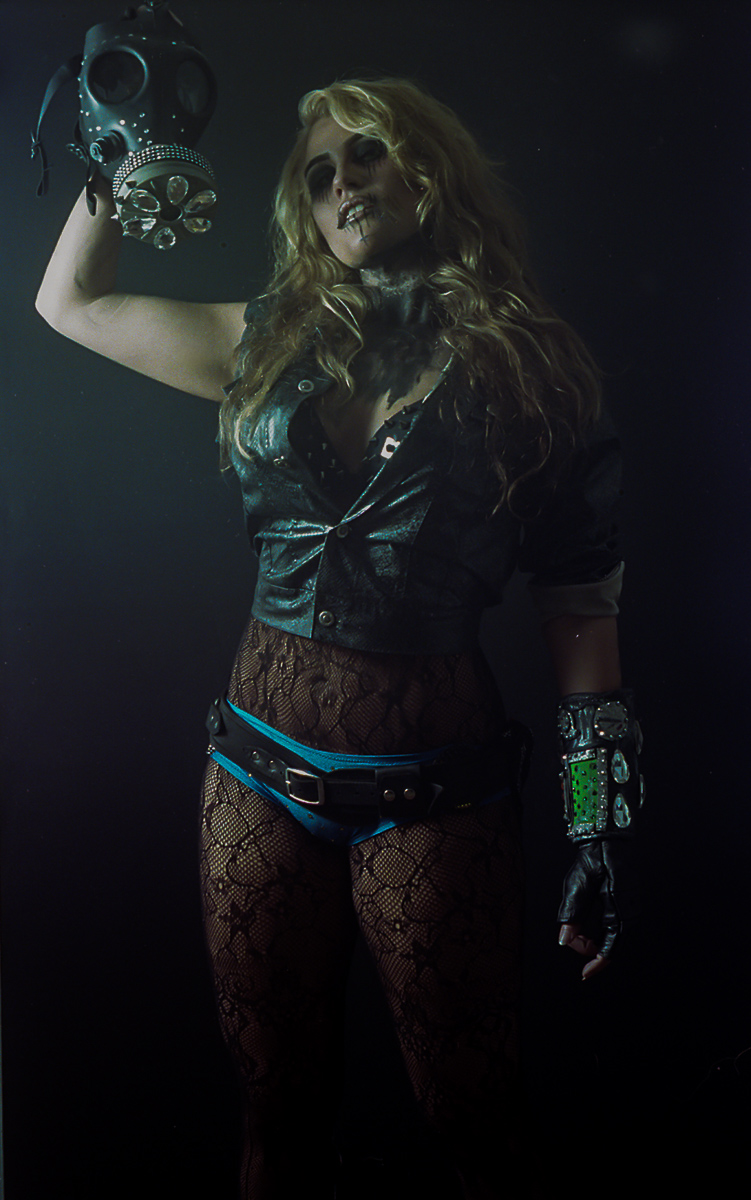
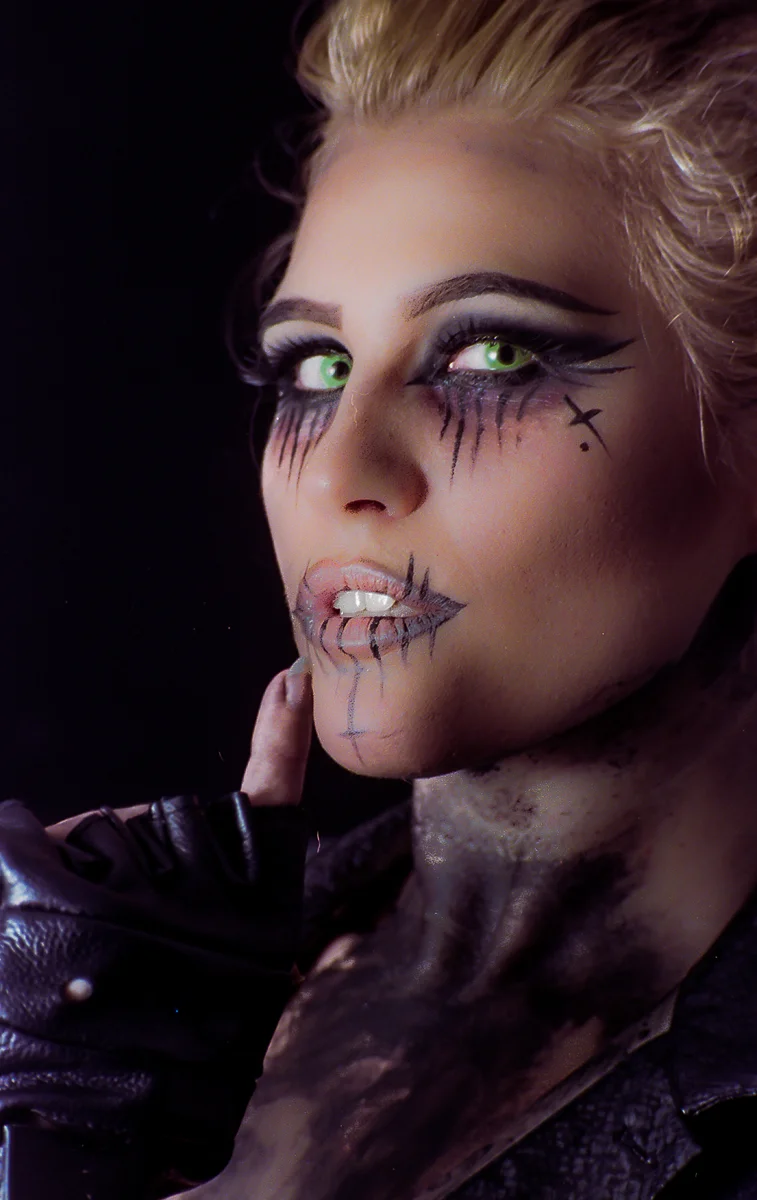
Our original plan is still in the works, but you will have to wait for that to come in the near future. But for now, enjoy a few of the images we were able to create together on a somewhat impromptu shoot. 

Week 36 – Nikki Nuke'm – Kodak Portra 400

You know, when I first sat down to scan these images my first thought was "You know, just copy and paste what you wrote from the other photos of Nikki Nuke'm that you shot. Nobody will ever know". Except once I started the retouching process, I knew I just couldn't do that.

If you don't know what I am talking about, please make sure to view the digital photos taken during this series here. 

There are few things I can say about this entire series more than "I LOVE THIS". Not every shot was a winner, they never are, but I was able to create a solid series of images and for that I am pretty excited. This is a great example of what a year of constant practice will do for a skill set. I can only hope that I can continue to see things improving, and that my follow up sets with Nikki turn out as great as this one did.

Development Notes:
Standard Development Unicolor C41
Levels adjust and retouching performed in Lightroom

Nikki Nuke'm – 2015

I really had a lot of fun shooting this set of images with Nikki Nuke'm. If you follow the 52 rolls blog you may remember seeing a few photos of her during the DragonCon entries. She is a burlesque performer here in Atlanta, and it was by sheer luck that we happened across each other.

While I was building the flash diffusion panel (see the extra blog) I was also looking for new people to shoot in new ways. Luckily I was able to peel Nikki away from playing Fallout 4 for a spell and shoot something interesting and fun.

I had a REALLY hard time selecting images to show you all. And there is a pretty good chance I will be revisiting these photos in the near future. There were a couple that I had to re-construct in Lightroom/Photoshop because the backdrop was a little small. Also this was my first attempt at medium-heavy retouching. As my skills improve, hopefully my final delivered images will too.

The DIY Photography Diffusion Panel - Feat Nikki Nuke'm

In my quest for spending the least possible on new toys and equipment, I came across a DIY that caught my eye. Coming from a motion picture background, I remember working with silk panels and the effect that it has on the quality of various lighting situations.

For those who may not know, a fabric diffuser allows light from one source to be diffused, or spread out, over a wider distance. This causes the light to be "softer" or have less hard shadows and in a studio setting allows the light to be more even. 

When pricing them out I noticed that things were a touch out of the range I had to spend (for what it is). 

So I hit Google. There were many DIY options available. Each with different fabric types and construction. I decided to go with a PVC plastic frame and Rip-stop Nylon. By rough estimation of pricing I figured I could build something that is pretty much the same as the screenshot above for a much cheaper price. 

So ignoring my dimensions, this was the basic plan. 1 yard of the Rip-stop was $6.99 from Joanns fabrics. It comes on a bolt with a length of 59". So for about 7 bucks I ended up with a piece of fabric that SHOULD be 59" x 36". Spoiler alert, this will come back and bite me a little bit. 

Next I headed over to my local hardware store and picked up a few lengths of 3/4" PVC pipe, 4 90º L-bends, and a T-Connector. I had the associate cut things down to length so I could transport everything easily in my car. Based on my rough calculations I decided that I wanted a .5" pocket on each side so that I could further break it down for travel. So the piece of fabric would become a 57" x 34". I ended up needing to have 2 pieces cut to 57", 1 to 34", and 1 piece cut into 2 16.5" lengths. We sat for about 15 minutes measuring, and running the numbers to come up with these dimensions. And in the end all of the supplies came to be about another $8. 

Now is when things get fun. And through most of the build process I thought that the powers that be just didn't want me to build this thing. As I was walking into my apartment I dropped one of the smaller lengths, which promptly fell to the lower level and into a bush. So I had to find a way to fish that out. I don't have a photo of this...mostly because I spent a lot of time tromping around cursing while trying to figure out how to get to the piece.

Even after all of the measuring, and remeasuring it became very obvious that my numbers were off at some point during my planning phase. I really should have measured the raw nylon before just trusting the size of the fabric. But no worries! I figured I'd just "rig it together".  I had part of a roll of Gaff tape tucked away in my closet. I was able to get the four corners tacked down before–

–I ran out. I considered briefly just using Duct Tape, and decided against it. After more cursing, and a call to my local supply shop. I remembered I had one final trick up my sleeve. 

I had a few clamps available in my old Grip kit. So I was able to stretch the nylon to a respectable level and clamp it in place. After all of this running around and problem solving I think I have everything all set up. 

With everything it place, it was time to begin testing. Luckily I had just the person willing to donate her time!

But before that a few final notes. In the MK2 of this design I for sure want to re-measure the fabric before deciding on my final dimensions. I believe that the next design I will have a pocket sewn on the top and bottom of the smaller sides in which to aid in stretching the fabric. I also could easily design some sort of "kick stand" out of some other pipe fittings. If I decided to do this I'll be sure to update everything. 

See more of this set on the News blog coming soon!

© 2006 – 2023 UNEXPhotography and Blake Griffin.

Privacy Policy