DIY

Gameboy Camera - 2020.

A little context after the fact:
This Saga has been something I have been working on for almost the entirety of 2020 so far, and I really don’t yet know if this blog will even be released before the end of the year.

Who would have thought that finding a method to offload photos from a little known 90’s toy camera would be so hard?


March or April something (I think):

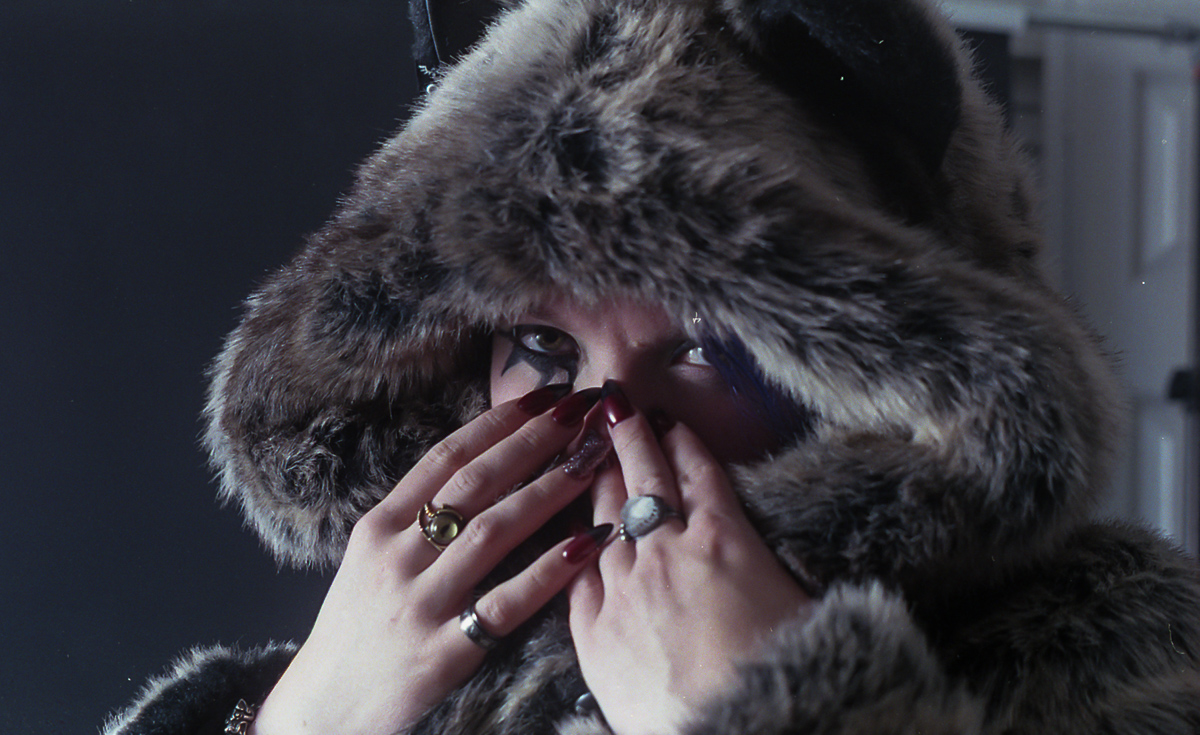
With the COVID-19 Coronavirus still in full swing, I needed a project to keep myself busy and had plans to play with and experiment with a fun little toy camera from the past. My original plans pretty much fell through because I’m not that great at electronics and soldering parts together (and because the parts that needed soldering were really fucking tiny). But, after some trial and error (and an Etsy seller in the UK) I was able to get some workable images out of something I used to play with as a child.

But first, some backstory.


The Game Boy Camera (GBC), released as Pocket Camera[a] in Japan, is a Nintendo accessory for the handheld Game Boy game console. It was released on February 21, 1998 in Japan, and manufacturing was ceased in late 2002. As a toy for user-generated content, it can be used to shoot grayscale photographs, edit them or create original drawings, and transfer images between GBC units or to the 64DD art game suite Mario Artist. Its images can be printed to thermal paper with the Game Boy Printer. The GBC’s cartridge contains minigames based on Nintendo’s early games such as the arcade video game Space Fever and the Game & Watch handheld game Ball, and a chiptune music sequencer. Guinness recognized it as the world’s smallest digital camera as of 1999, and photographers have embraced its technological limitations as artistic challenges.
— Wikipedia (https://en.wikipedia.org/wiki/Game_Boy_Camera)

Sadly, my original camera and its companion printer have been lost to the ages, but thankfully a few years back (and by that I mean almost a decade now) a roommate gifted me working set for my birthday along with some very expired thermal paper. After playing around with scanning the entire Gameboy to get images saved (no joke) I eventually retired the whole lot to a box that I mostly forgot about until earlier this year (but we’ll get back to that in just a moment).

I was able to obtain a copy of a Gameboy Camera’s ROM file (Please don’t sue me Nintendo, I swear I own a real GBC) and get it working on my laptop and on a spare Amazon tablet I had lying around (but only on the front selfie camera, and unfortunately not on any of my primary iOS devices).

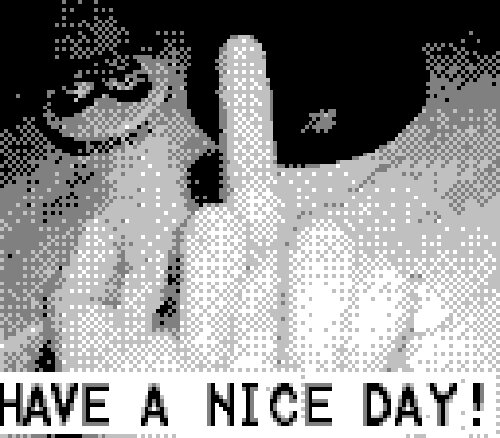
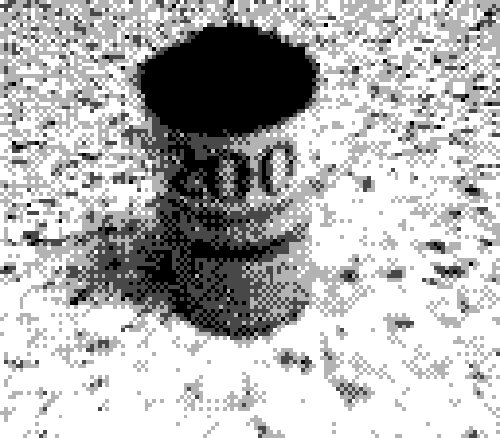
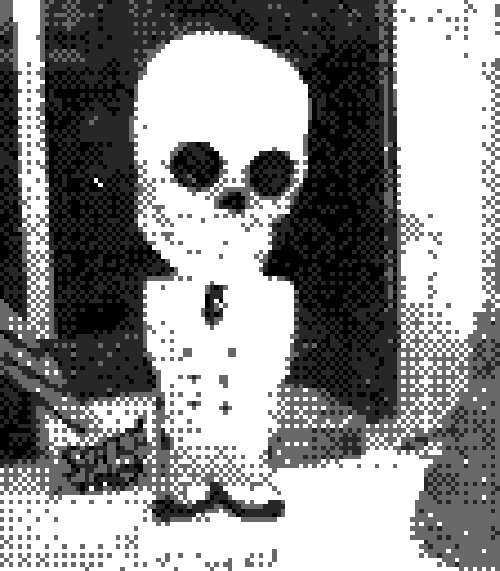
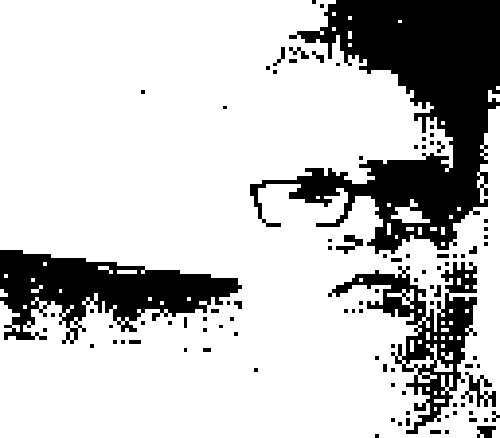
With some tinkering, it was possible to take captured images, and after running them through Affinity photo to clean up and up-rez them get some working proof of concept files out of them.

But just having them available digitally wasn’t enough. I wanted a way to print these images as well.

Enter the GBPXL.


This kit popped up on my radar at the end of February, and after thinking it over I purchased it right before the coronavirus lockdown the following month.

It would take me almost 3 months to have it assembled, and unfortunately I never really was able to get it working. My electronics skills just aren’t up to par on this one. So I decided to cut my losses and abandon the idea of printing using this kit.

So if you are in the need for a restaurant thermal printer, let me know. I have one for sale.

So if you are in the need for a restaurant thermal printer, let me know. I have one for sale.

While I was waiting for the GBPXL to ship from Czechia I started to look into what I could do with these thermal printouts and find a way to archive them for long term storage.

Since anything I printed would eventually fade into nothing (It is just a big receipt after all) if I didn’t either scan or Xerox them (and where’s the fun in that) I figured it would be best to find another way to get my fix.


So I went back to the drawing board. I did some more research and came across this nifty little device and spent way more money than I wanted to on one.

Screen Shot 2020-06-25 at 5.10.49 PM.png

…And after waiting “2-3 weeks” for shipping I got an email from the seller.

Screen Shot 2020-07-13 at 7.46.15 PM.png

…Rats…

I’m beginning to wonder if this whole project is actually going to come together or not.


I still have one more option. A company in Australia is making a similar device called the “El Snappo” which at the time of my writing this in July is completely sold out and unable to be back-ordered.

Screen Shot 2020-07-13 at 7.47.28 PM.png

I reached out to BennVenn through their Facebook page and asked when they would be made available again. While I didn’t get a concrete date, I was told to keep watching their social media pages and sign up for the mailing list for more info.

So once again…back to the drawing board, and back to waiting.

This was on June 20th.


October 20th - BennVenn announces that the new “Joey Jr 2.0” is available and has a special way to pull Gameboy Camera files…

Screen Shot 2020-10-20 at 9.00.01 AM.png

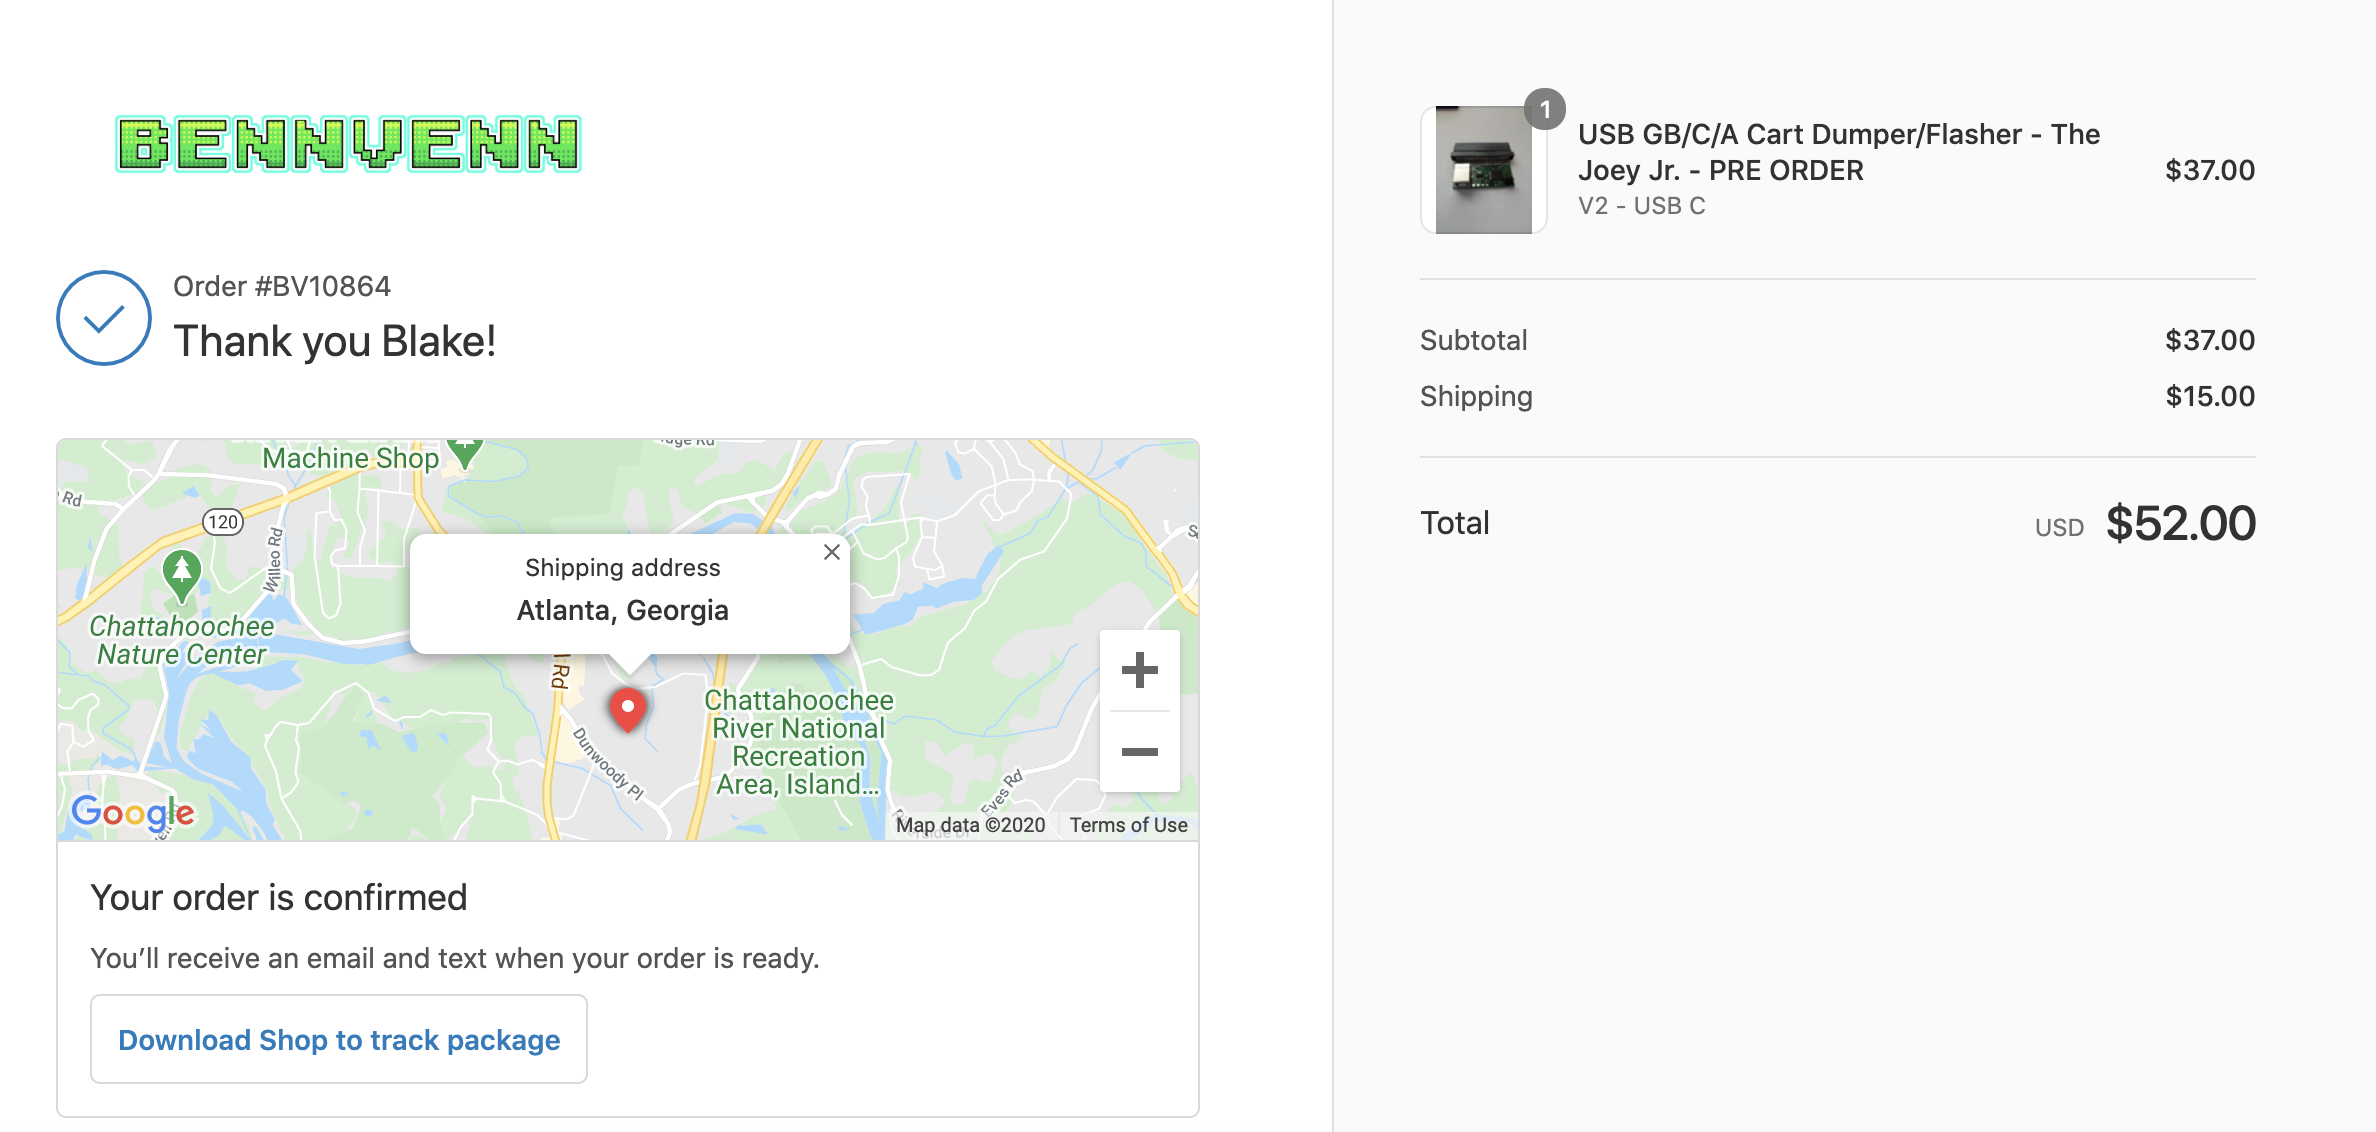
Hopefully this will be the option that finally works!


November 15th:

…It’s coming…

…It’s coming…


December 11th:

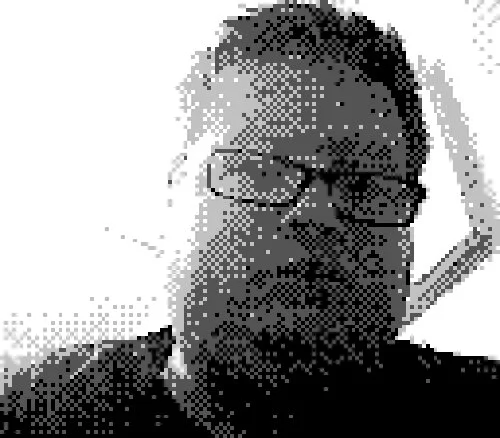
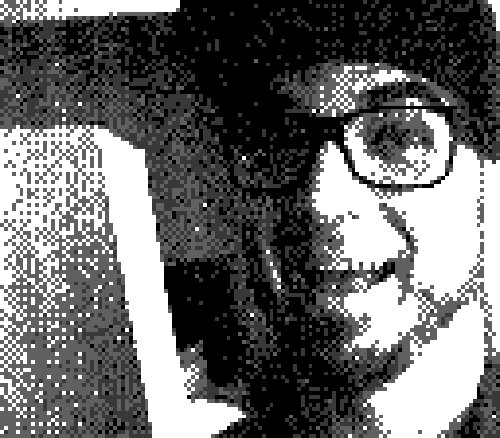
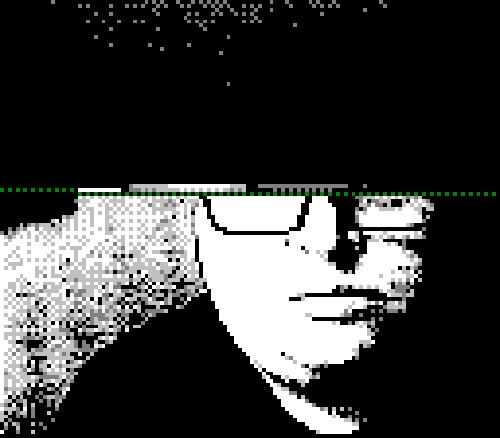
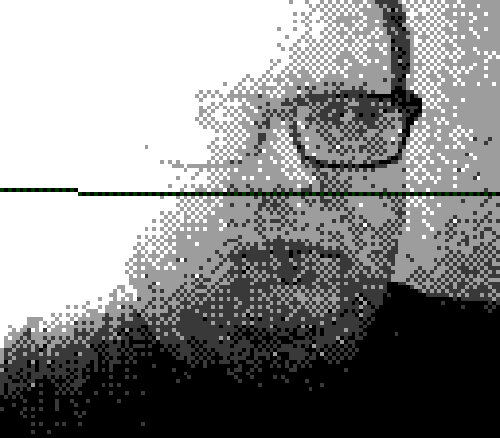
Which brings us to today. After almost 30 days the device is in my hands and I am finally able to pull off the files that were saved there.

Certainly one could argue that all of this is a colossal waste of time and effort, and in some ways I agree.

We live in a world where the phones in our pockets are better than even the most modern of point and shoot cameras (and yes, even the cameras in the earliest of flip-phones were better than the sensor in the GBC). But this is something different. This is a sense of nostalgia. I’m not expecting to print these photos the size of a house like I could do with my everyday camera. I’m barely expecting these to hold up on the web. But what I have instead achieved is another tool in my belt that I can learn how to master.

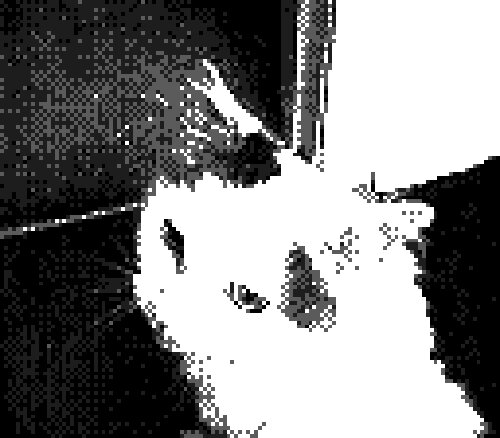
And I mean, I also have a few extra photos of a long passed cat-friend too before the internal battery of this cart died and they were gone forever, so that alone was worth all of the time and effort in the world.


Week 38 – Miss K – Fujicolor 200

So here we go. Week 50(51?) (officially). This year has been a trip. Based on my notifications this should be the last roll for the project here for 2015. Removing the mystery roll post from a few weeks ago, and that one time I scanned my gameboy. This makes up all of the entries for this year. Next week I'll be doing a roundup of some of my favorite images, just in case you haven't been following the whole time.

"Miss K" and I have been friends since very shortly since I moved to Atlanta back in 2010. She has always been a bit of an enigma (and likes to keep it that way). However it was decided that she and I HAD to work together before the project ended. Fitting that she would be the last. 

We had a lot of fun shooting this during a very late night at my studio. I hope you enjoy it as much as we did. 

Development Notes:
Unicolor C41 Kit
Standard Processing
Slight Editing in Lightroom Post Scan

Nikki Nuke'm – 2015

I really had a lot of fun shooting this set of images with Nikki Nuke'm. If you follow the 52 rolls blog you may remember seeing a few photos of her during the DragonCon entries. She is a burlesque performer here in Atlanta, and it was by sheer luck that we happened across each other.

While I was building the flash diffusion panel (see the extra blog) I was also looking for new people to shoot in new ways. Luckily I was able to peel Nikki away from playing Fallout 4 for a spell and shoot something interesting and fun.

I had a REALLY hard time selecting images to show you all. And there is a pretty good chance I will be revisiting these photos in the near future. There were a couple that I had to re-construct in Lightroom/Photoshop because the backdrop was a little small. Also this was my first attempt at medium-heavy retouching. As my skills improve, hopefully my final delivered images will too.

The DIY Photography Diffusion Panel - Feat Nikki Nuke'm

In my quest for spending the least possible on new toys and equipment, I came across a DIY that caught my eye. Coming from a motion picture background, I remember working with silk panels and the effect that it has on the quality of various lighting situations.

For those who may not know, a fabric diffuser allows light from one source to be diffused, or spread out, over a wider distance. This causes the light to be "softer" or have less hard shadows and in a studio setting allows the light to be more even. 

When pricing them out I noticed that things were a touch out of the range I had to spend (for what it is). 

So I hit Google. There were many DIY options available. Each with different fabric types and construction. I decided to go with a PVC plastic frame and Rip-stop Nylon. By rough estimation of pricing I figured I could build something that is pretty much the same as the screenshot above for a much cheaper price. 

So ignoring my dimensions, this was the basic plan. 1 yard of the Rip-stop was $6.99 from Joanns fabrics. It comes on a bolt with a length of 59". So for about 7 bucks I ended up with a piece of fabric that SHOULD be 59" x 36". Spoiler alert, this will come back and bite me a little bit. 

Next I headed over to my local hardware store and picked up a few lengths of 3/4" PVC pipe, 4 90º L-bends, and a T-Connector. I had the associate cut things down to length so I could transport everything easily in my car. Based on my rough calculations I decided that I wanted a .5" pocket on each side so that I could further break it down for travel. So the piece of fabric would become a 57" x 34". I ended up needing to have 2 pieces cut to 57", 1 to 34", and 1 piece cut into 2 16.5" lengths. We sat for about 15 minutes measuring, and running the numbers to come up with these dimensions. And in the end all of the supplies came to be about another $8. 

Now is when things get fun. And through most of the build process I thought that the powers that be just didn't want me to build this thing. As I was walking into my apartment I dropped one of the smaller lengths, which promptly fell to the lower level and into a bush. So I had to find a way to fish that out. I don't have a photo of this...mostly because I spent a lot of time tromping around cursing while trying to figure out how to get to the piece.

Even after all of the measuring, and remeasuring it became very obvious that my numbers were off at some point during my planning phase. I really should have measured the raw nylon before just trusting the size of the fabric. But no worries! I figured I'd just "rig it together".  I had part of a roll of Gaff tape tucked away in my closet. I was able to get the four corners tacked down before–

–I ran out. I considered briefly just using Duct Tape, and decided against it. After more cursing, and a call to my local supply shop. I remembered I had one final trick up my sleeve. 

I had a few clamps available in my old Grip kit. So I was able to stretch the nylon to a respectable level and clamp it in place. After all of this running around and problem solving I think I have everything all set up. 

With everything it place, it was time to begin testing. Luckily I had just the person willing to donate her time!

But before that a few final notes. In the MK2 of this design I for sure want to re-measure the fabric before deciding on my final dimensions. I believe that the next design I will have a pocket sewn on the top and bottom of the smaller sides in which to aid in stretching the fabric. I also could easily design some sort of "kick stand" out of some other pipe fittings. If I decided to do this I'll be sure to update everything. 

See more of this set on the News blog coming soon!

The DIY Backdrop Test 2 (and Build) – Justin – 2015

I'm going to take a few moments and walk through the construction of the DIY backdrop project (It's really a lot more simple than you would think). I believe total cost for me was around $22.00, but that included two backdrop stands that I already had.

It all started with this video:

In it there is a section where it mentions the IKEA Tupplur blind.

Originally I wanted to go with a grey one instead, but since there was an open box deal on the large black, I got it instead. I'll probably go back in the near future and pick up the grey one.
After I got it home I removed the spring driven auto-winder (I guess that's the best way to describe the part) and found that there was a 3/4" tube running down the center. That tube just so happened to be the same diameter as my backdrop stand, so I had to run down to home depot and grab some 1/2" electrical conduit (about $2.30 for a 10' section).

They cut it down to size for me, and helped me find some screw on ends that formed an L shape (about another $1.50 each) that I used to mount on top of my backdrop stand.

Short of using a little black spray paint to dull down the silver, the final product looks like this. The diagram approximately (and totally not to scale) looked very similar to the one below.

Using an LED Panel that I borrowed from a friend of mine (and totally need to return, sorry Vivi) to provide a back light to the background, and my studio strobes (modeling light on, with a closed umbrella since the camera I am working with has a different flash mount than I am used to) as my main light. I was able to get some pretty interesting lighting situations. I probably need to look into some various gels to take some of the blue LED tint out, but other than that I am pretty happy.

Justin stepped up to help me out with some more testing of the background, and using what I learned from shooting Stan yesterday, this is what we were able to achieve. 

© 2006 – 2023 UNEXPhotography and Blake Griffin.

Privacy Policy